Managing images in ChurchSuite
In this article
Introduction
Contacts and Children in ChurchSuite (users)
My ChurchSuite (members)
Event and Booking images
Small group images
Ministry images
Fund images
Organisation images
FAQs
Introduction
You can easily upload images for contacts, children, events, small groups, ministries, funds and bookings. Images are surfaced in the member-facing My ChurchSuite access when viewing lists of people, events, groups, ministries and funds. Images also pull through to public-facing pages shared in communications and any embedded lists and pages on your website.
Contacts and children with My ChurchSuite can upload a profile image. If added, a profile image avatar is shown wherever their name is shown in a list, group or rota if "Name is visible" is shown. Images added in this way are also visible to module Users working in ChurchSuite.
Enabling members to upload their profile images (and permitting users to add images to Address Book and Children module profiles with consent) has lots of benefits. As well as helping produce beautifully printed contact directories, they're also really useful for staff, leaders and members to help recognise people they may not know.
For the best results, we recommend an image resolution above 300px, but make sure that the file size of each image does not exceed 5 MB. In this article, we also give guidance for the recommended image proportions (aspect ratio), which will ensure the best results when people view pages containing images. Both Windows and Mac offer free built-in tools for editing images, allowing you to crop and resize them. Images must be in JPEG or PNG format.
Top Tip - Images in WhatsApp
Occasionally, users can experience problems with preview images not appearing when sending a link from ChurchSuite (an event page, for example) through WhatsApp. This problem typically occurs because the image is too large to be included in the URL preview. To prevent this, Meta require images files to be under 300kb and have an aspect ratio of 16:9 or maximum proportions of 800x450px.
Managing images for contacts and children in ChurchSuite (users)
Images for contacts and children show on profile pages in the respective Address Book and Children modules in ChurchSuite, as well as on each member's profile in My ChurchSuite.
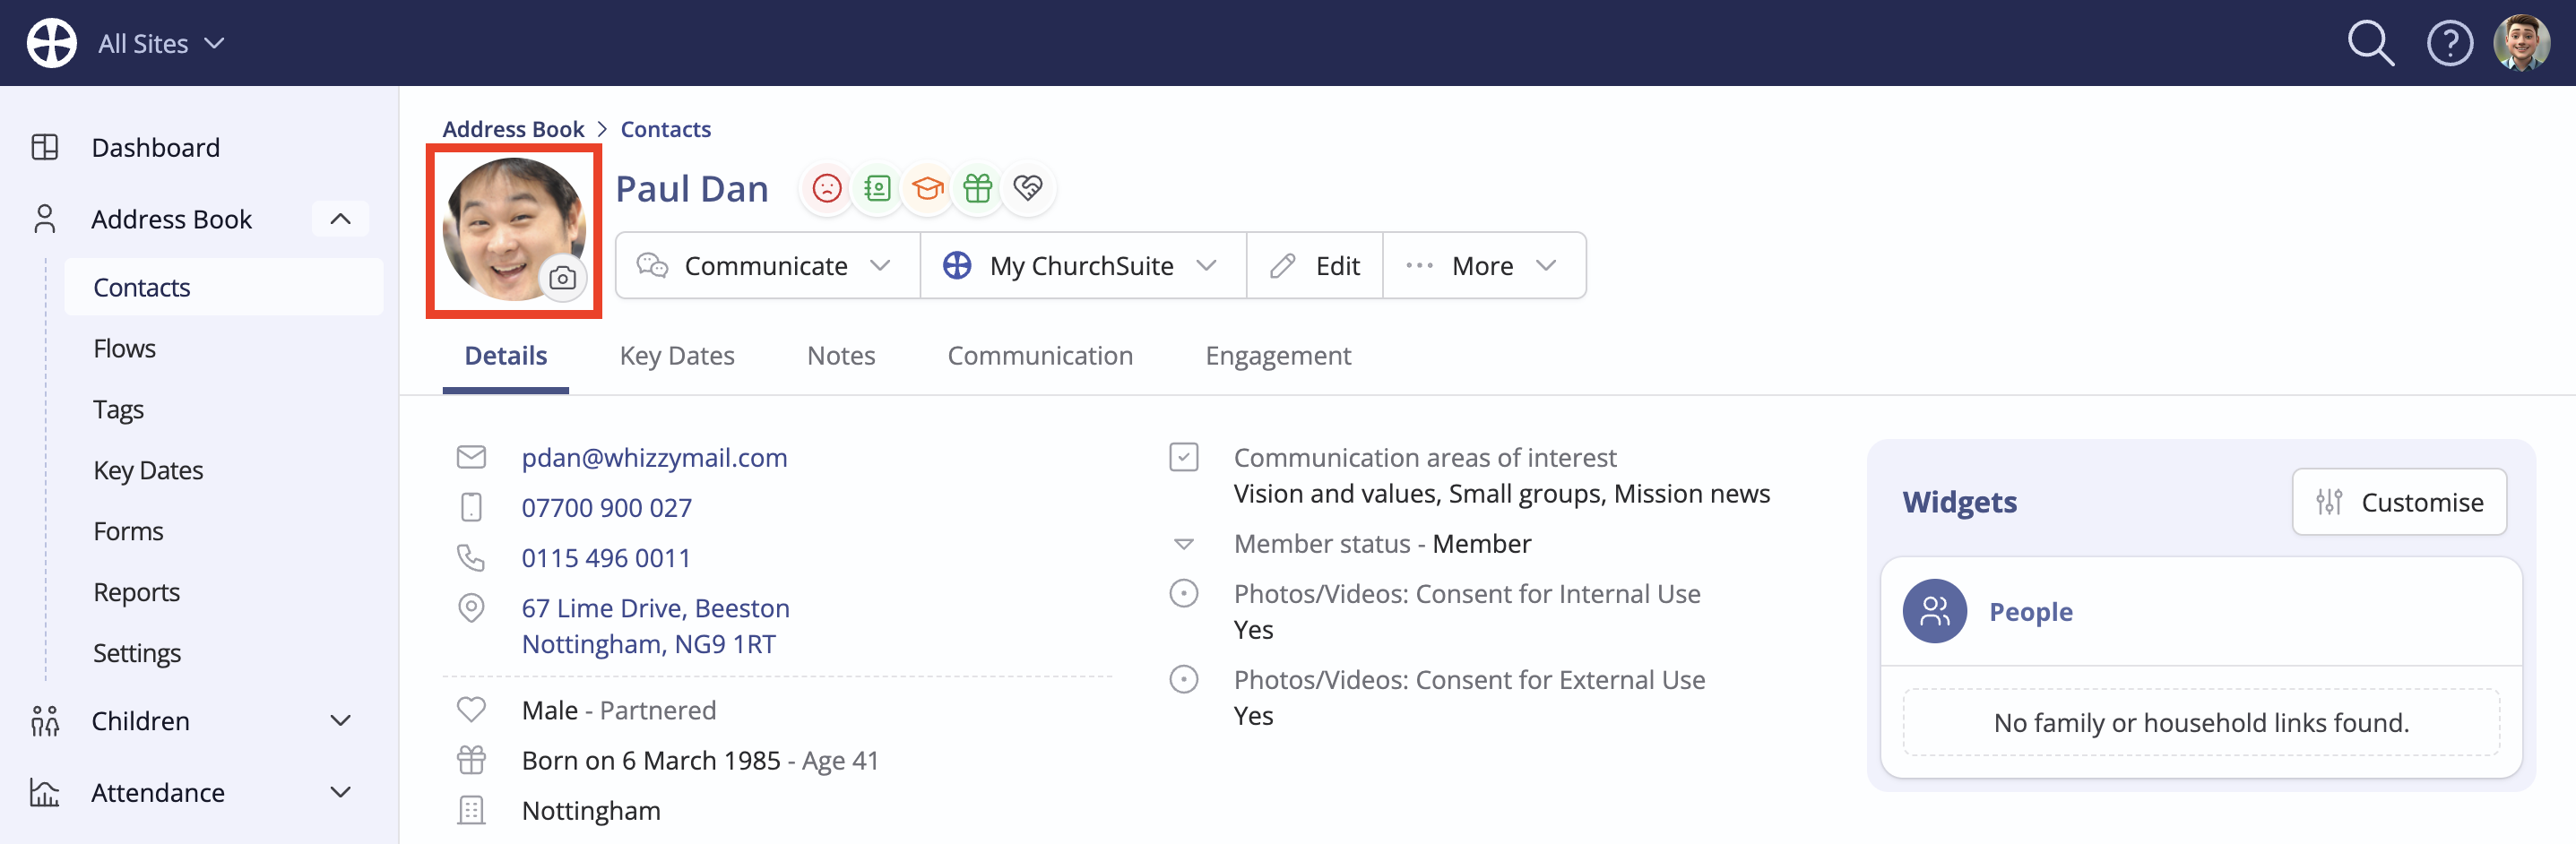
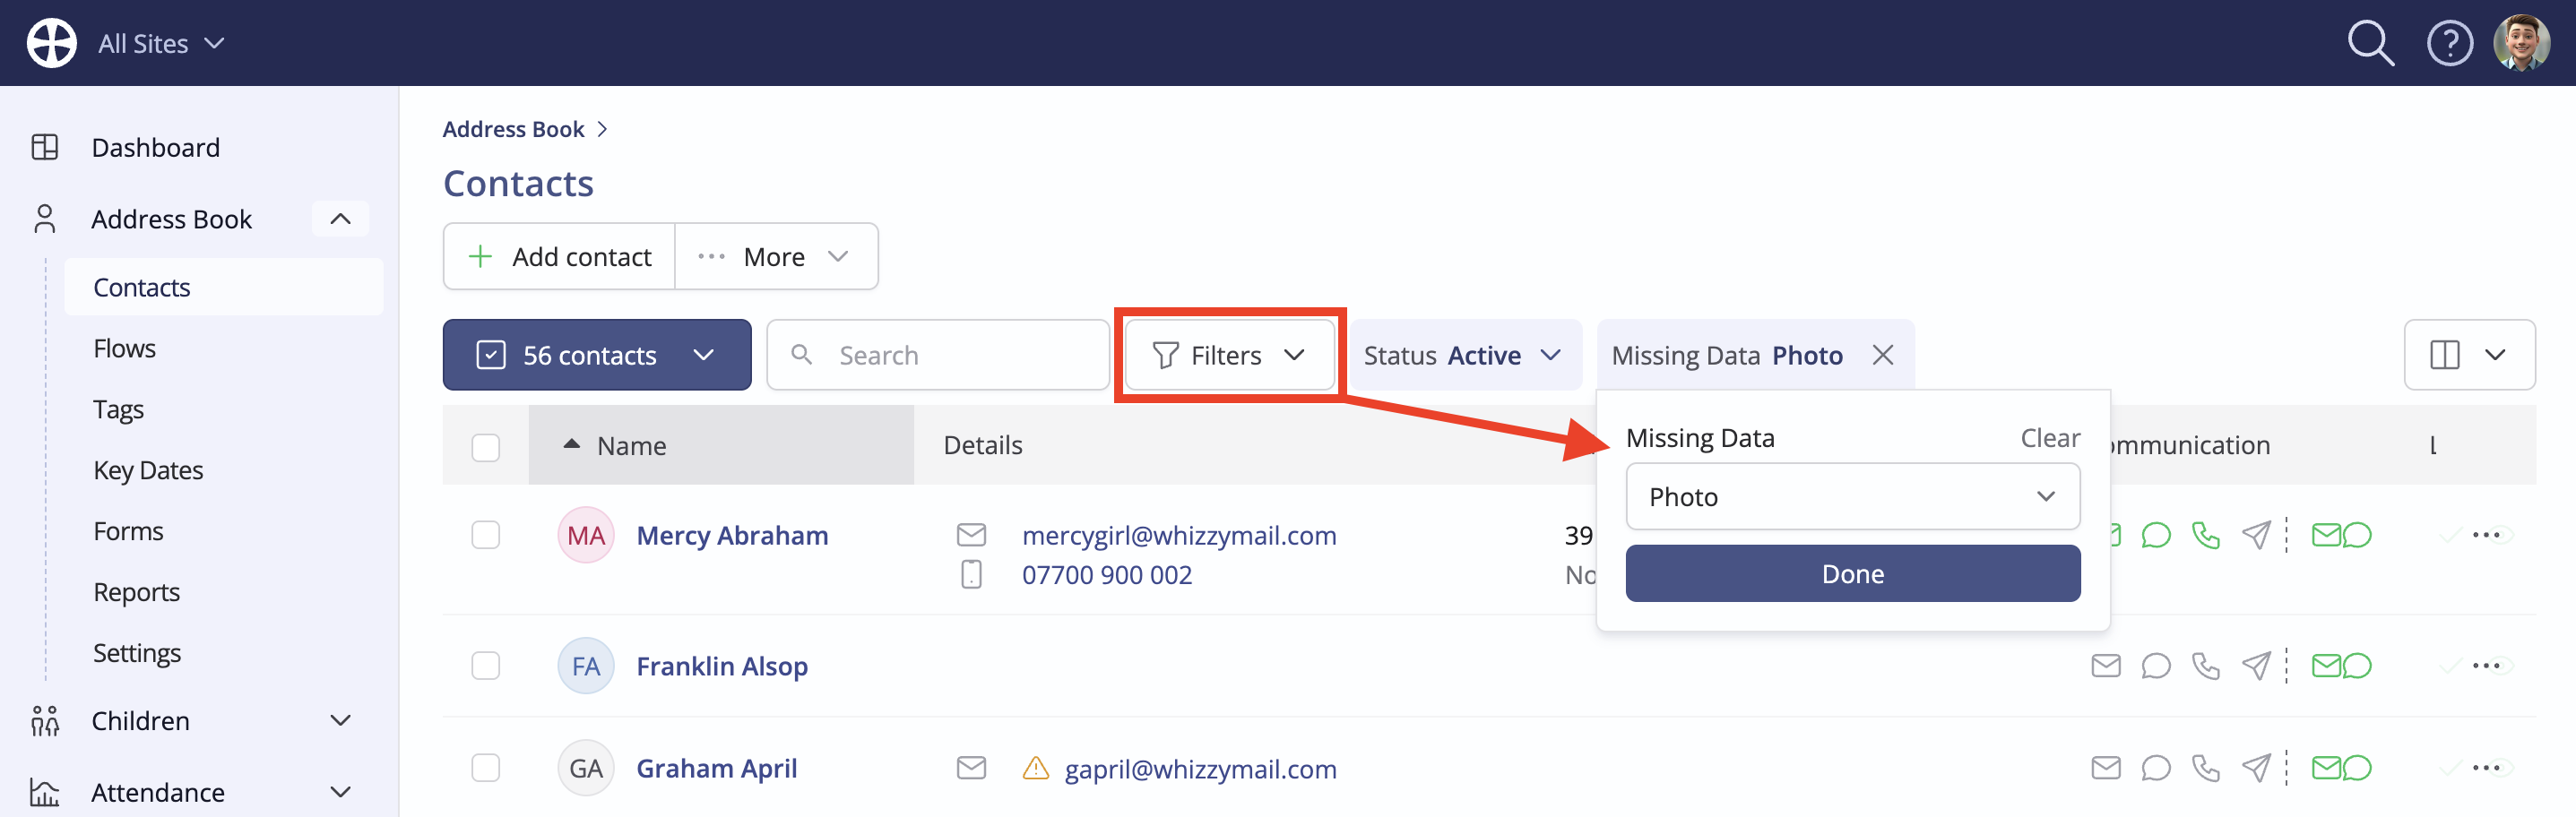
A smaller image avatar is used in listings of contacts and children. In the absence of an image, the avatar comprises the person's initials on a background colour-coded according to sex (blue=male, pink=female, grey=unknown). Note: The Contact index page has a helpful Missing Data filter that you can select to filter for contacts that are missing certain information. For example, you can filter to show all contacts that don't have an image attached to their profile.
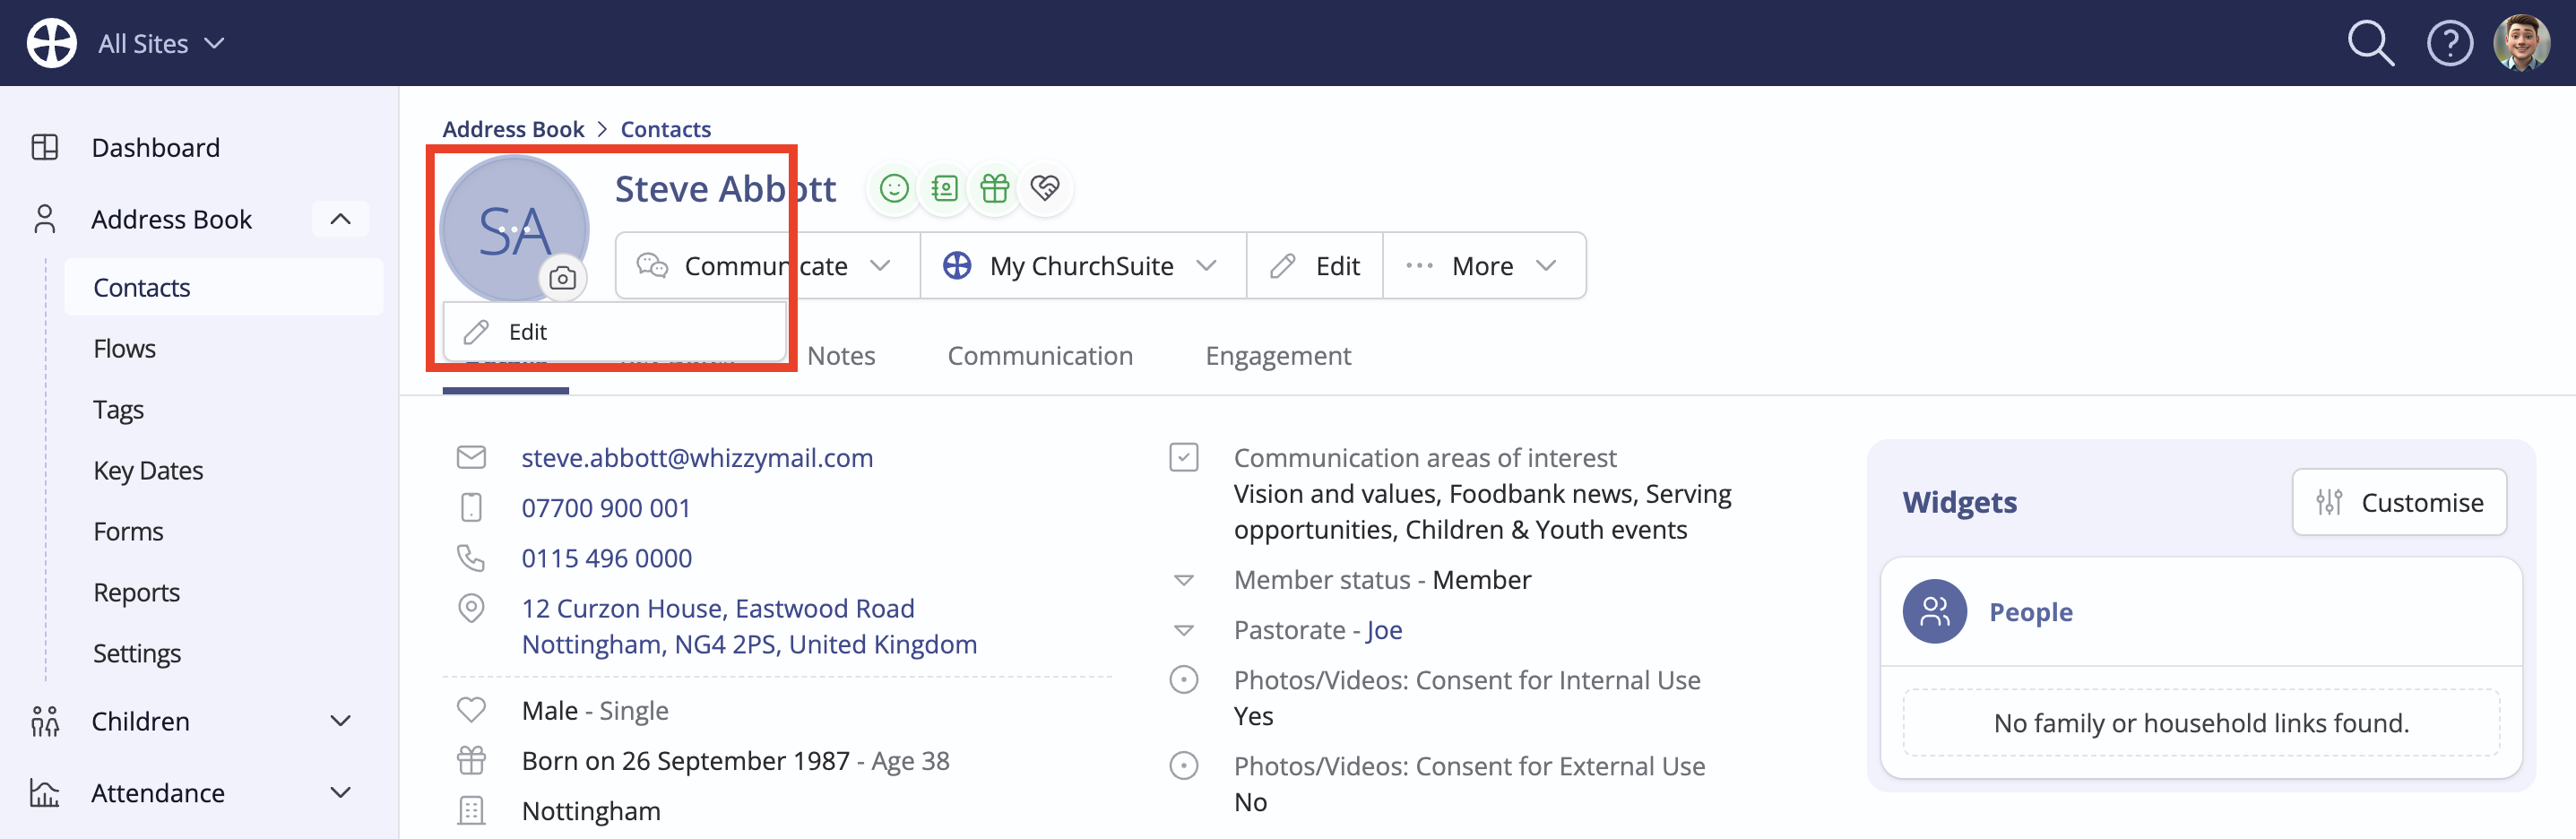
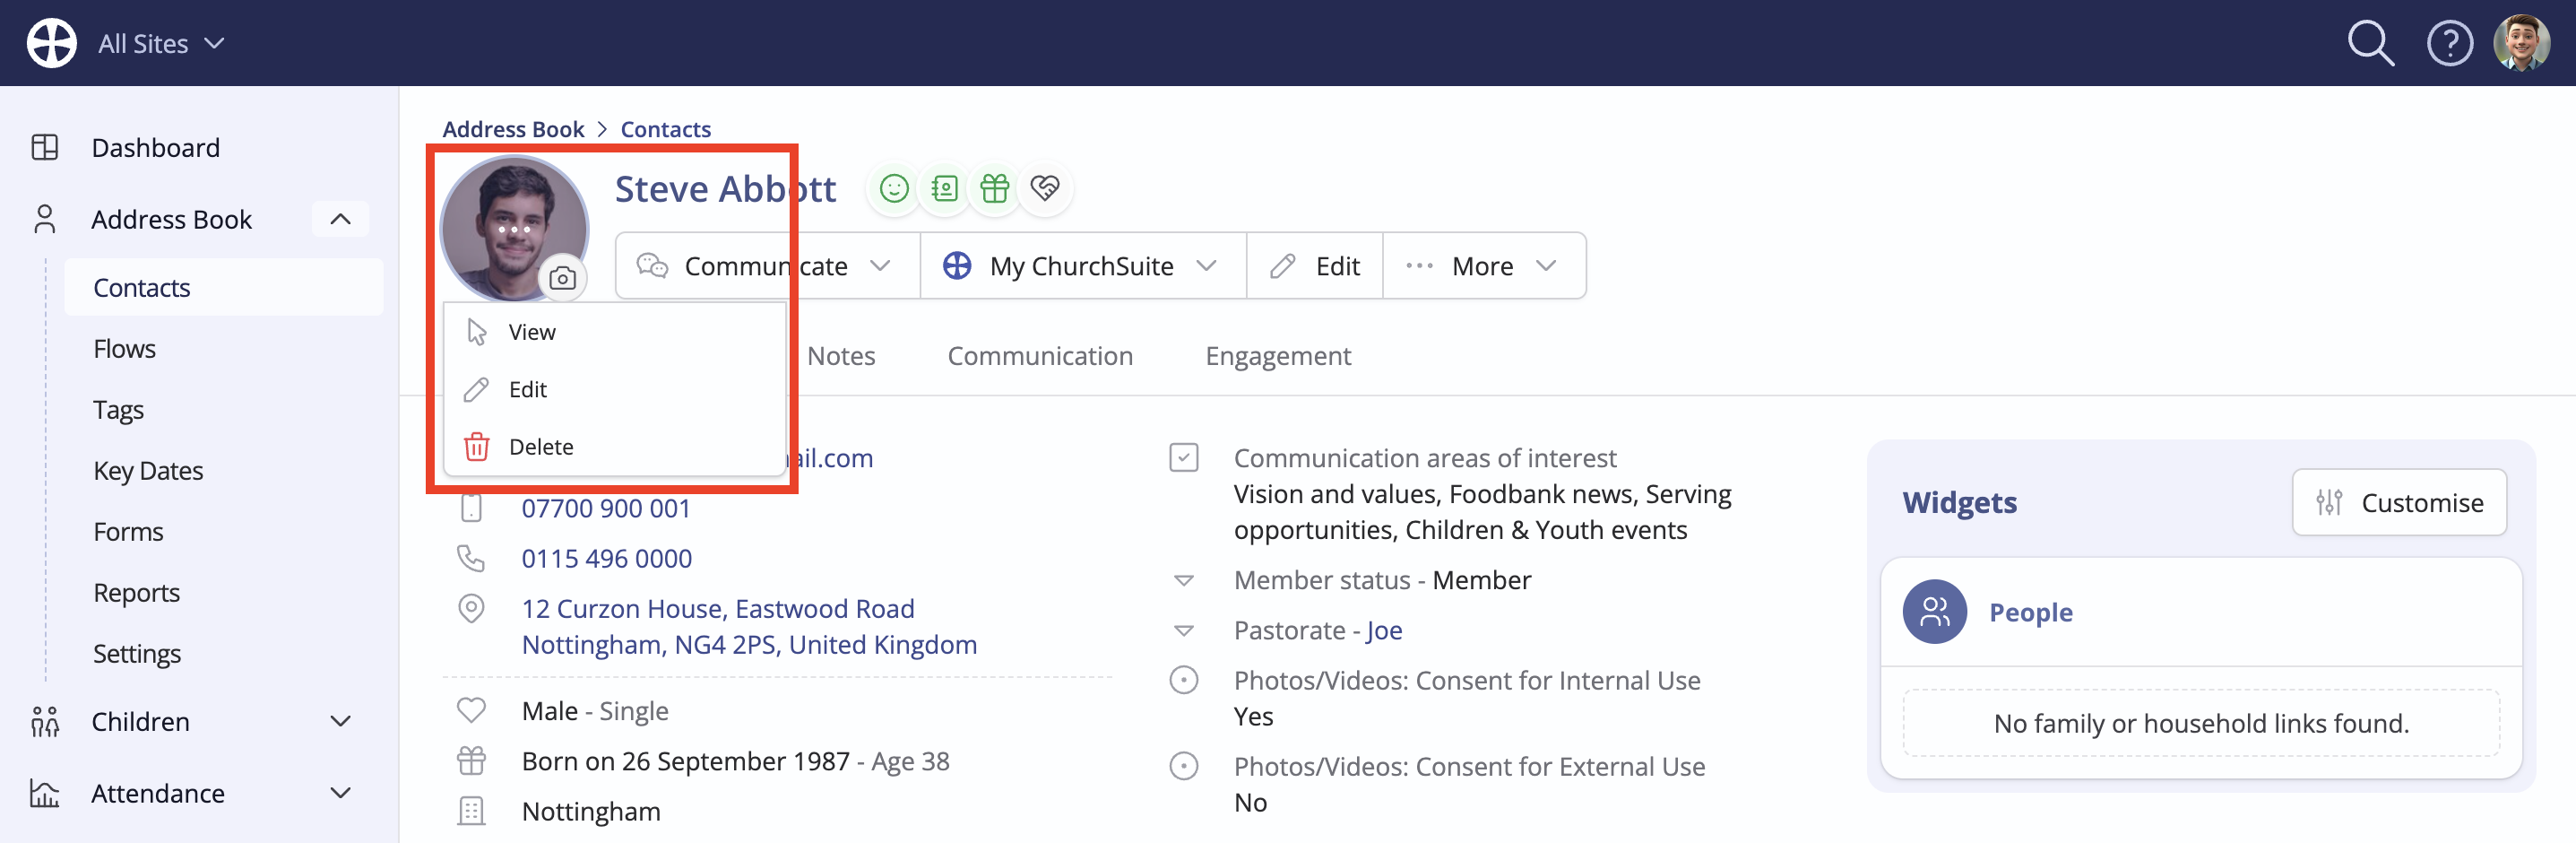
People's images are uploaded via their profile page in the Address Book or Children module. For best results and to avoid images being stretched, cropped, or incorrectly centred, we recommend editing a photo to 500px x 500px (square) before uploading it. From a person's profile page, click on the image avatar and select Edit.
On the Edit image pop-up, drag and drop a suitably prepared image onto the drop zone or click to browse and choose the image file.
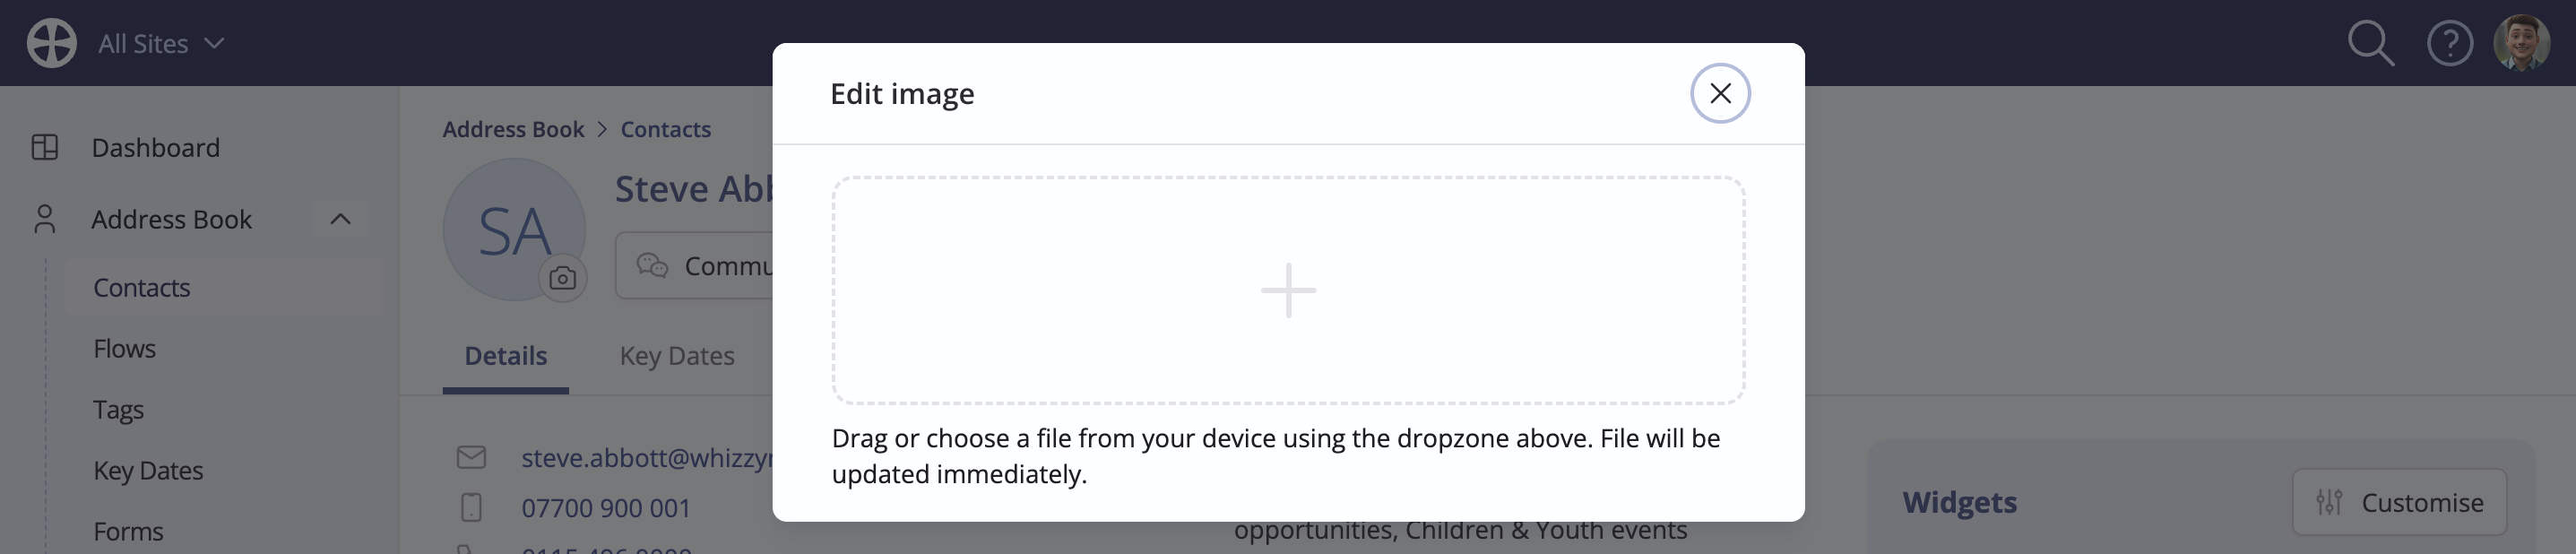
The image is uploaded and immediately applied to the person, with the pop-up closing on completion - job done! Clicking the image avatar again, note the additional image actions to View and Delete an image.
Managing images in My ChurchSuite (members)
Contacts and children with My ChurchSuite access can upload a profile image. Similarly, primary parents/carers with My ChurchSuite access can upload a profile photo for their linked children. Photo upload is enabled in the Fields section of the Address Book and Children modules' My ChurchSuite Options - click Edit to make changes. Note that only parents/carers can see their linked children's profiles in My ChurchSuite. Additionally, if a child belongs to a rota or small group, their profile photo avatar is shown in the rota or small group member list.
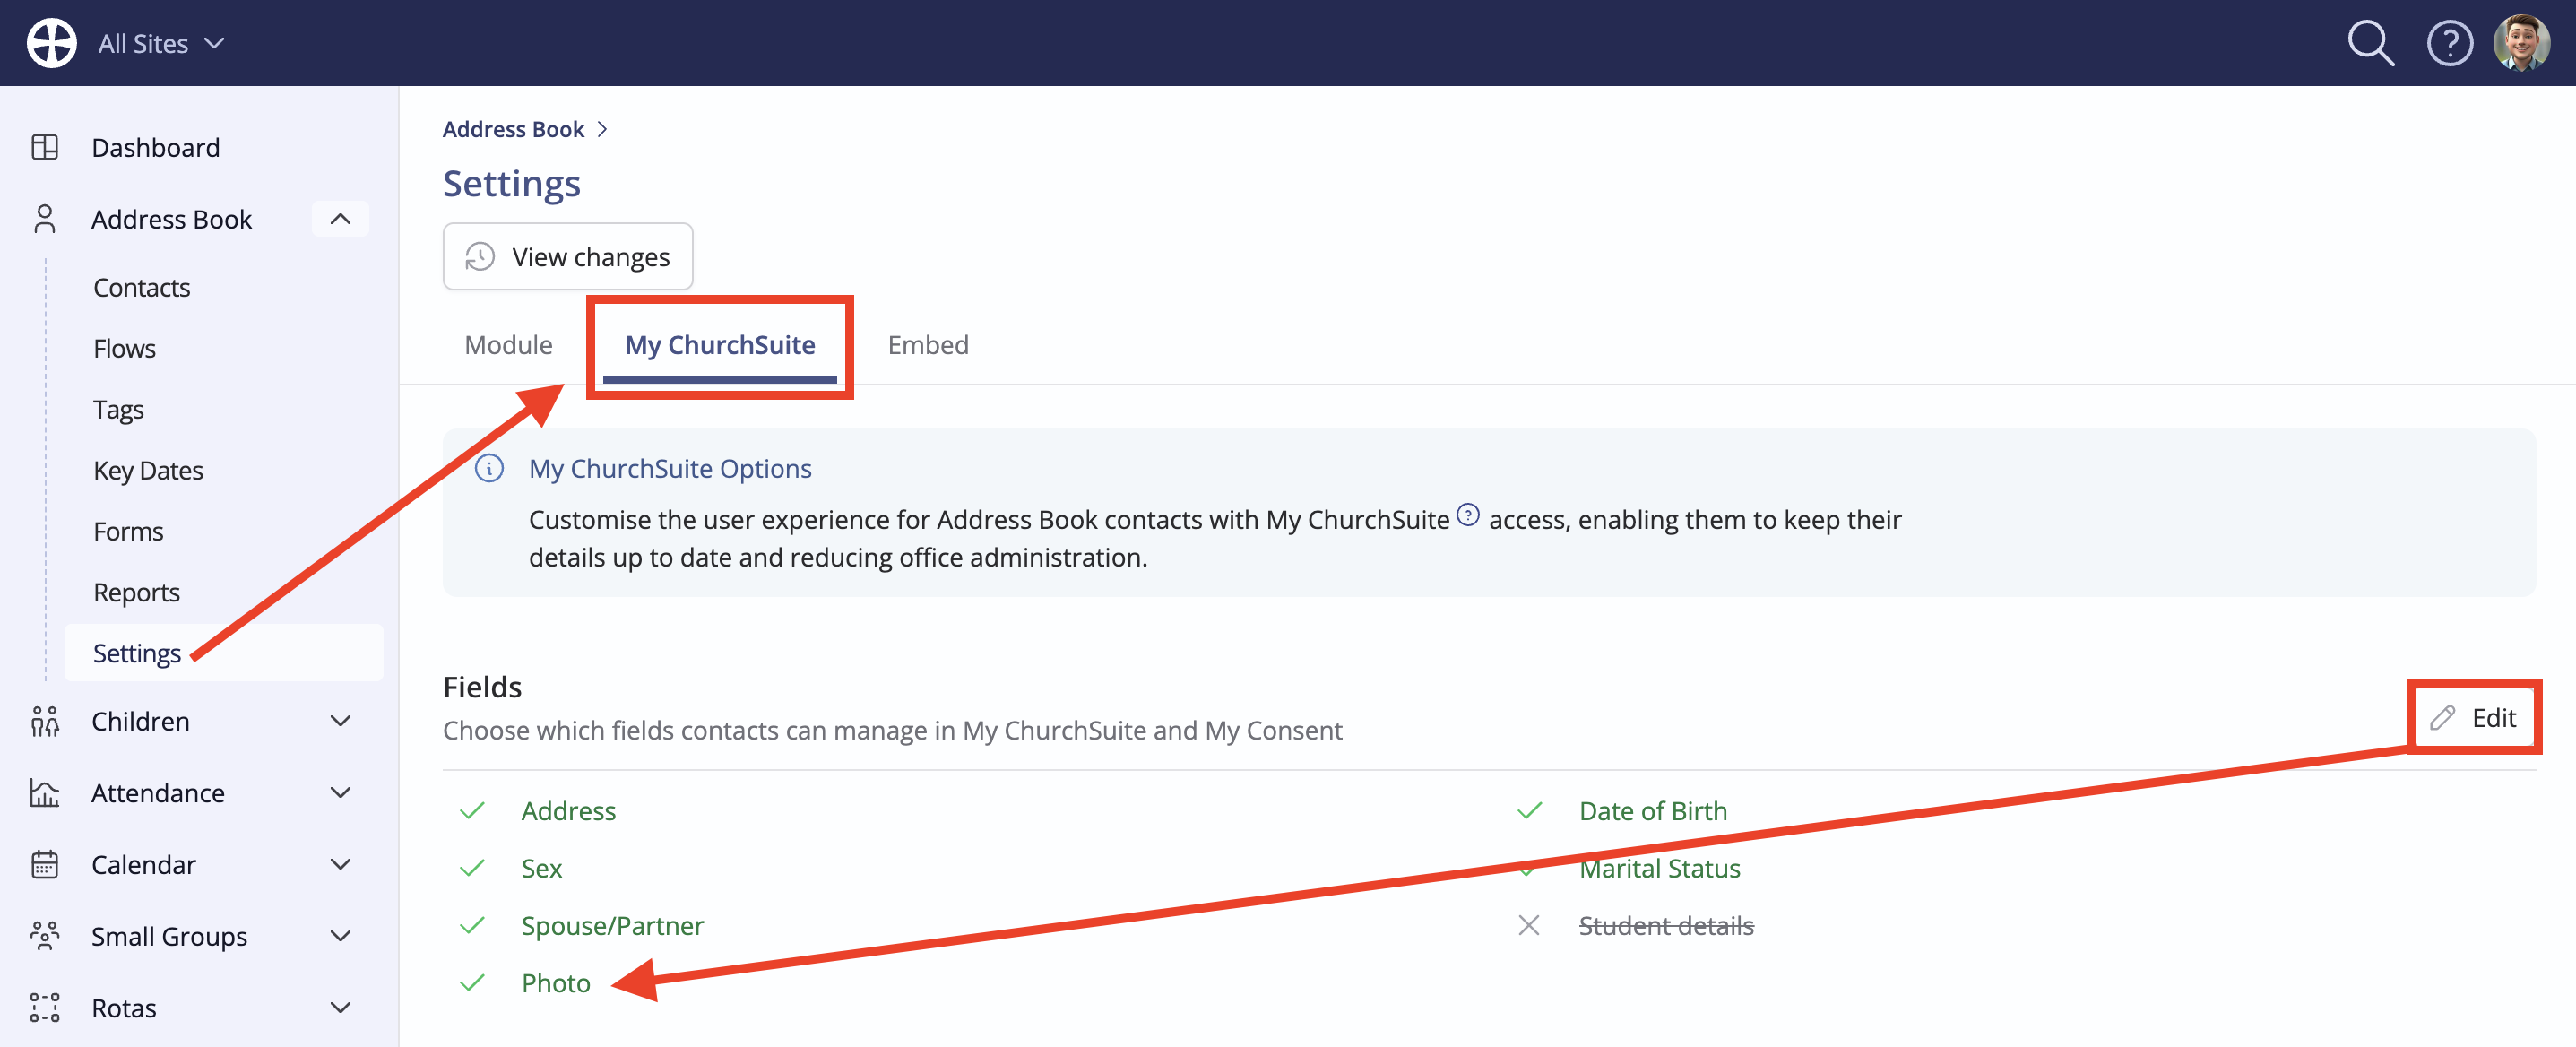
With Photo upload enabled for My ChurchSuite (see above), contacts and children with My ChurchSuite access can upload an image to their profile. Within My ChurchSuite, the My Details section includes the option to Edit image:


...and primary parents/carers have the same Edit image option in the My Children section.


Managing event and booking images
Event and booking images are re-proportioned to show in the My Events section of My ChurchSuite in a 16:9 aspect ratio, but will show in their original aspect ratio on the event page and booking page. To ensure that important information or details of the image are not clipped or distorted, make sure that all event and booking images are saved in a 16:9 aspect ratio (e.g. 1280x720px). For help in calculating the aspect ratio of event images, use this handy calculator.
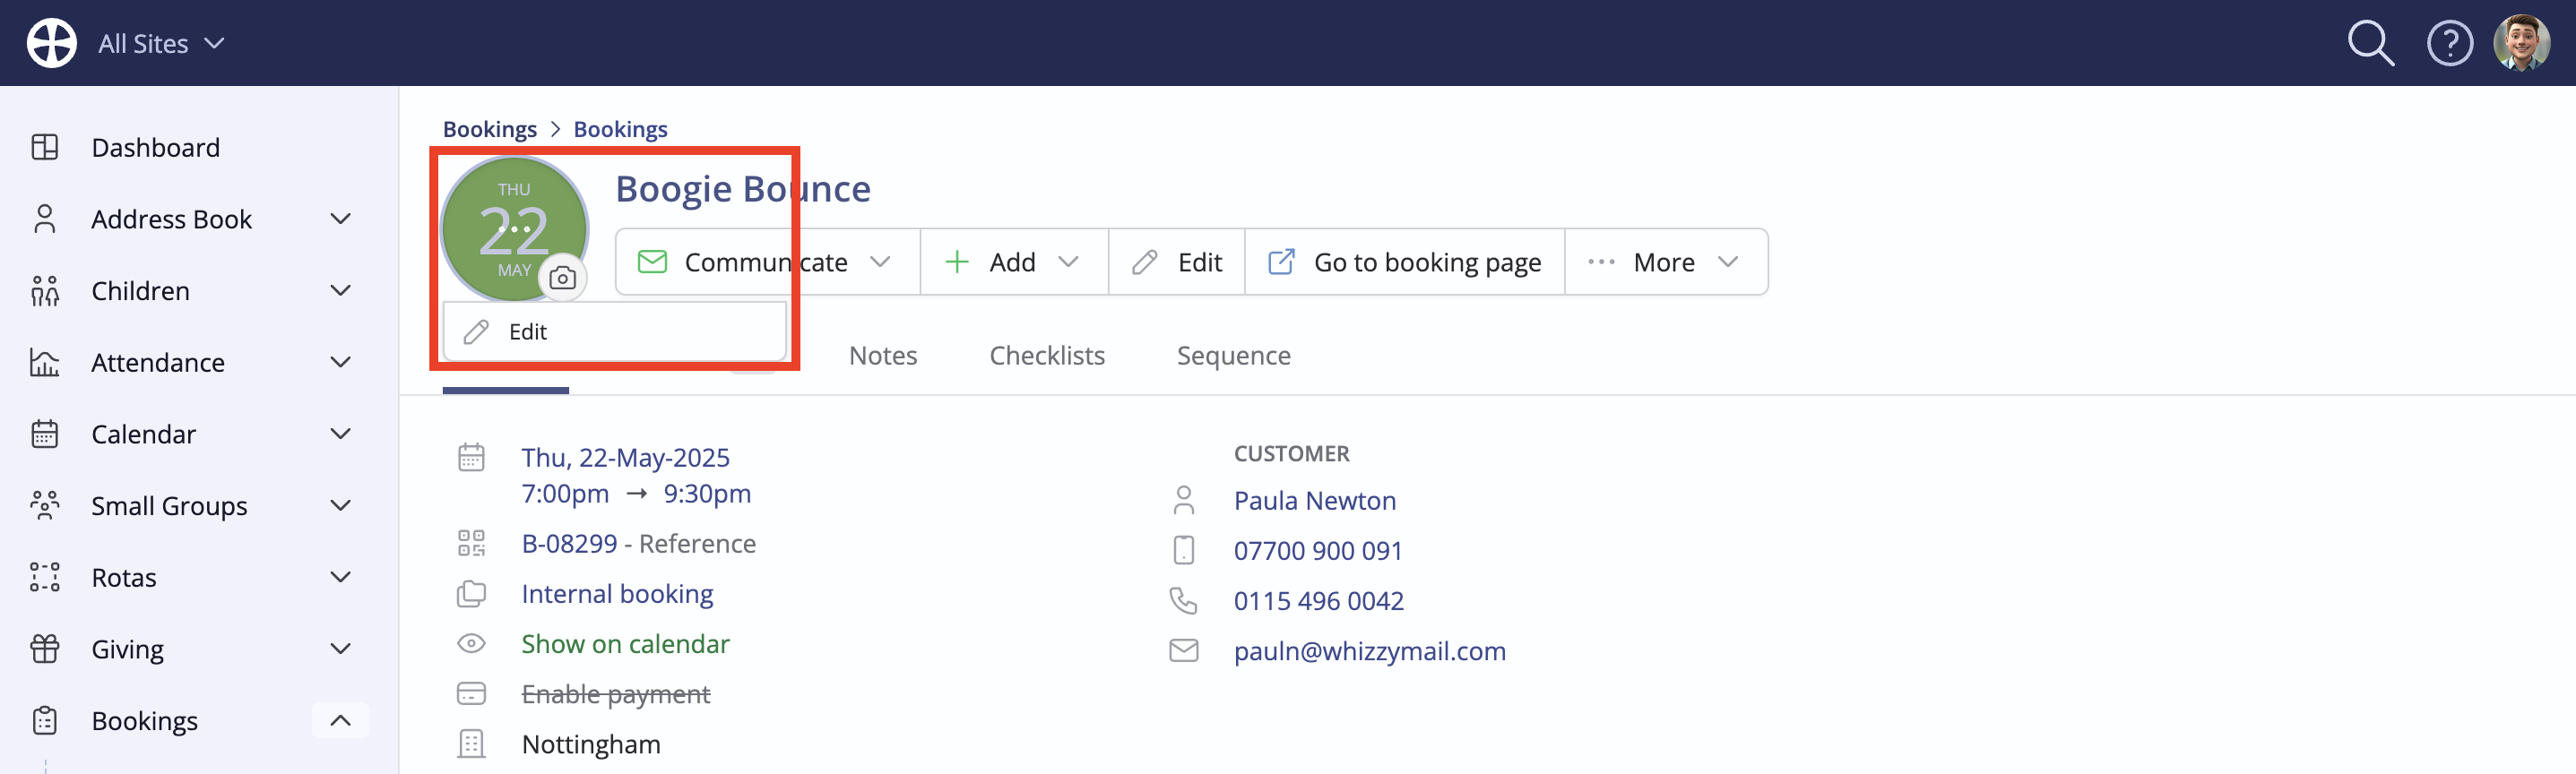
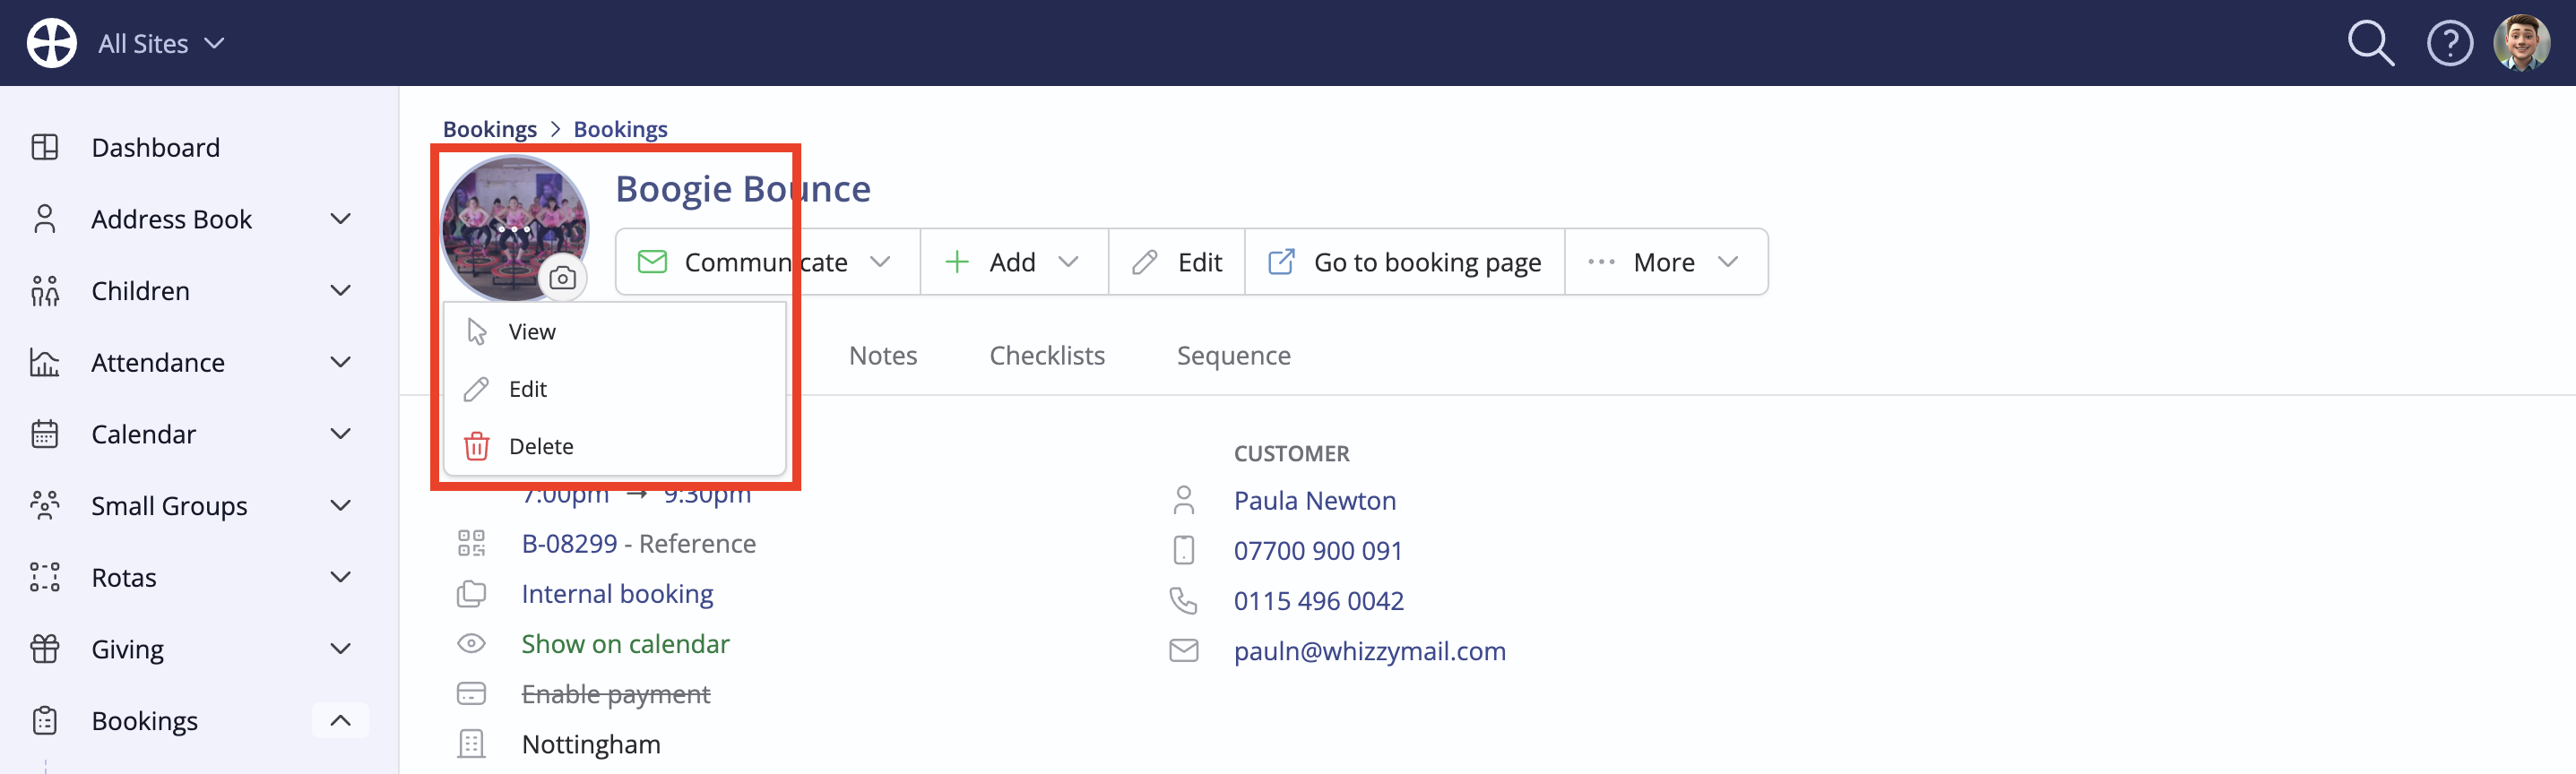
From an event or booking View, click on the image avatar and select Edit.
On the Edit image pop-up, select between Replace sequence image and Replace image. Replacing a sequence image will apply to all future dates in the sequence from today. Replacing an event/booking image will apply the image to the current event/booking date being edited. Drag and drop a suitably prepared image onto the drop zone or click to browse and choose the image file.
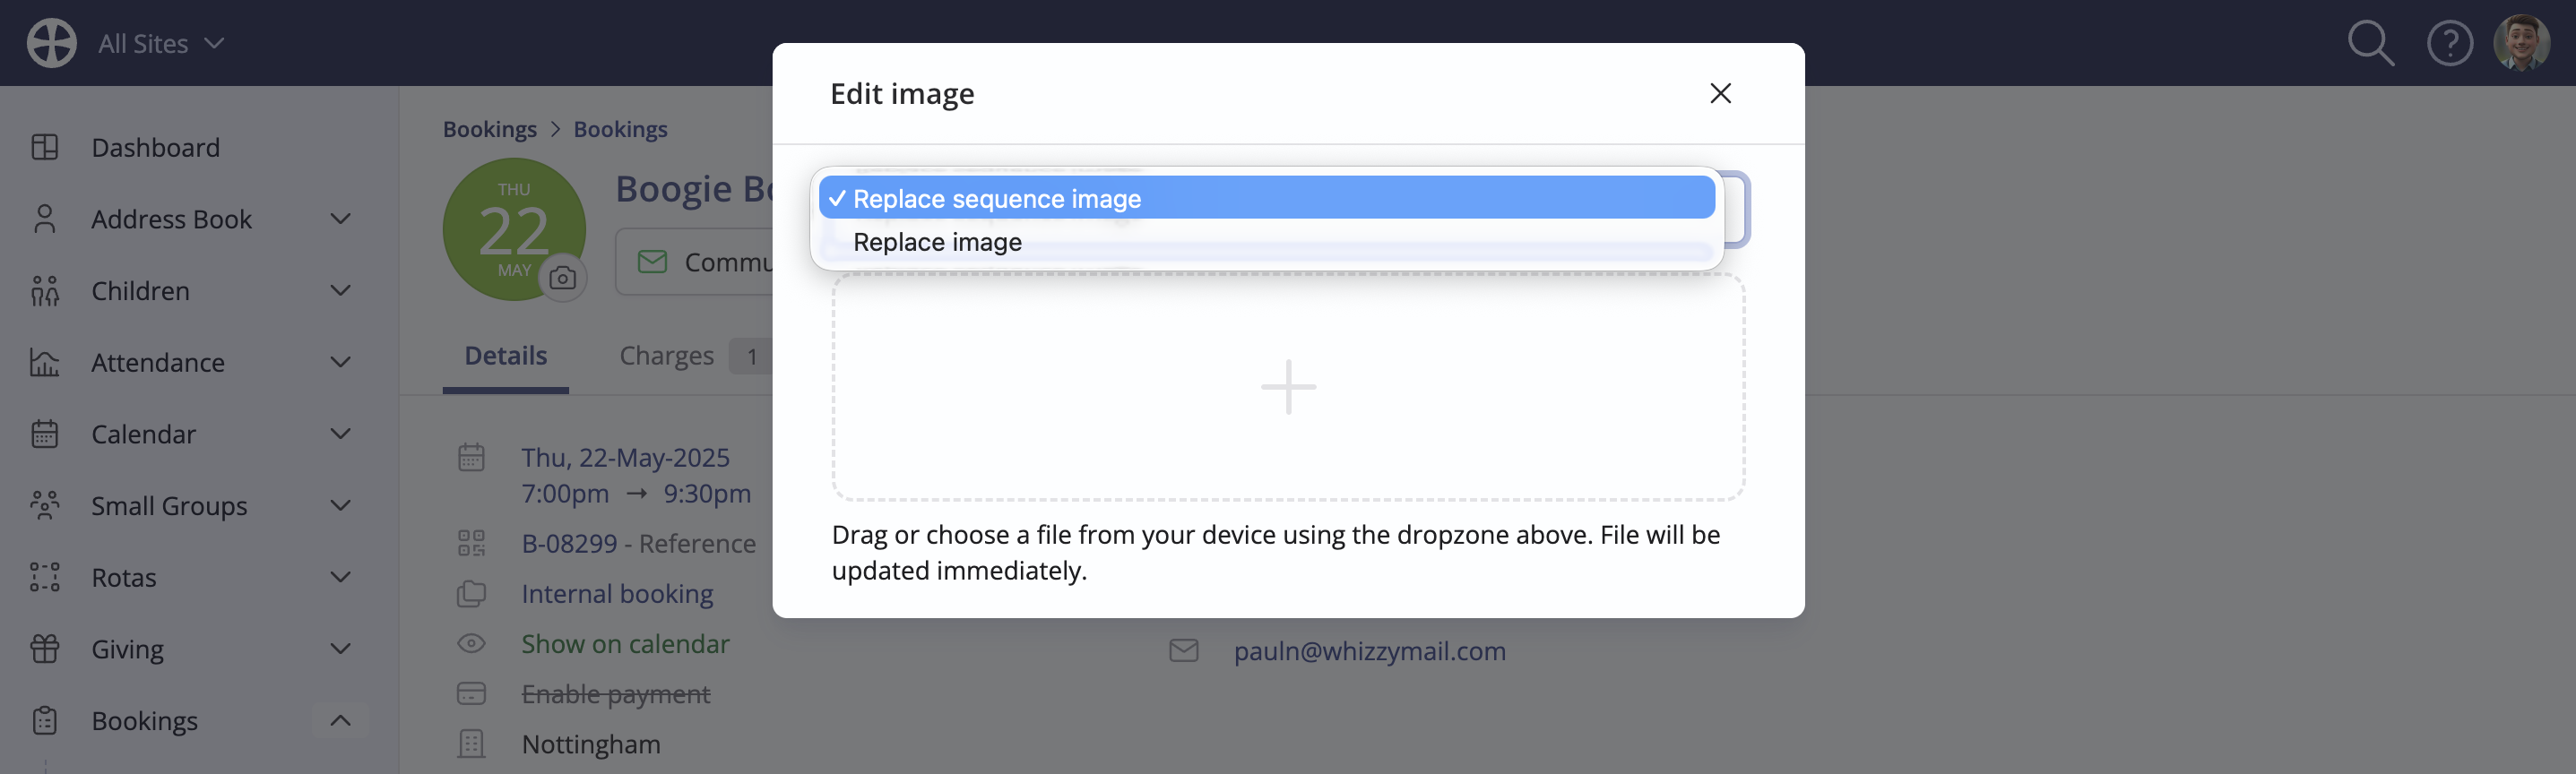
The image is uploaded and immediately applied—job done! When clicking the image avatar again, note the additional image actions to View and Delete an image.
A note about event/booking images
ChurchSuite uses a third-party tool for uploading event and booking images. Uploaded images are retained for three years from the date of upload, after which time they are automatically deleted. To avoid broken image links, you will need to re-upload any images that you embed or attach to Preset emails.
Managing small group images
Small group images are re-proportioned to show in the My Groups section of My ChurchSuite in a 4:3 aspect ratio, but will show in their original aspect ratio on the group page. To ensure that important information or details of the image are not clipped or distorted, make sure that all group images are saved in a 4:3 aspect ratio (e.g. 1280x960px). For help in calculating the aspect ratio of group images, use this handy calculator.
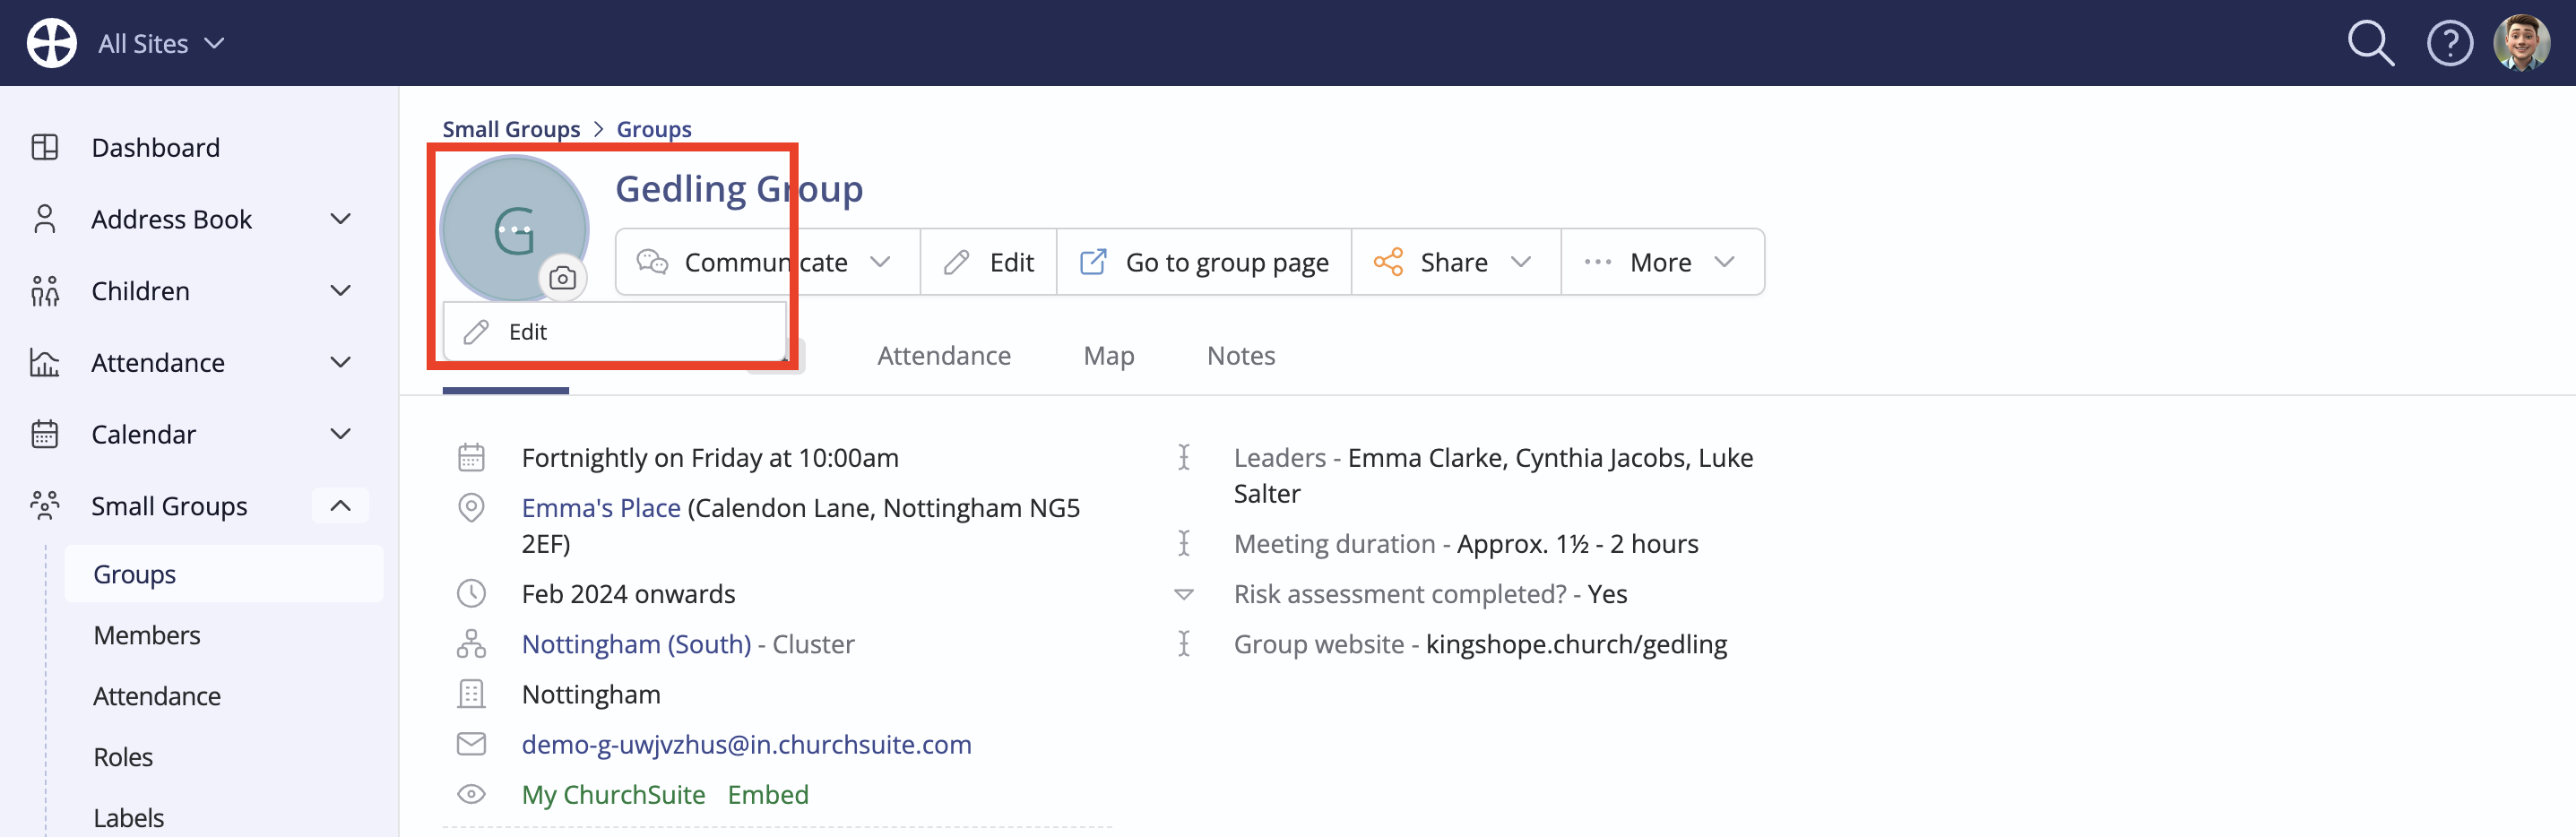
From a group View, click on the image avatar and select Edit.
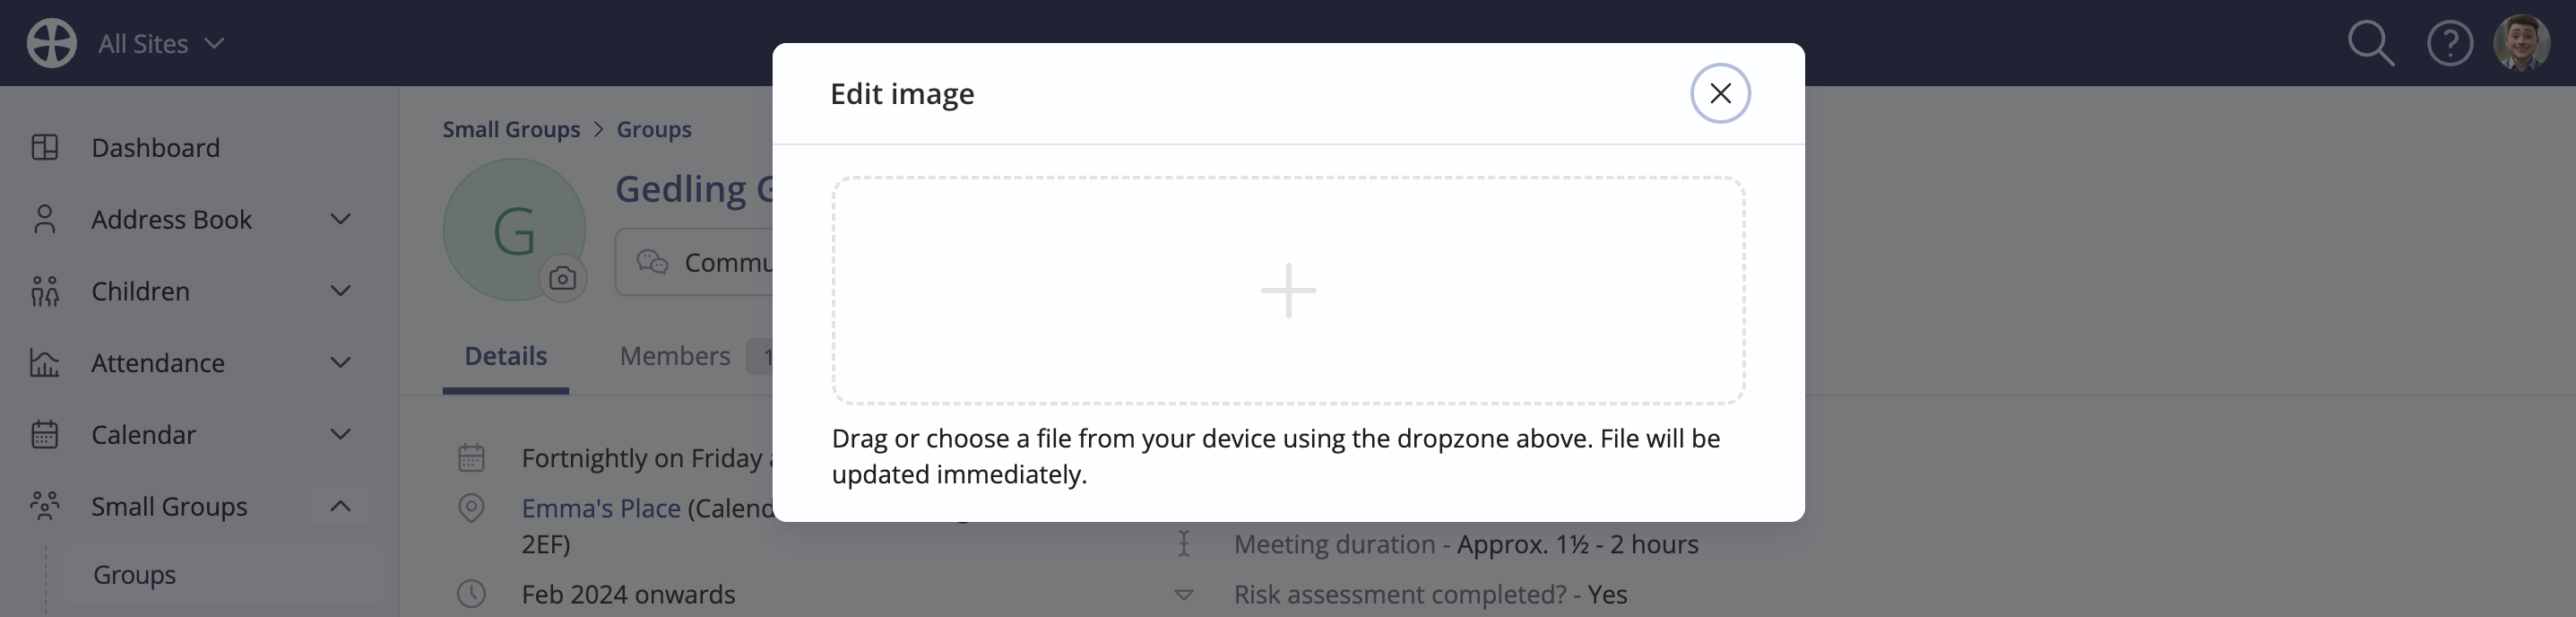
On the Edit image pop-up, drag and drop a suitably prepared image onto the drop zone or click to browse and choose the image file.
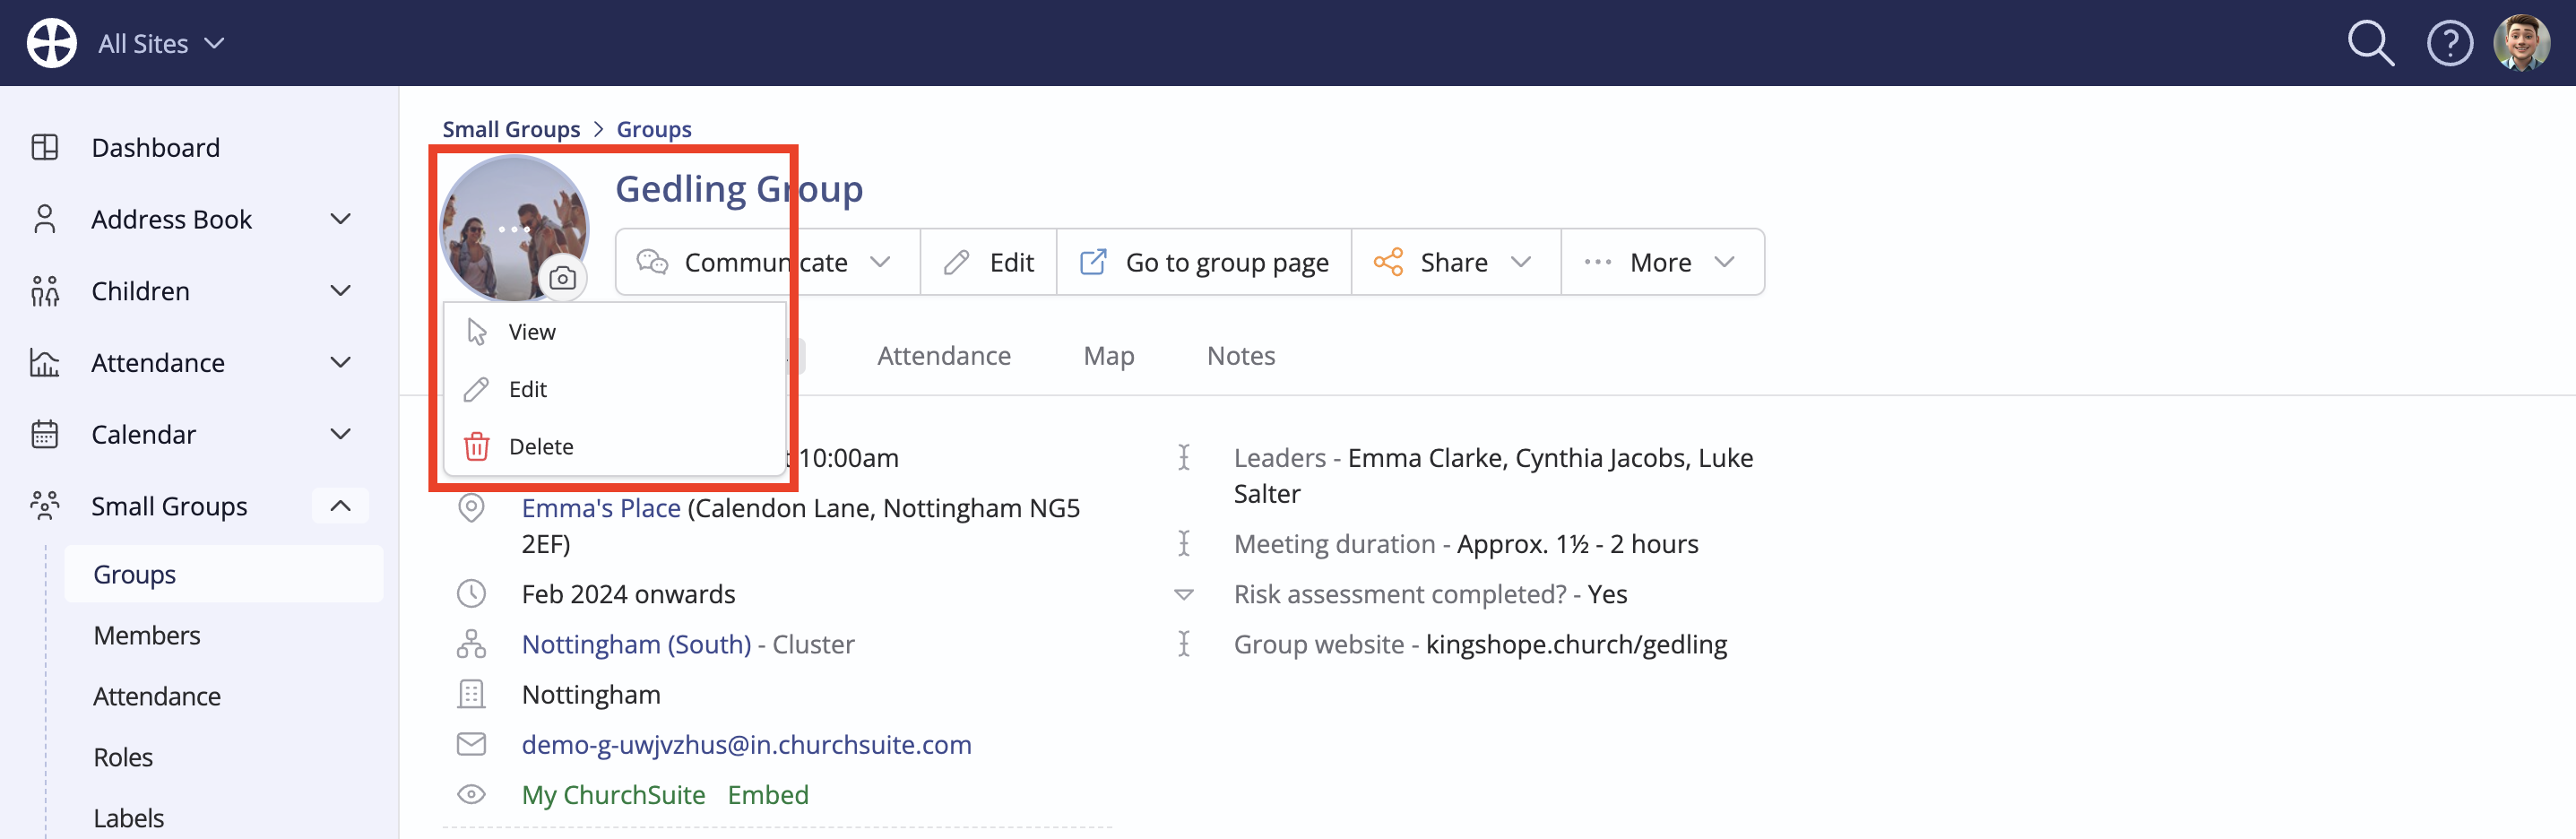
The image is uploaded and immediately applied—job done! When clicking the image avatar again, note the additional image actions to View and Delete an image.
Managing ministry images
Ministry images are rendered as circular avatars at a 1:1 aspect ratio (square, taken from the centre of the image) in the My Rotas section of My ChurchSuite, but will show in their original aspect ratio on a rota View. For best results and to ensure that important information or details of the image are not clipped or distorted, make sure that all ministry images are saved in a 16:9 aspect ratio (e.g. 1280x720px) and that important image information is kept away from the corners of the image. For help in calculating the aspect ratio of ministry images, use this handy calculator.
Here's an example of how a ministry image is rendered in the My Rotas list:

Here's how the image is rendered when viewing the rota, shown in its original aspect ratio:

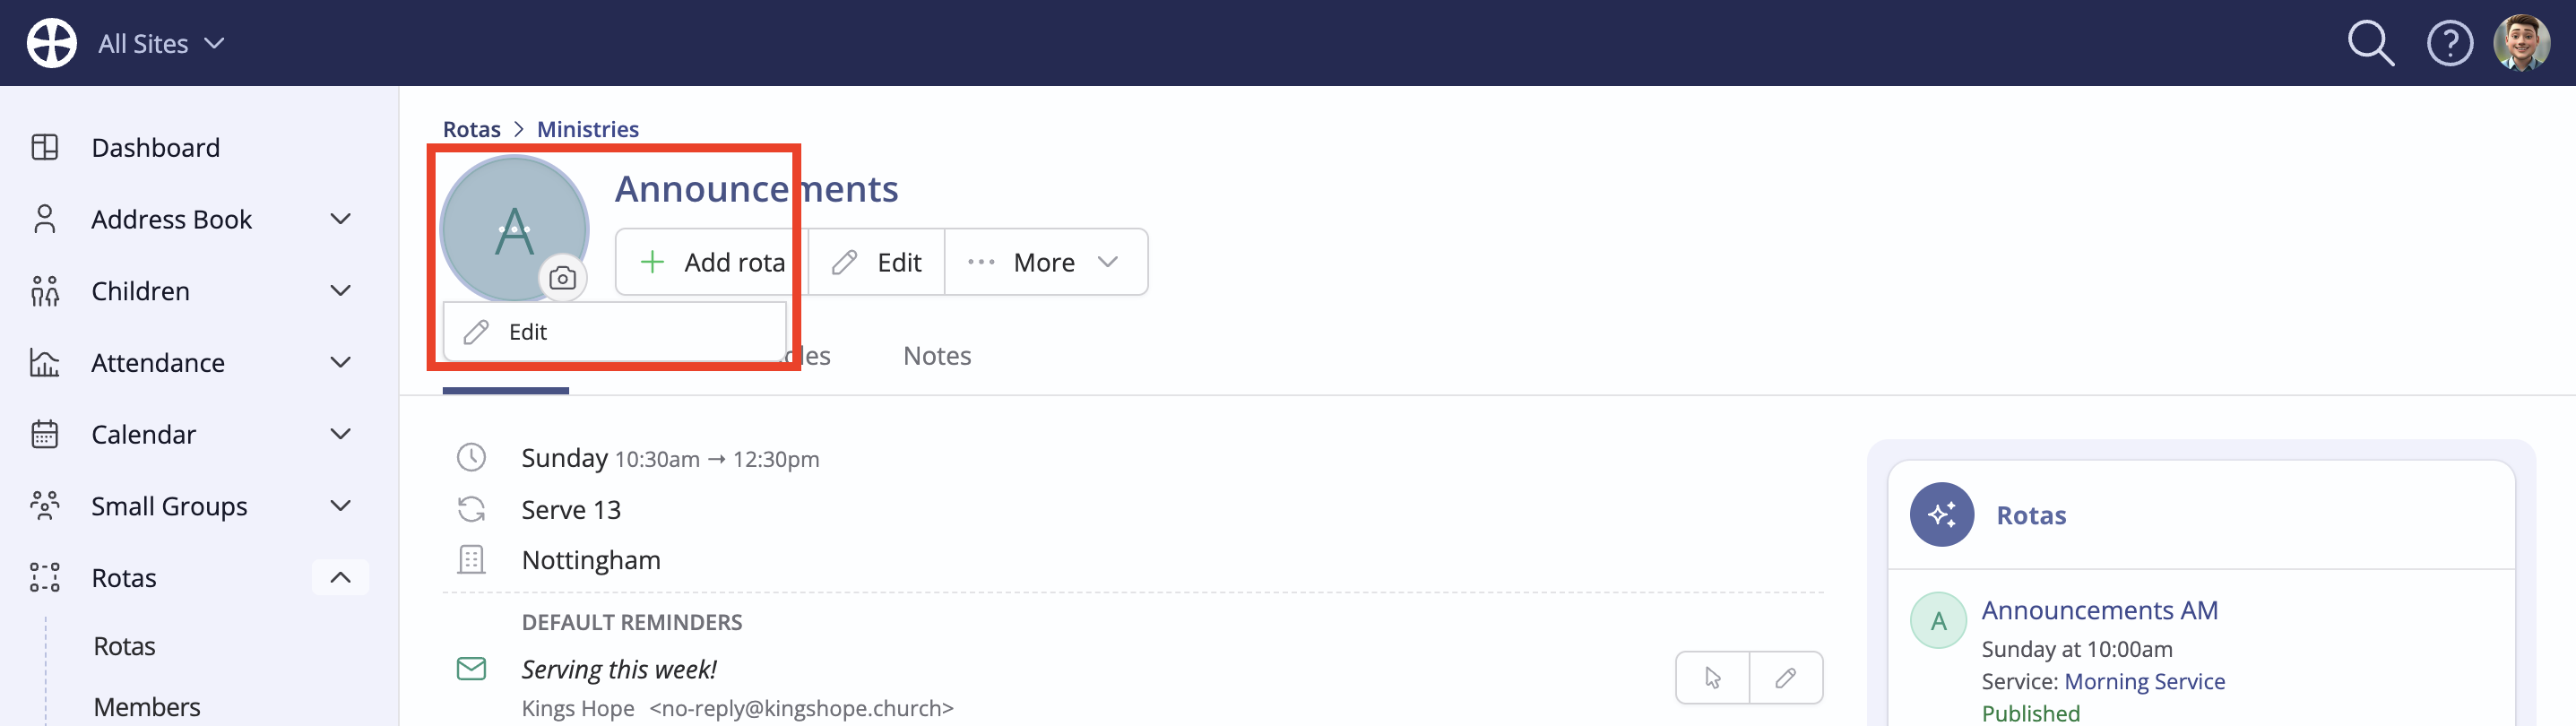
To upload a ministry image, head into the Ministries section of the Rotas module. From a ministry View, click on the image avatar and select Edit.
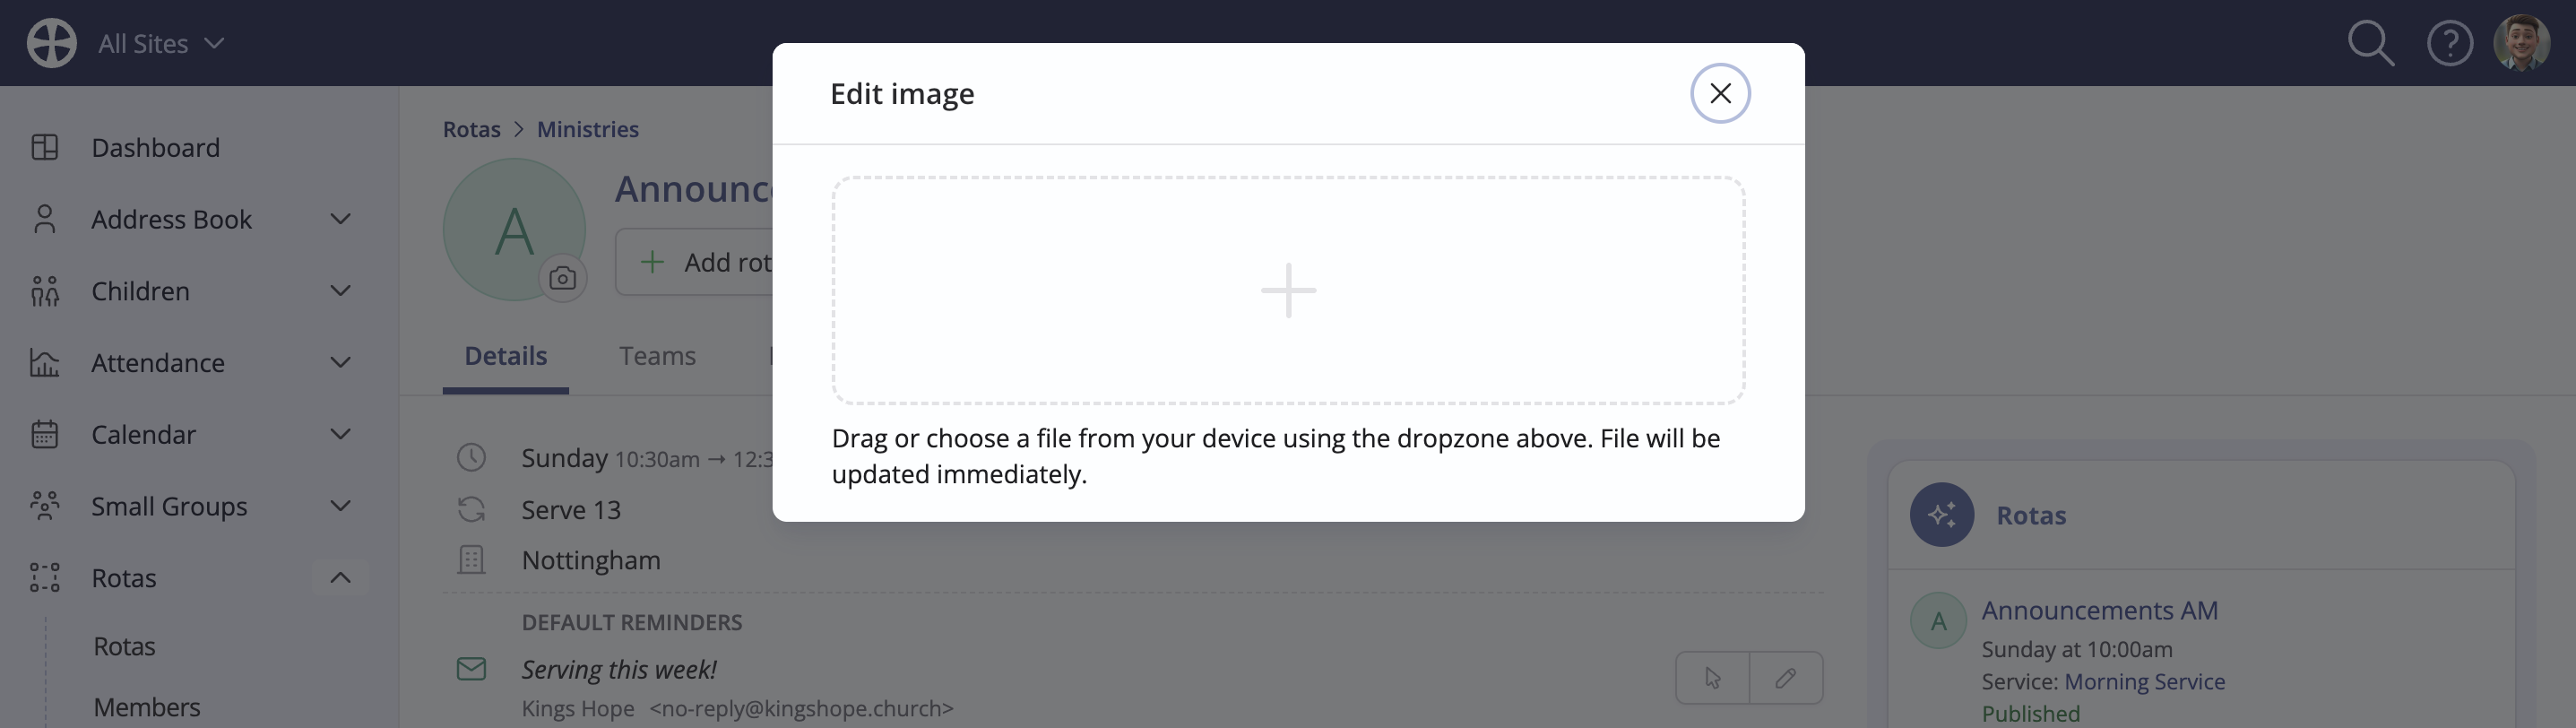
On the Edit image pop-up, drag and drop a suitably prepared image onto the drop zone or click to browse and choose the image file.
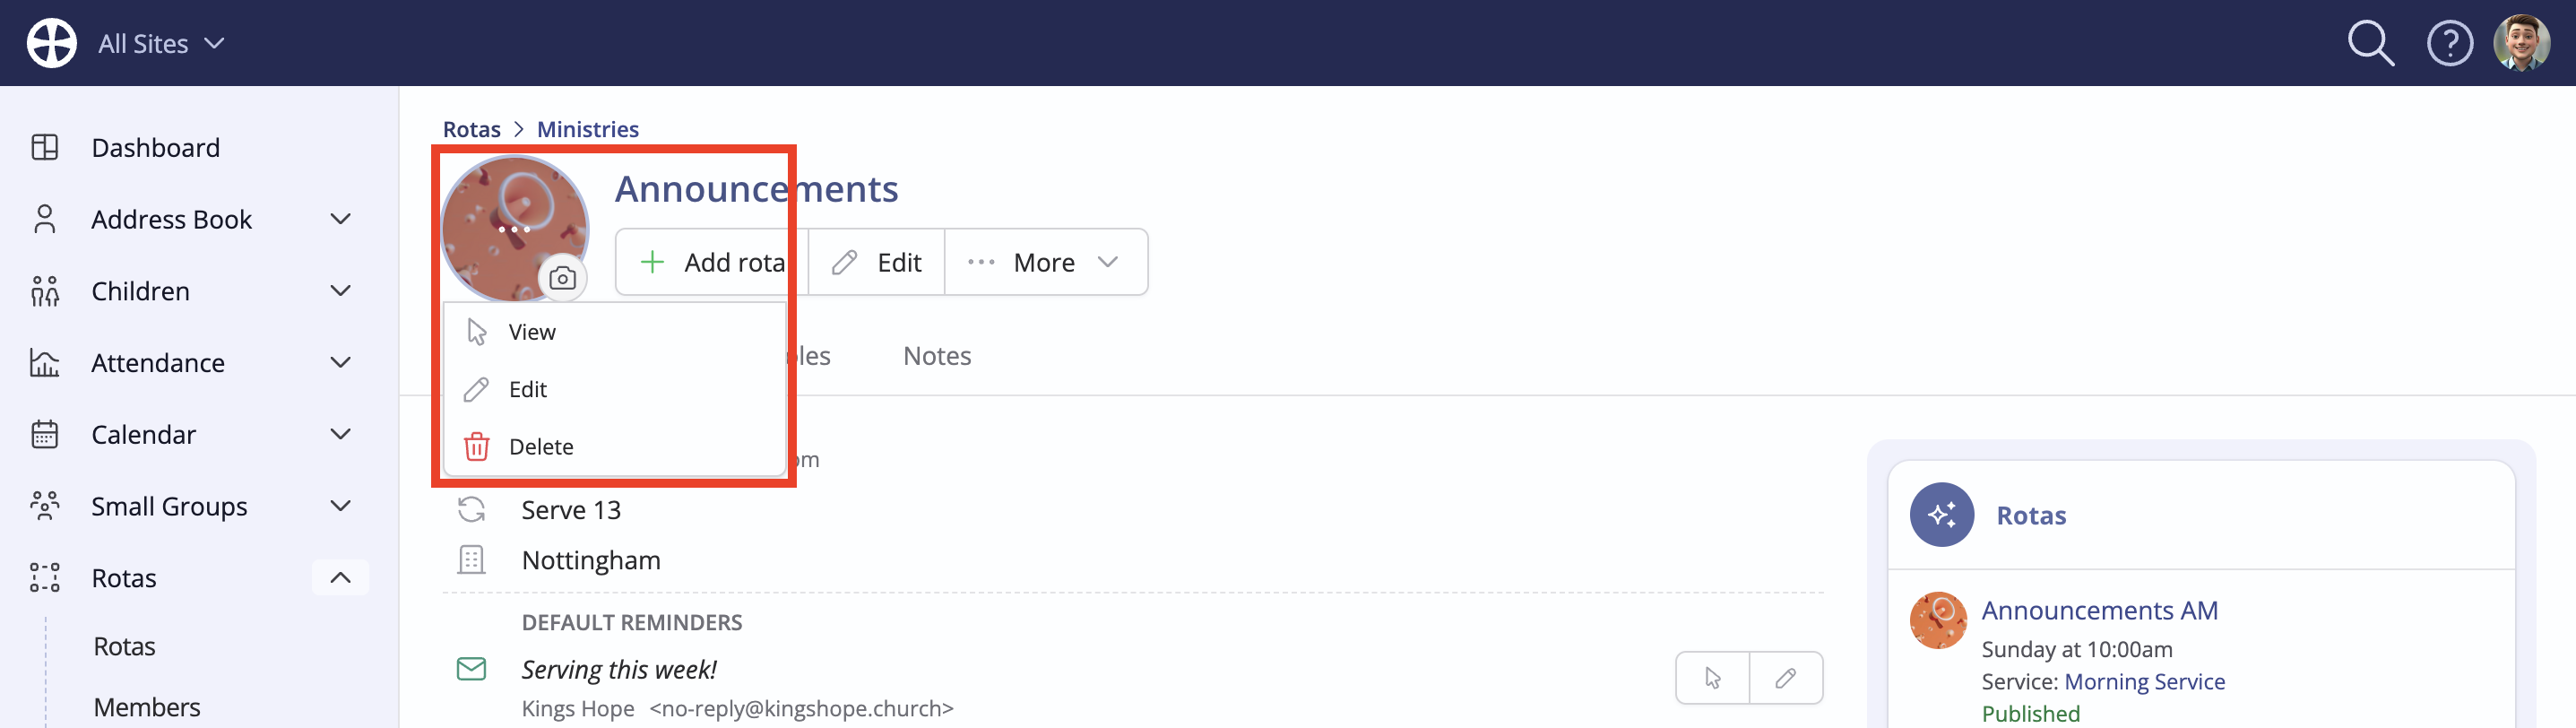
The image is uploaded and immediately applied—job done! When clicking the image avatar again, note the additional image actions to View and Delete an image.
Managing fund images
Fund images are re-proportioned to show on Fund pages in a 16:9 aspect ratio. To ensure that important information or details of the image are not clipped or distorted, make sure that all group images are saved in a 16:9 aspect ratio (e.g., 1280x720px). Use this handy calculator to help calculate the aspect ratio of group images.
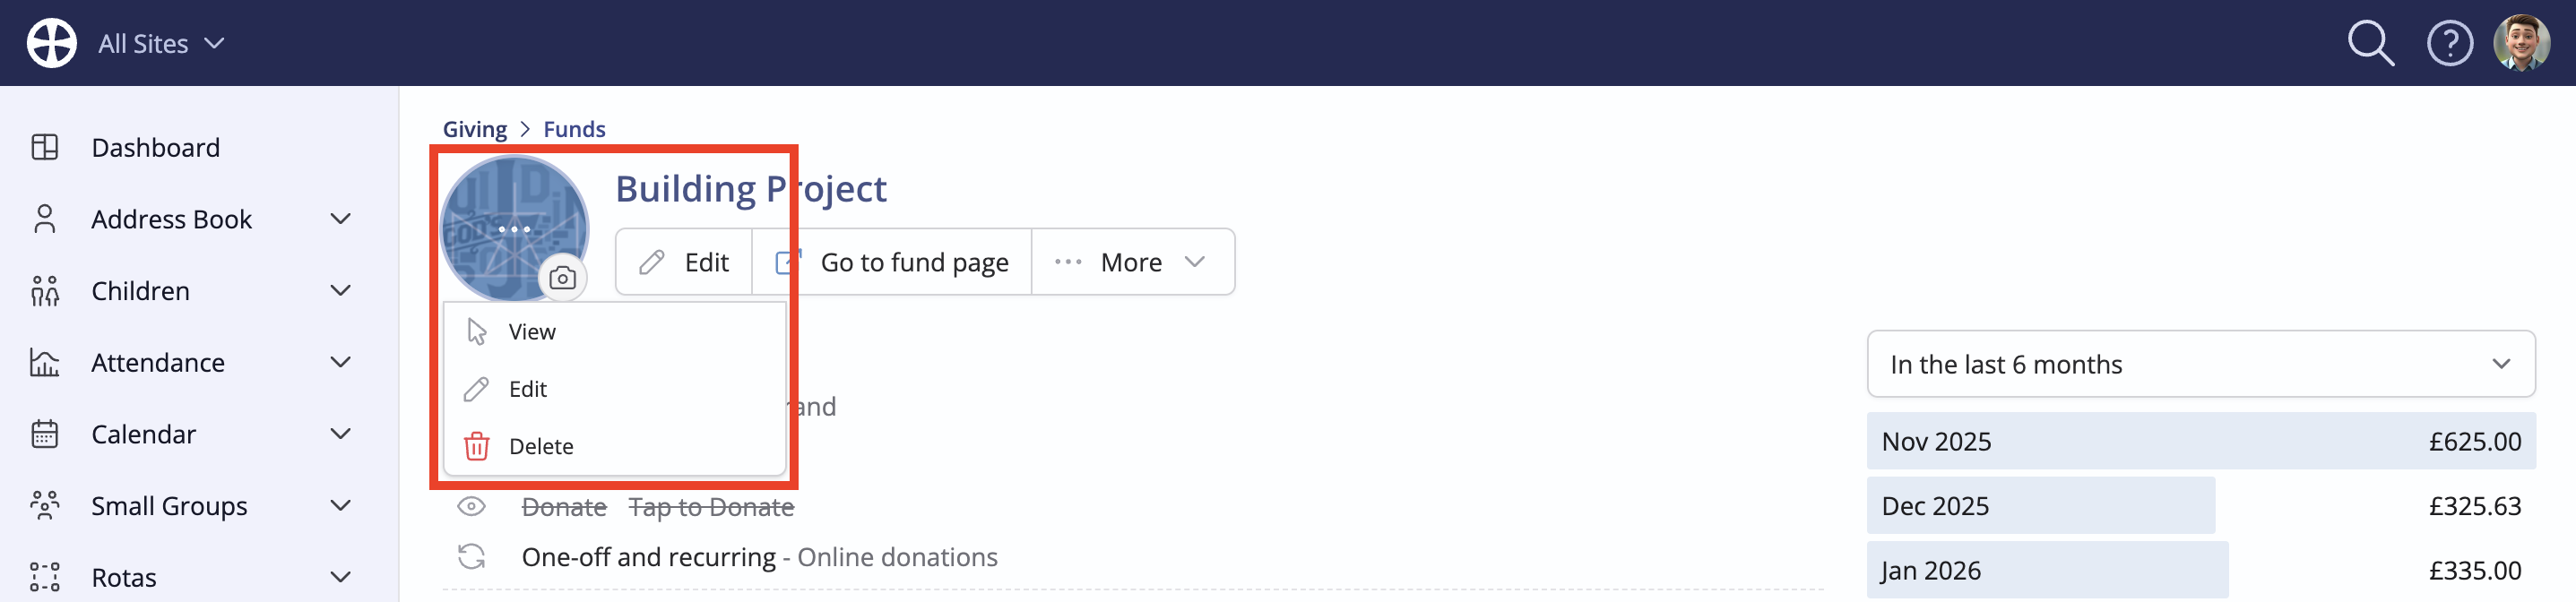
Here's an example of how a fund image is rendered on a fund page:

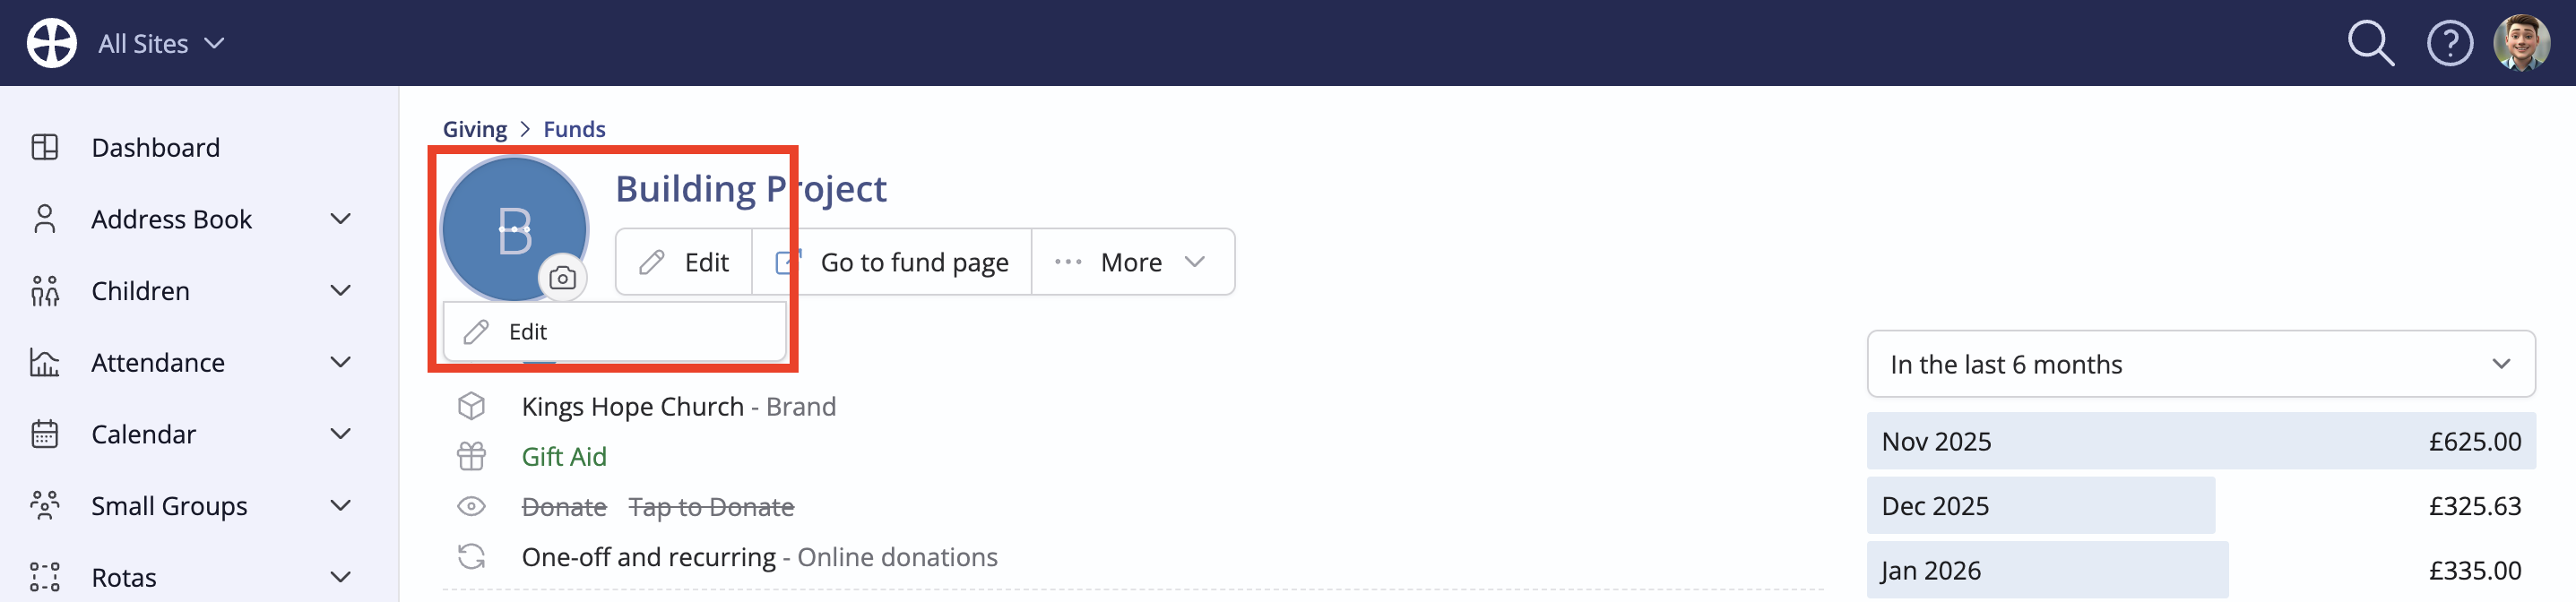
To upload a fund image, head into the Funds section of the Giving module. From a fund View, click on the image avatar and select Edit.
On the Edit image pop-up, drag and drop a suitably prepared image onto the drop zone or click to browse and choose the image file.

The image is uploaded and immediately applied—job done! When clicking the image avatar again, note the additional image actions to View and Delete an image.
Managing organisation images
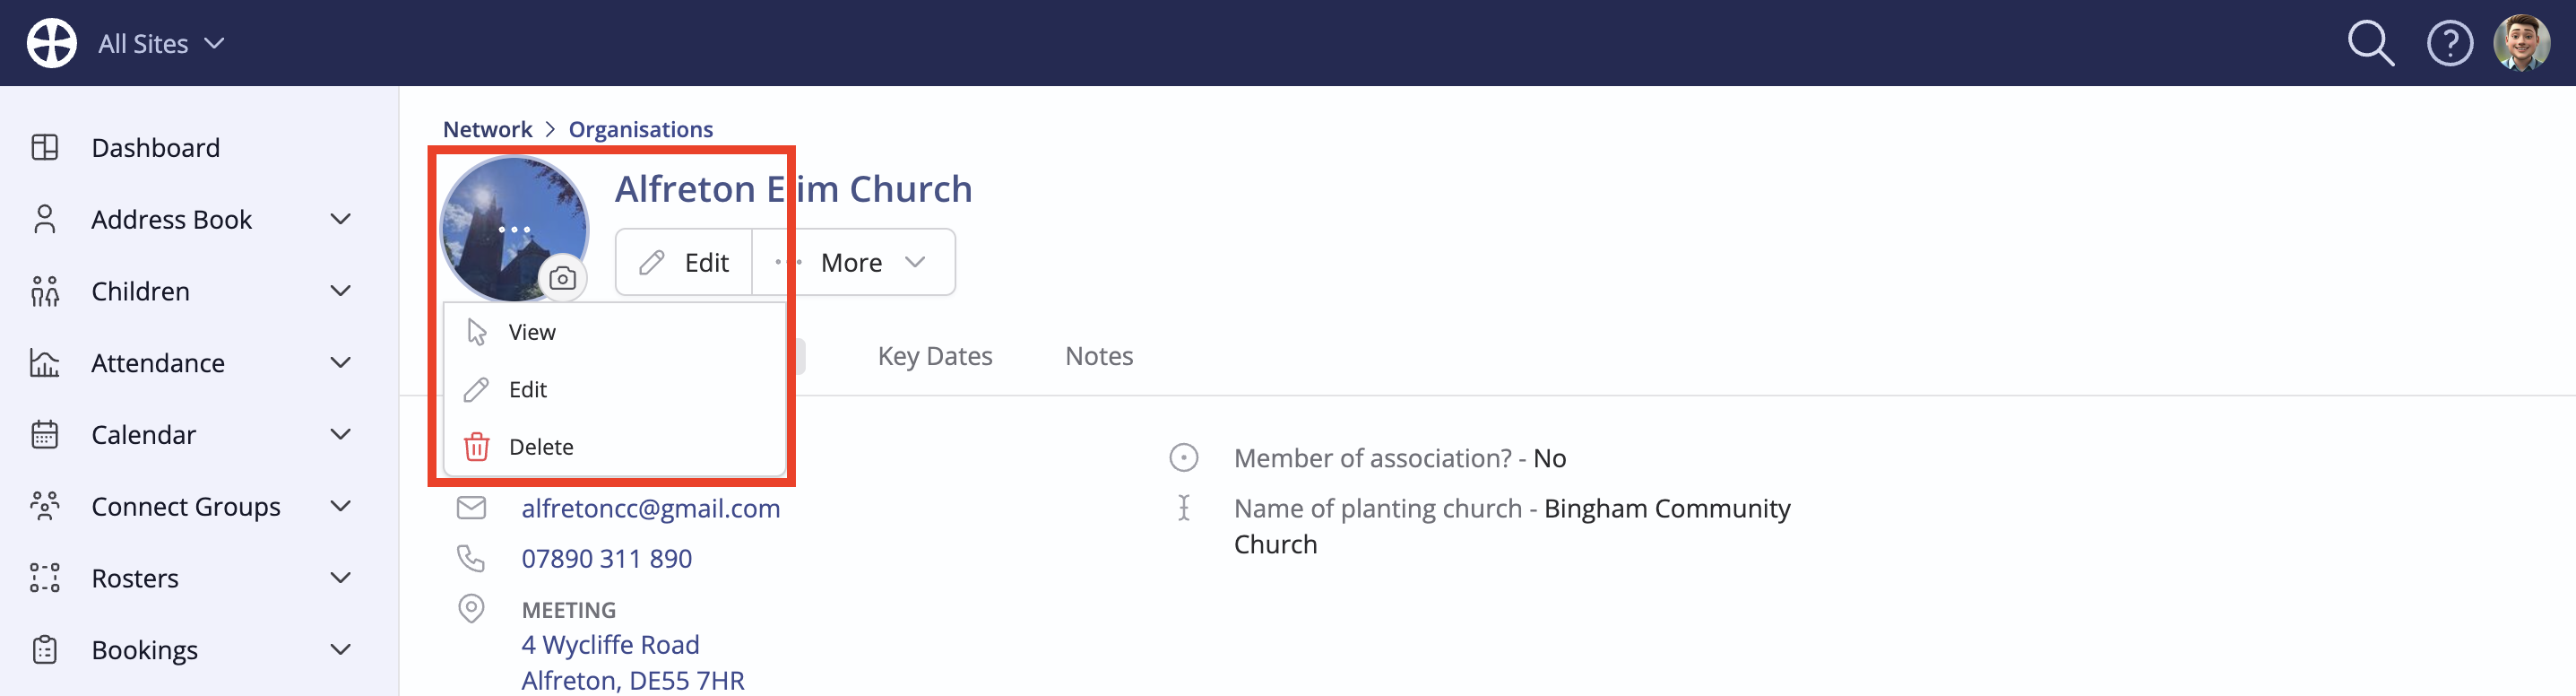
Images for organisations show in the Network module's organisations index and on each organisation's view page. To upload an organisation image, head into the Organisations section of the Network module. From an organisation View, click on the image avatar and select Edit.

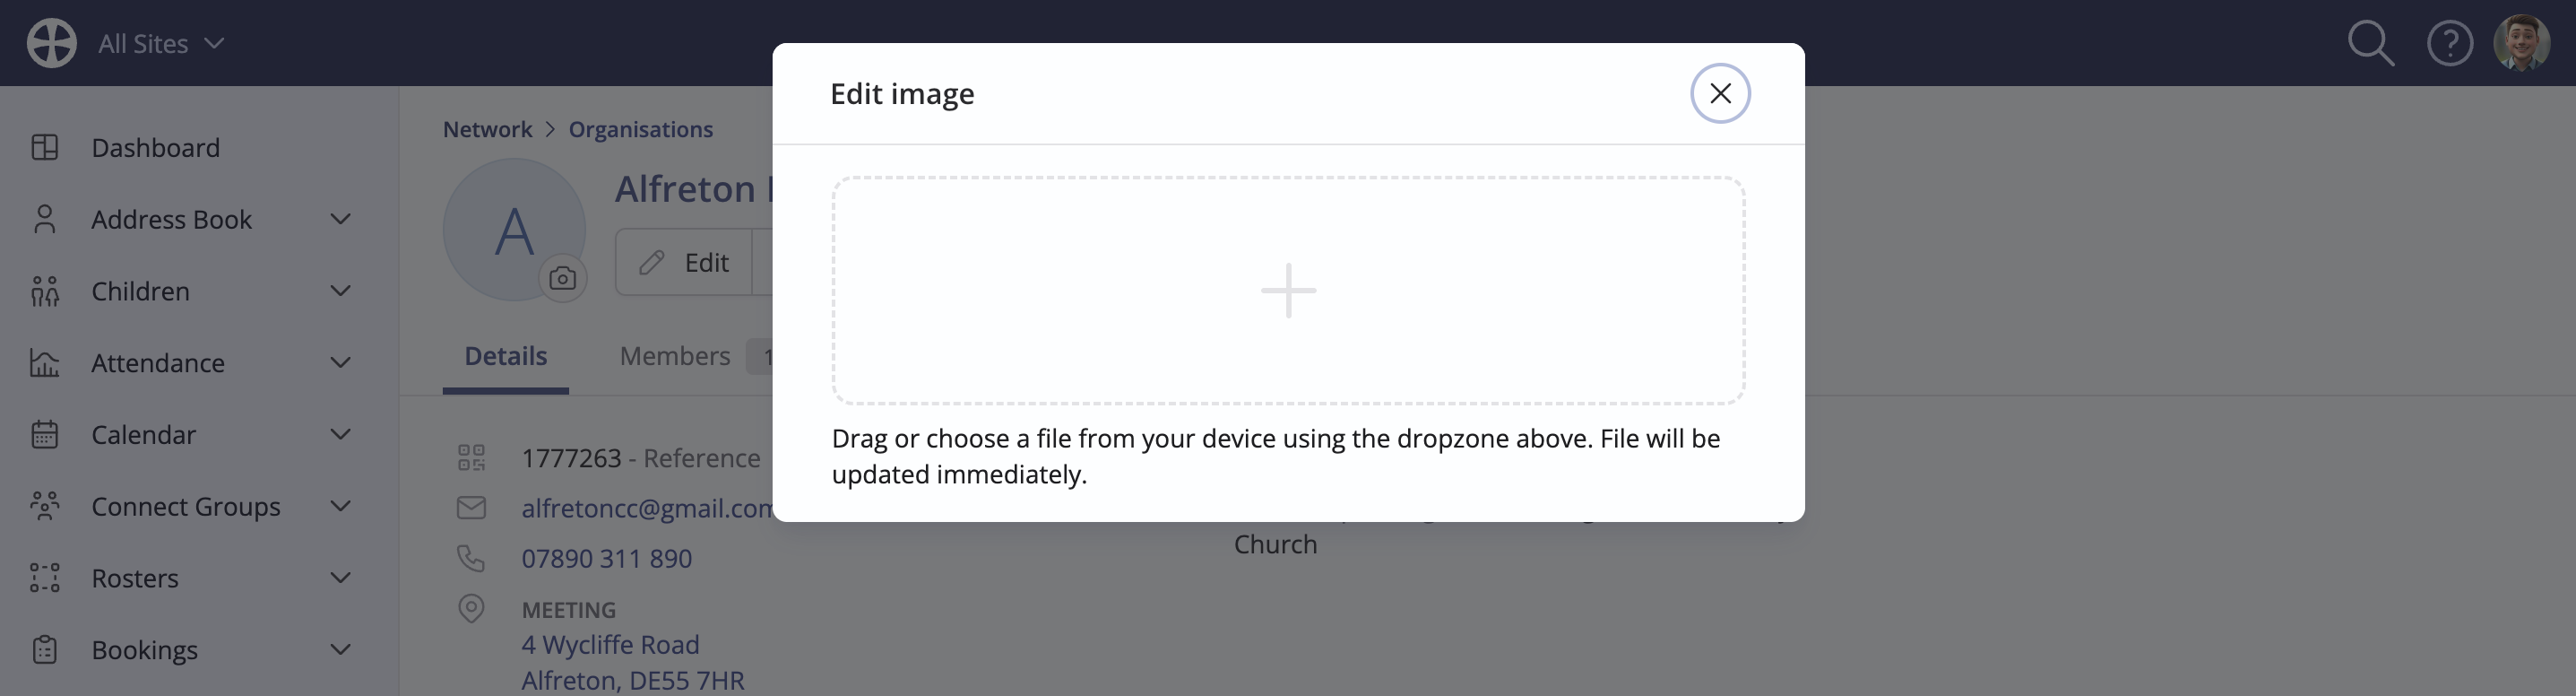
On the Edit image pop-up, drag and drop a suitably prepared image onto the drop zone or click to browse and choose the image file.
The image is uploaded and immediately applied—job done! When clicking the image avatar again, note the additional image actions to View and Delete an image.
FAQs
- What about safeguarding issues around child images?
Images uploaded to the Children module are only visible to ChurchSuite Users who have permission to access that module; within My ChurchSuite, only linked parents/carers can see their child's photos. Children are not included in the "Search for others" functionality; however, for children in small groups and serving on rotas, their name and an avatar of their profile photo will appear in group and rota member lists in My ChurchSuite. A child's avatar profile image is also shown within the Child Check-in system - shown next to their name when checking in. Child profile photos are not displayed on child name badges, parent pick-up badges or room badges.
- What about Data Protection?
There are many pastoral and practical benefits to having profile images for your members. However, as with any system used to store or process personal information, this should be done in compliance with your Data Protection Policy. Data Controllers are responsible for clearly communicating to members and users how personal information is processed and the lawful basis for processing each type of data. If storing people's images, we recommend that your Data Protection Policy and Privacy Notice explicitly explain how images are used in your context.
In the Children Module, there is functionality for primary parents/carers to manage Photo/Video consent for their children. Child profile images should be processed in accordance with those parental settings. Similar functionality can also be achieved in the Address Book - for adult Photo/Video consent - using custom fields. The best practice is for members to upload and manage their profile images in My ChurchSuite rather than harvesting images from people's social media profiles without permission!)
- Can I bulk-upload Photos?
No, it is not possible to bulk-upload multiple photos to the Address Book or Children module. Photos must be uploaded on a contact-by-contact basis, either by a User or, preferably, by individuals adding their photos.