Event categories
Categories enable you to group your organisation's events, making it easier to filter a busy calendar by category to see just the information you want. Let's see what you can do with Categories.
Overview of categories
Each event added to the Calendar module is assigned to a Category. An event can only be assigned to one category. However, there's no limit to the number of categories you can have. Calendar module users will see events shown on the calendar in the category colour. You can also assign a Brand to a category so that event pages and communications for events within that category sport the brand logo, emblem and colour styling - ideal for giving youth events their distinct ministry branding, for example.
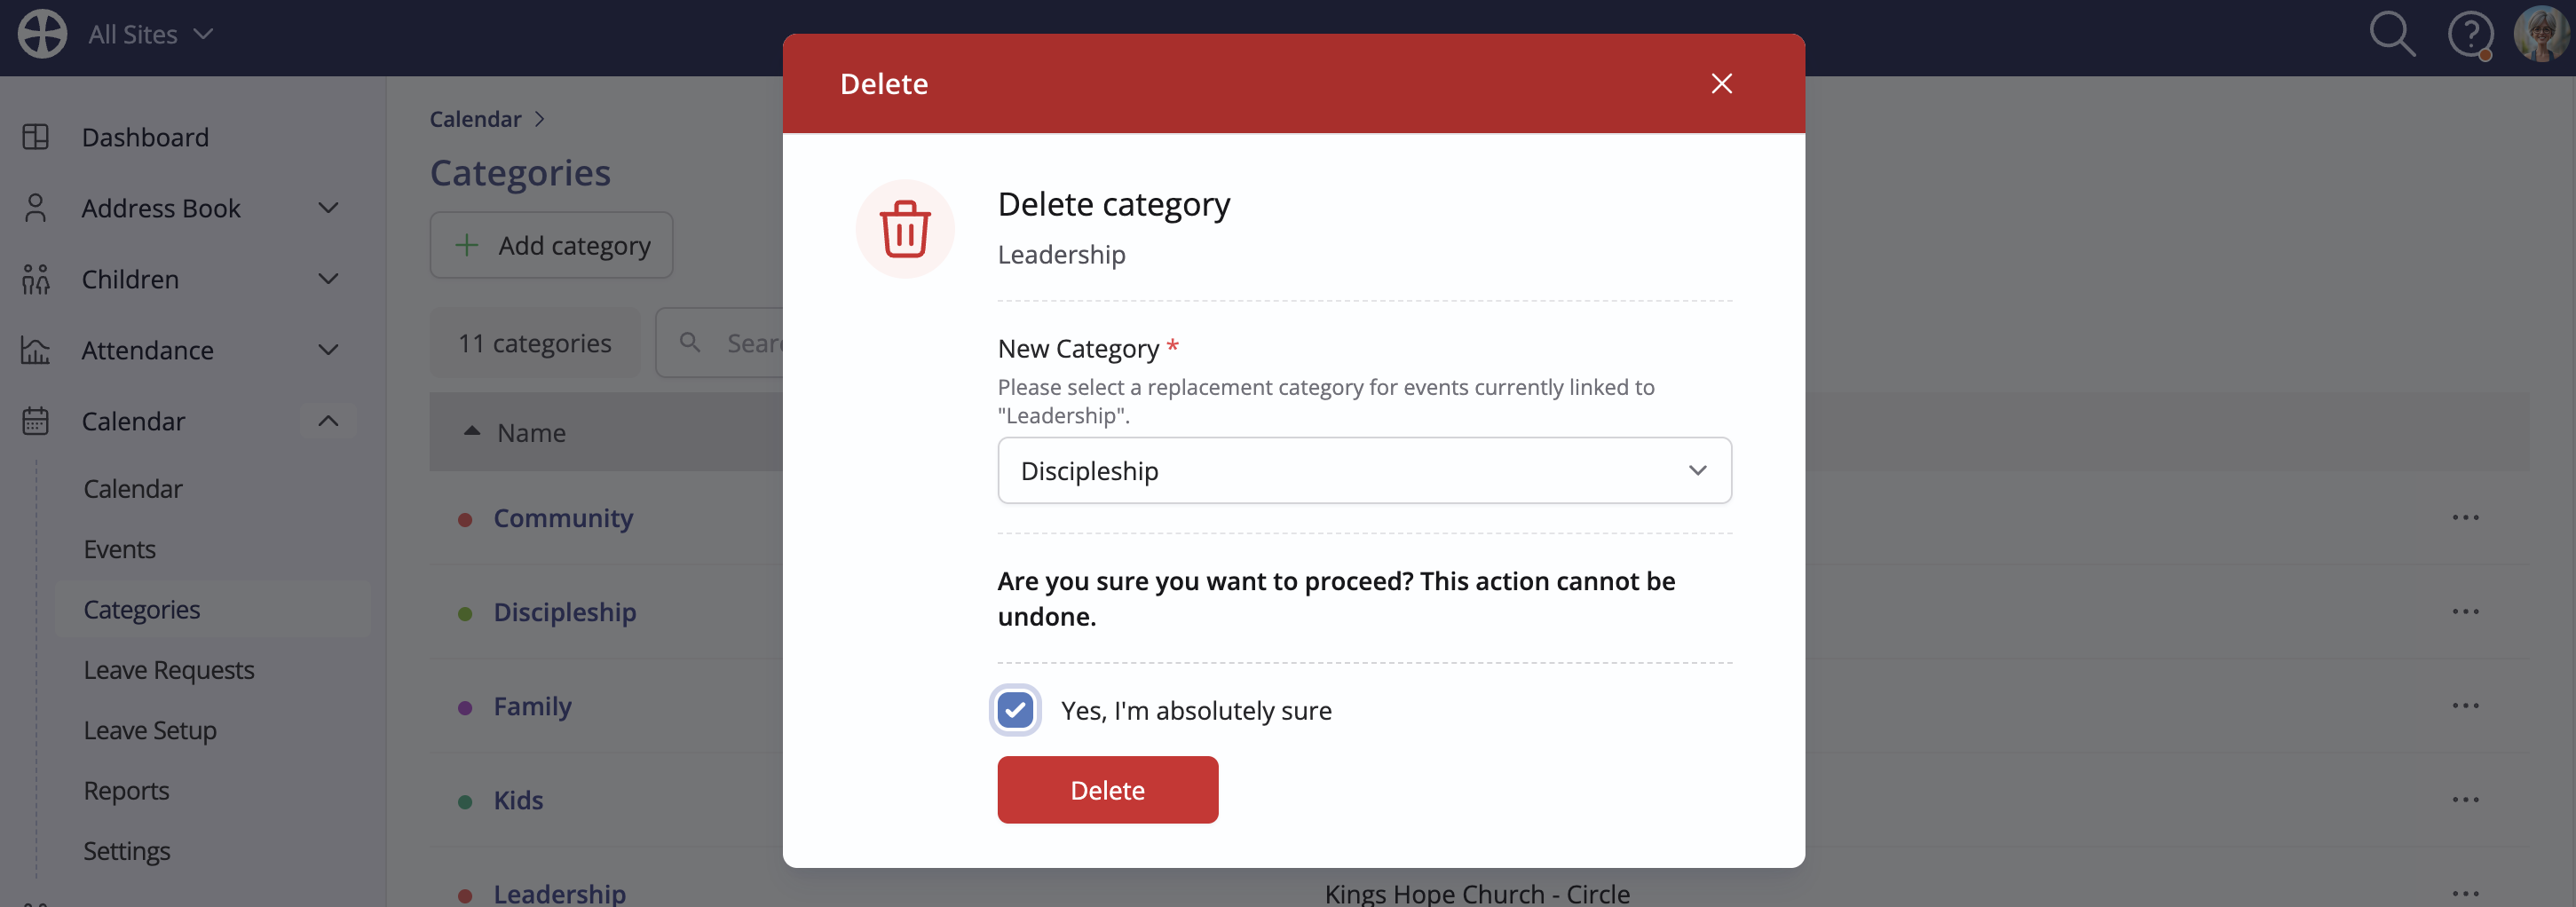
Categories have a Status. Active categories can be archived when no longer needed and set active again. Only active categories can be selected when adding or editing events. However, event lists in My ChurchSuite and Embed continue to show future events for archived categories. If deleting a category, you will be required to re-assign existing events - past and future - to an alternative category - events must always have a category. Deleting a category will never delete events.
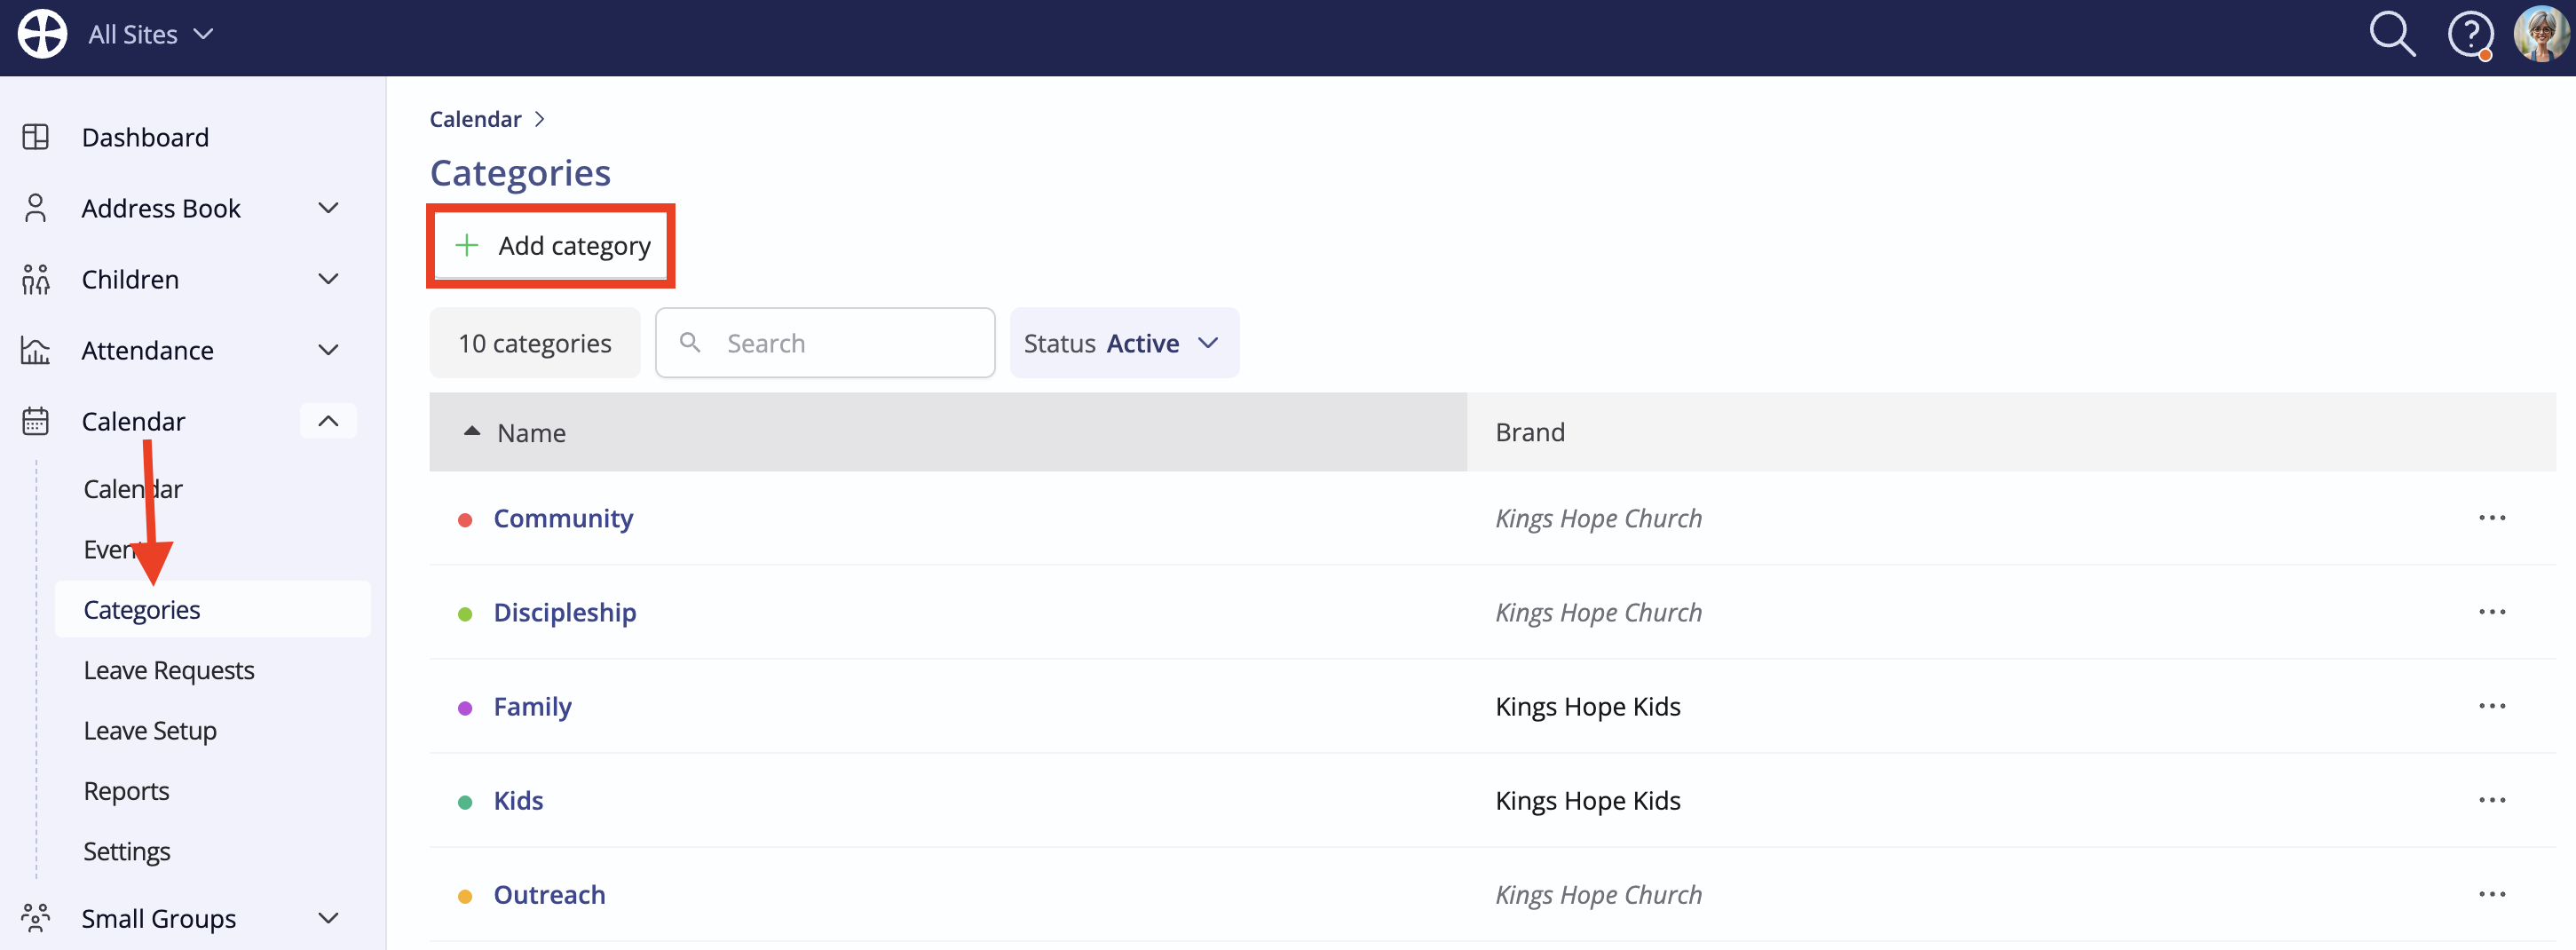
Adding categories
Working in the Categories section of the Calendar module, click Add category.
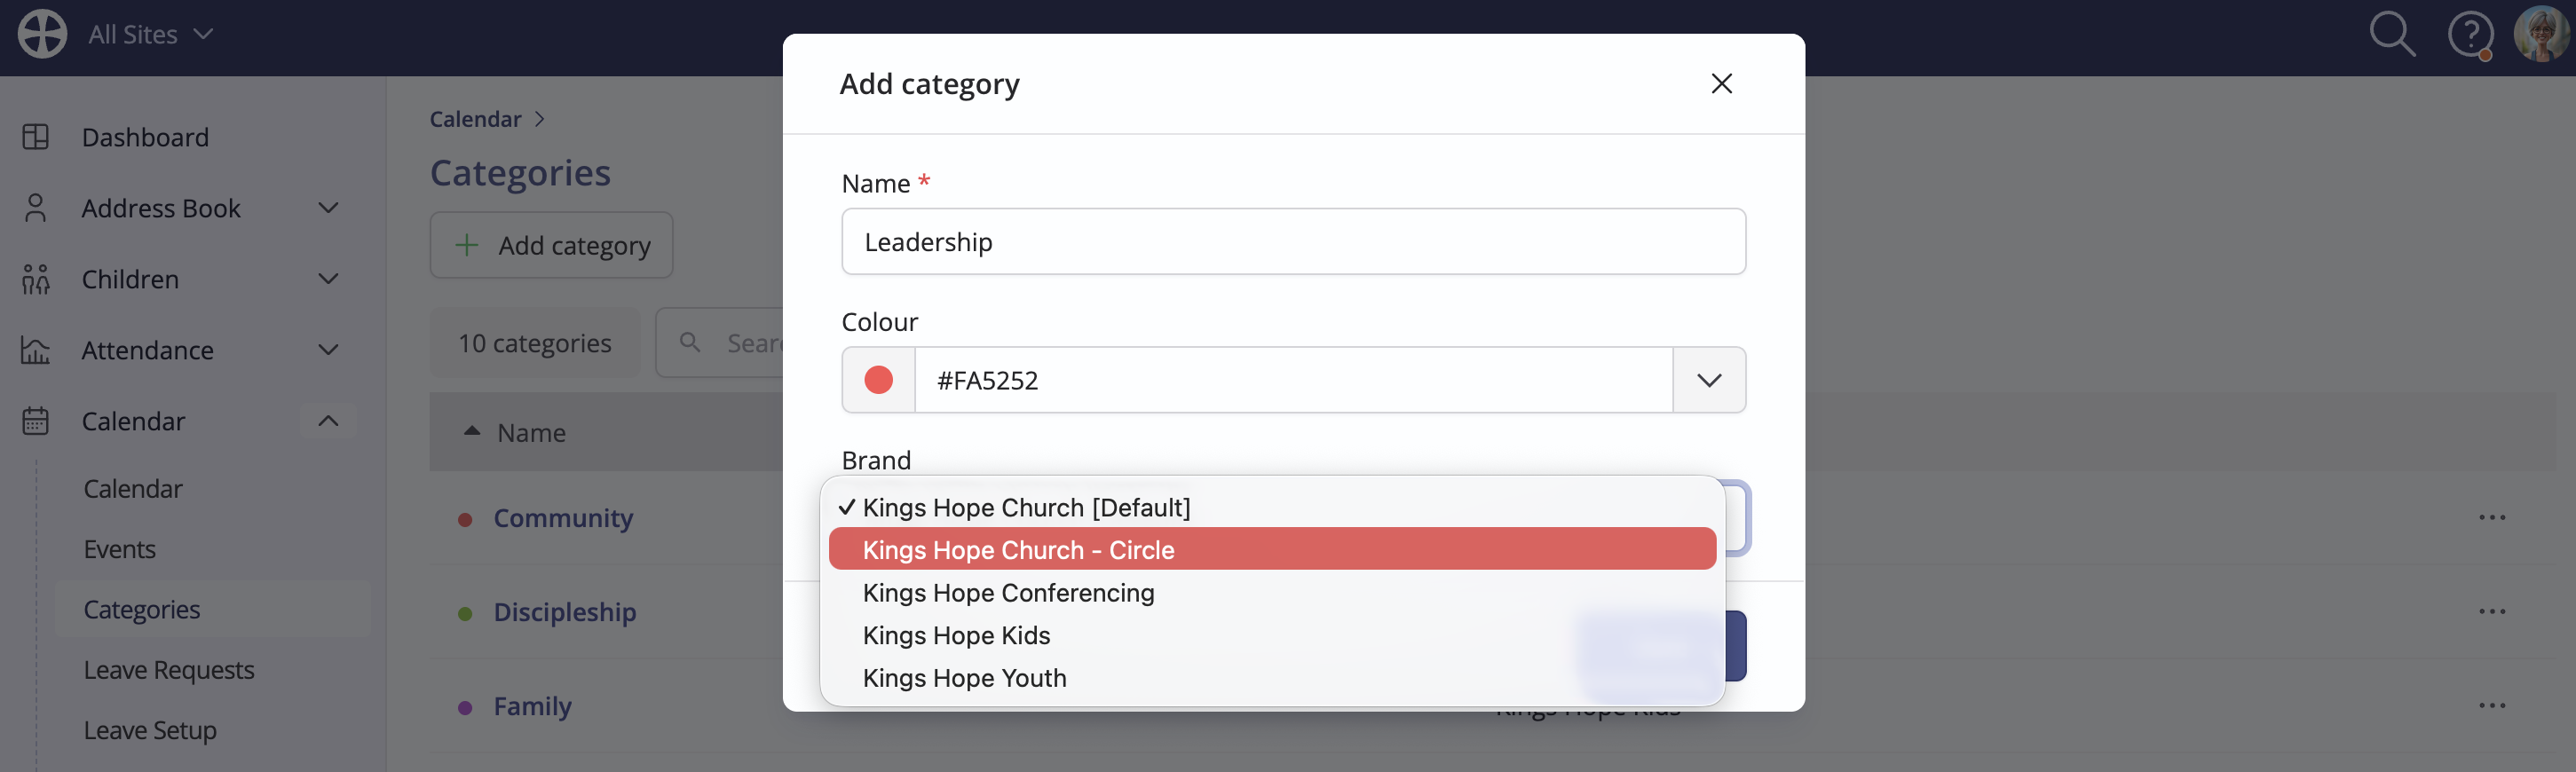
On the Add category pop-up, enter a suitable category Name - one that others will easily understand the purpose of. It may be helpful to remember that categories are ordered alphabetically and cannot be further ordered. Choose a category Colour, which determines the colour of events shown on the calendar. Choose a preset colour or enter a preferred hex colour code - perhaps a colour from your organisation's brand style guide. A great way to find the right hex code for the colour you want is by using "Adobe Color". Finally, optionally select a custom Brand. Events sport the default brand set for your account (logo, emblem and colour style, set in the Administrator Profile area). However, you can choose a brand which applies the brand logo, emblem and colour to event pages, the event check-in page, event communication and sign-up confirmation emails. See the related support article on Using Brands for further information. Click Save to add the category.
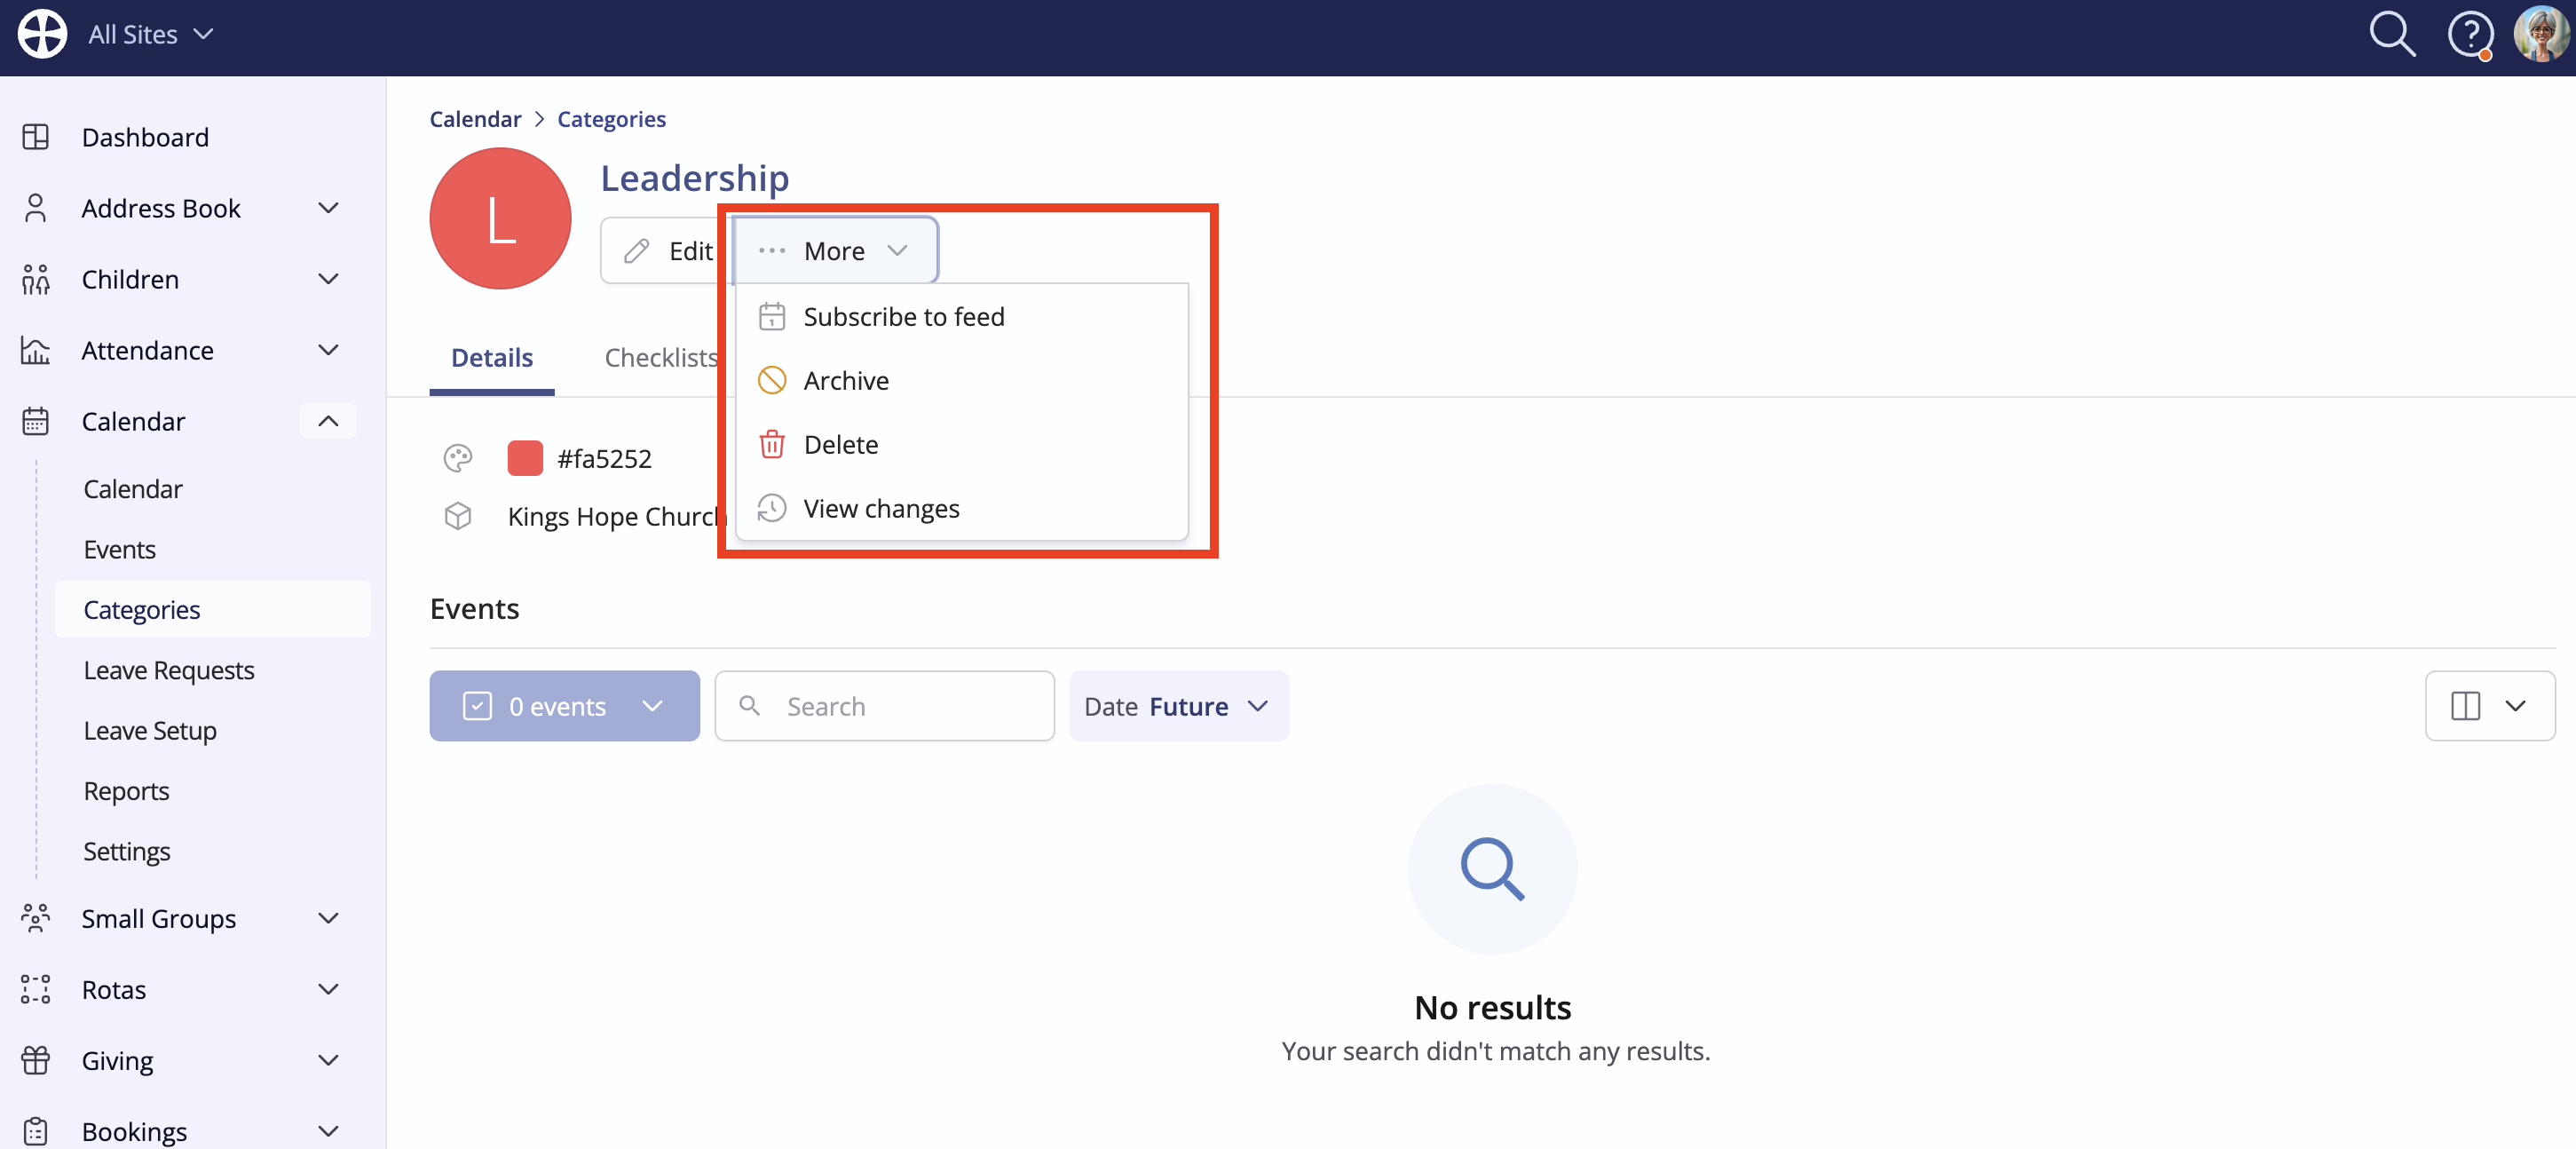
The category "View" is shown. You can return to this page in the future to Edit and make changes. Note the More actions for module users to Subscribe to feed - where Users can subscribe with Google, iCal or Outlook/M365 to a feed of category events - or Archive or Delete the category. The page is divided into two tabs - Details lists Events in that category (Future events are listed by default but you can switch to view Past events) and Checklists, where Checklist templates for the event category are managed - see the related support article Task checklists for further information.
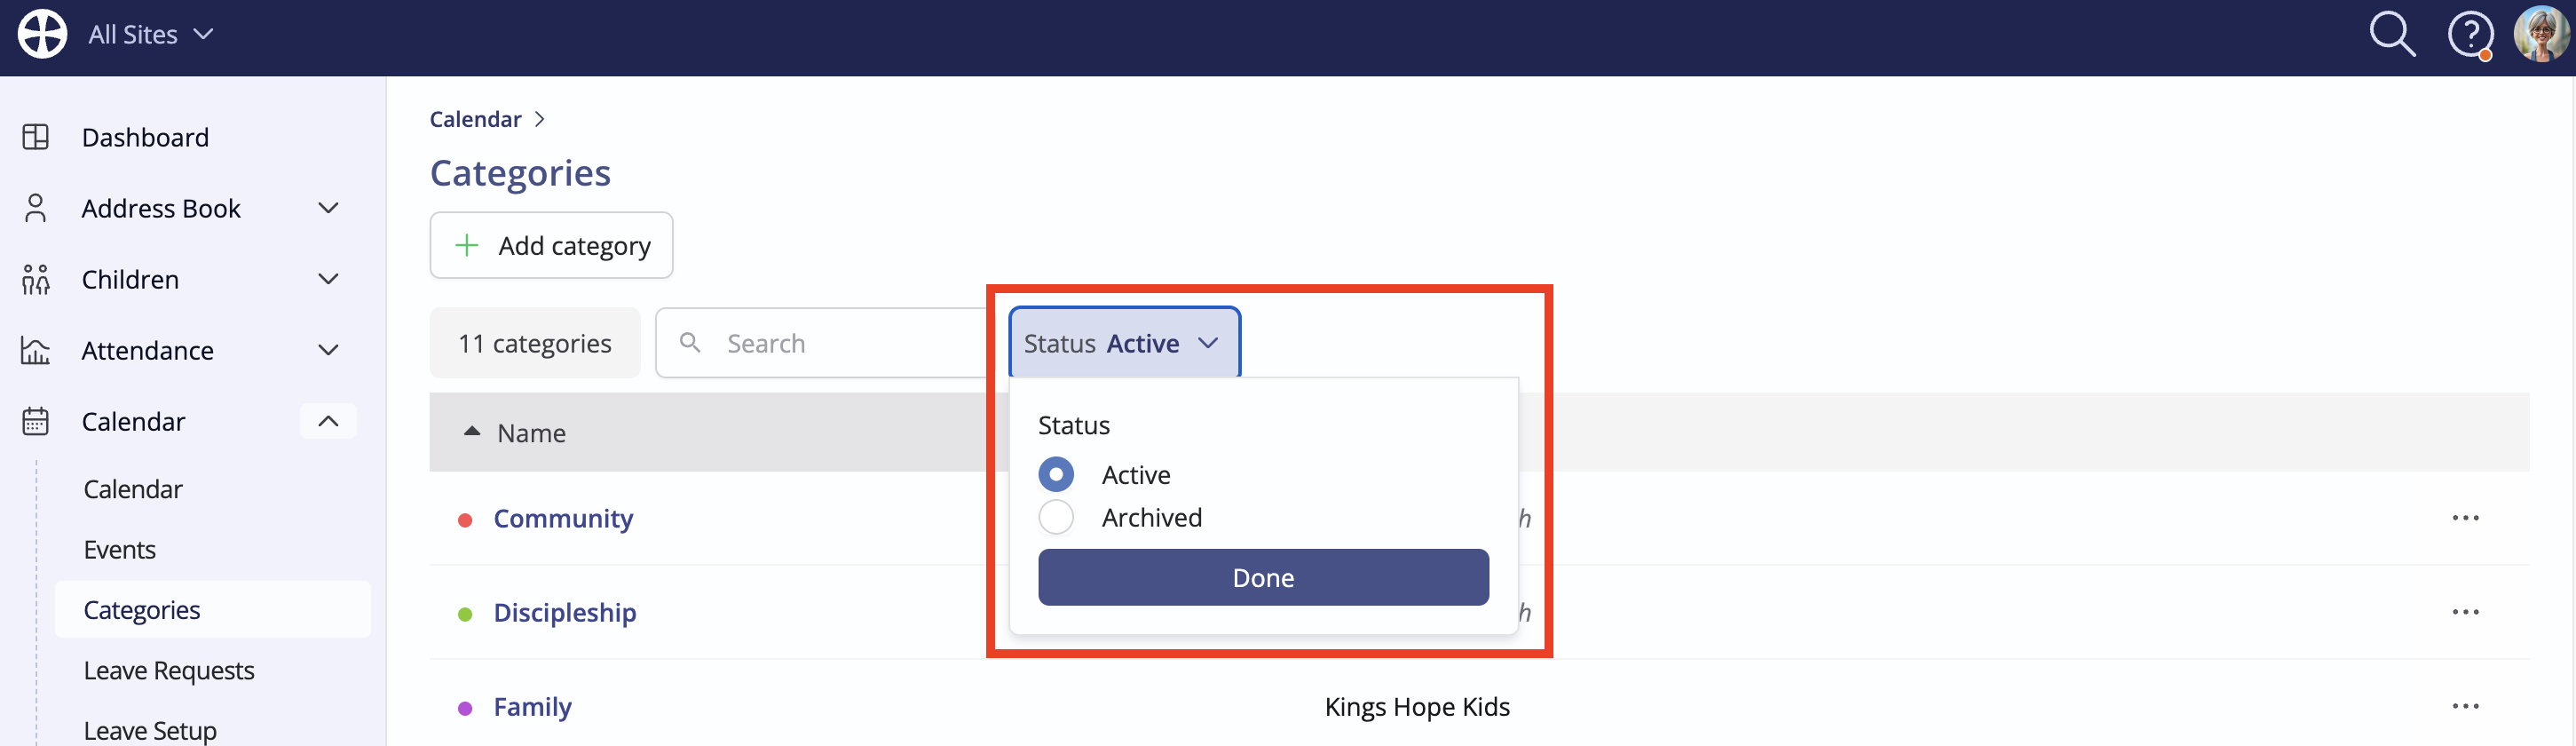
Managing categories
The Categories section shows Active categories by default but you can switch to view Archived categories. Active categories can be archived when no longer in use or needed and later Set as Active again, if necessary.
You can Delete unwanted categories. However, since events are always assigned to a category, deleting a category will require you to first reassign past and future events to an alternative category, preserving the affected events. Selecting Delete - either from the category Actions shown above or from the category "View" page opens the Delete category pop-up, through which you can select a New Category to reassign all past and future events currently linked to the category being deleted.