The customer-facing booking page
Overview of the booking page
Sending a booking page to a customer
Overview of the booking charge online payment user experience
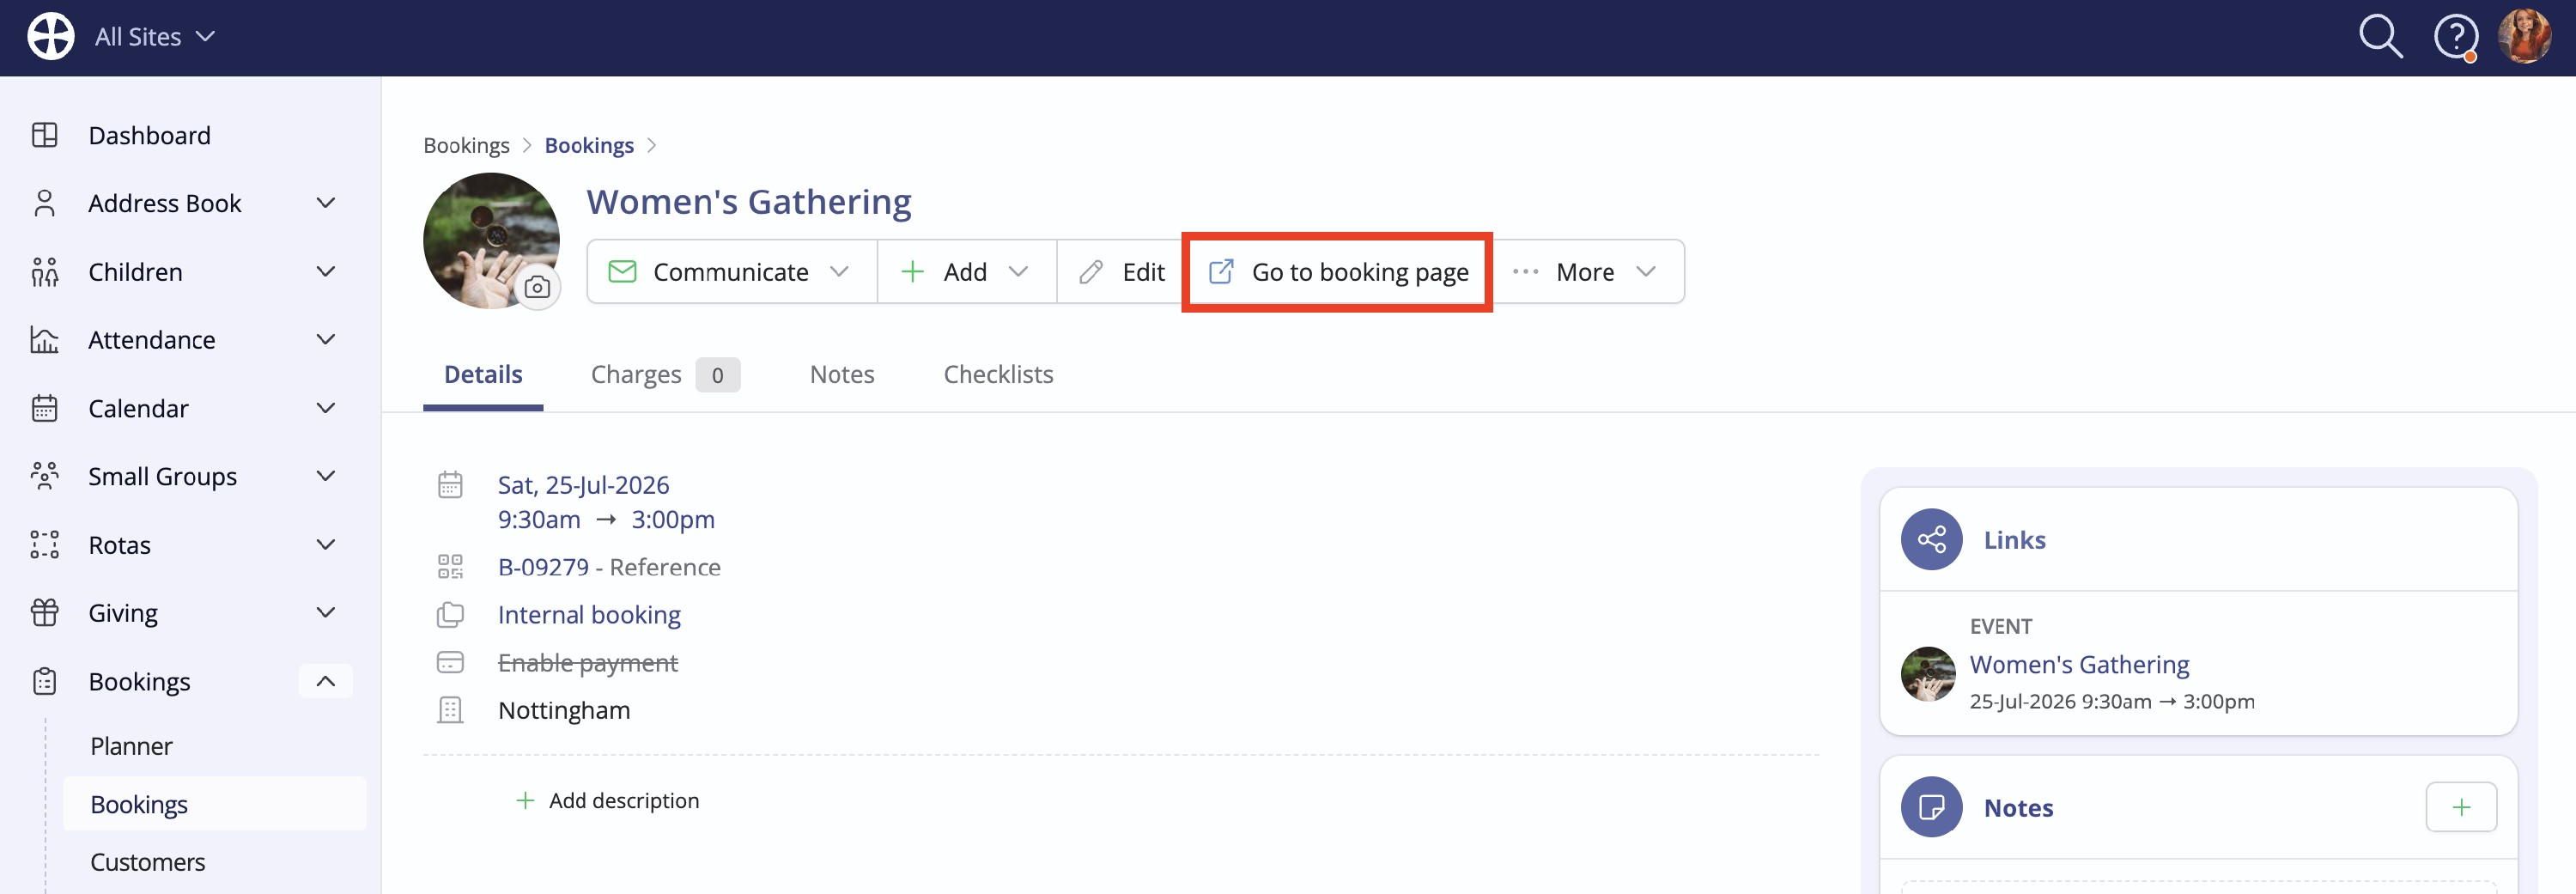
For each booking in the Bookings module, there's a customer-facing Booking page that can be sent to the customer that shows all the details of the booking they have made. You can view the booking page at any time by selecting Go to booking page; this booking page remains up to date, even if changes are subsequently made to a booking.
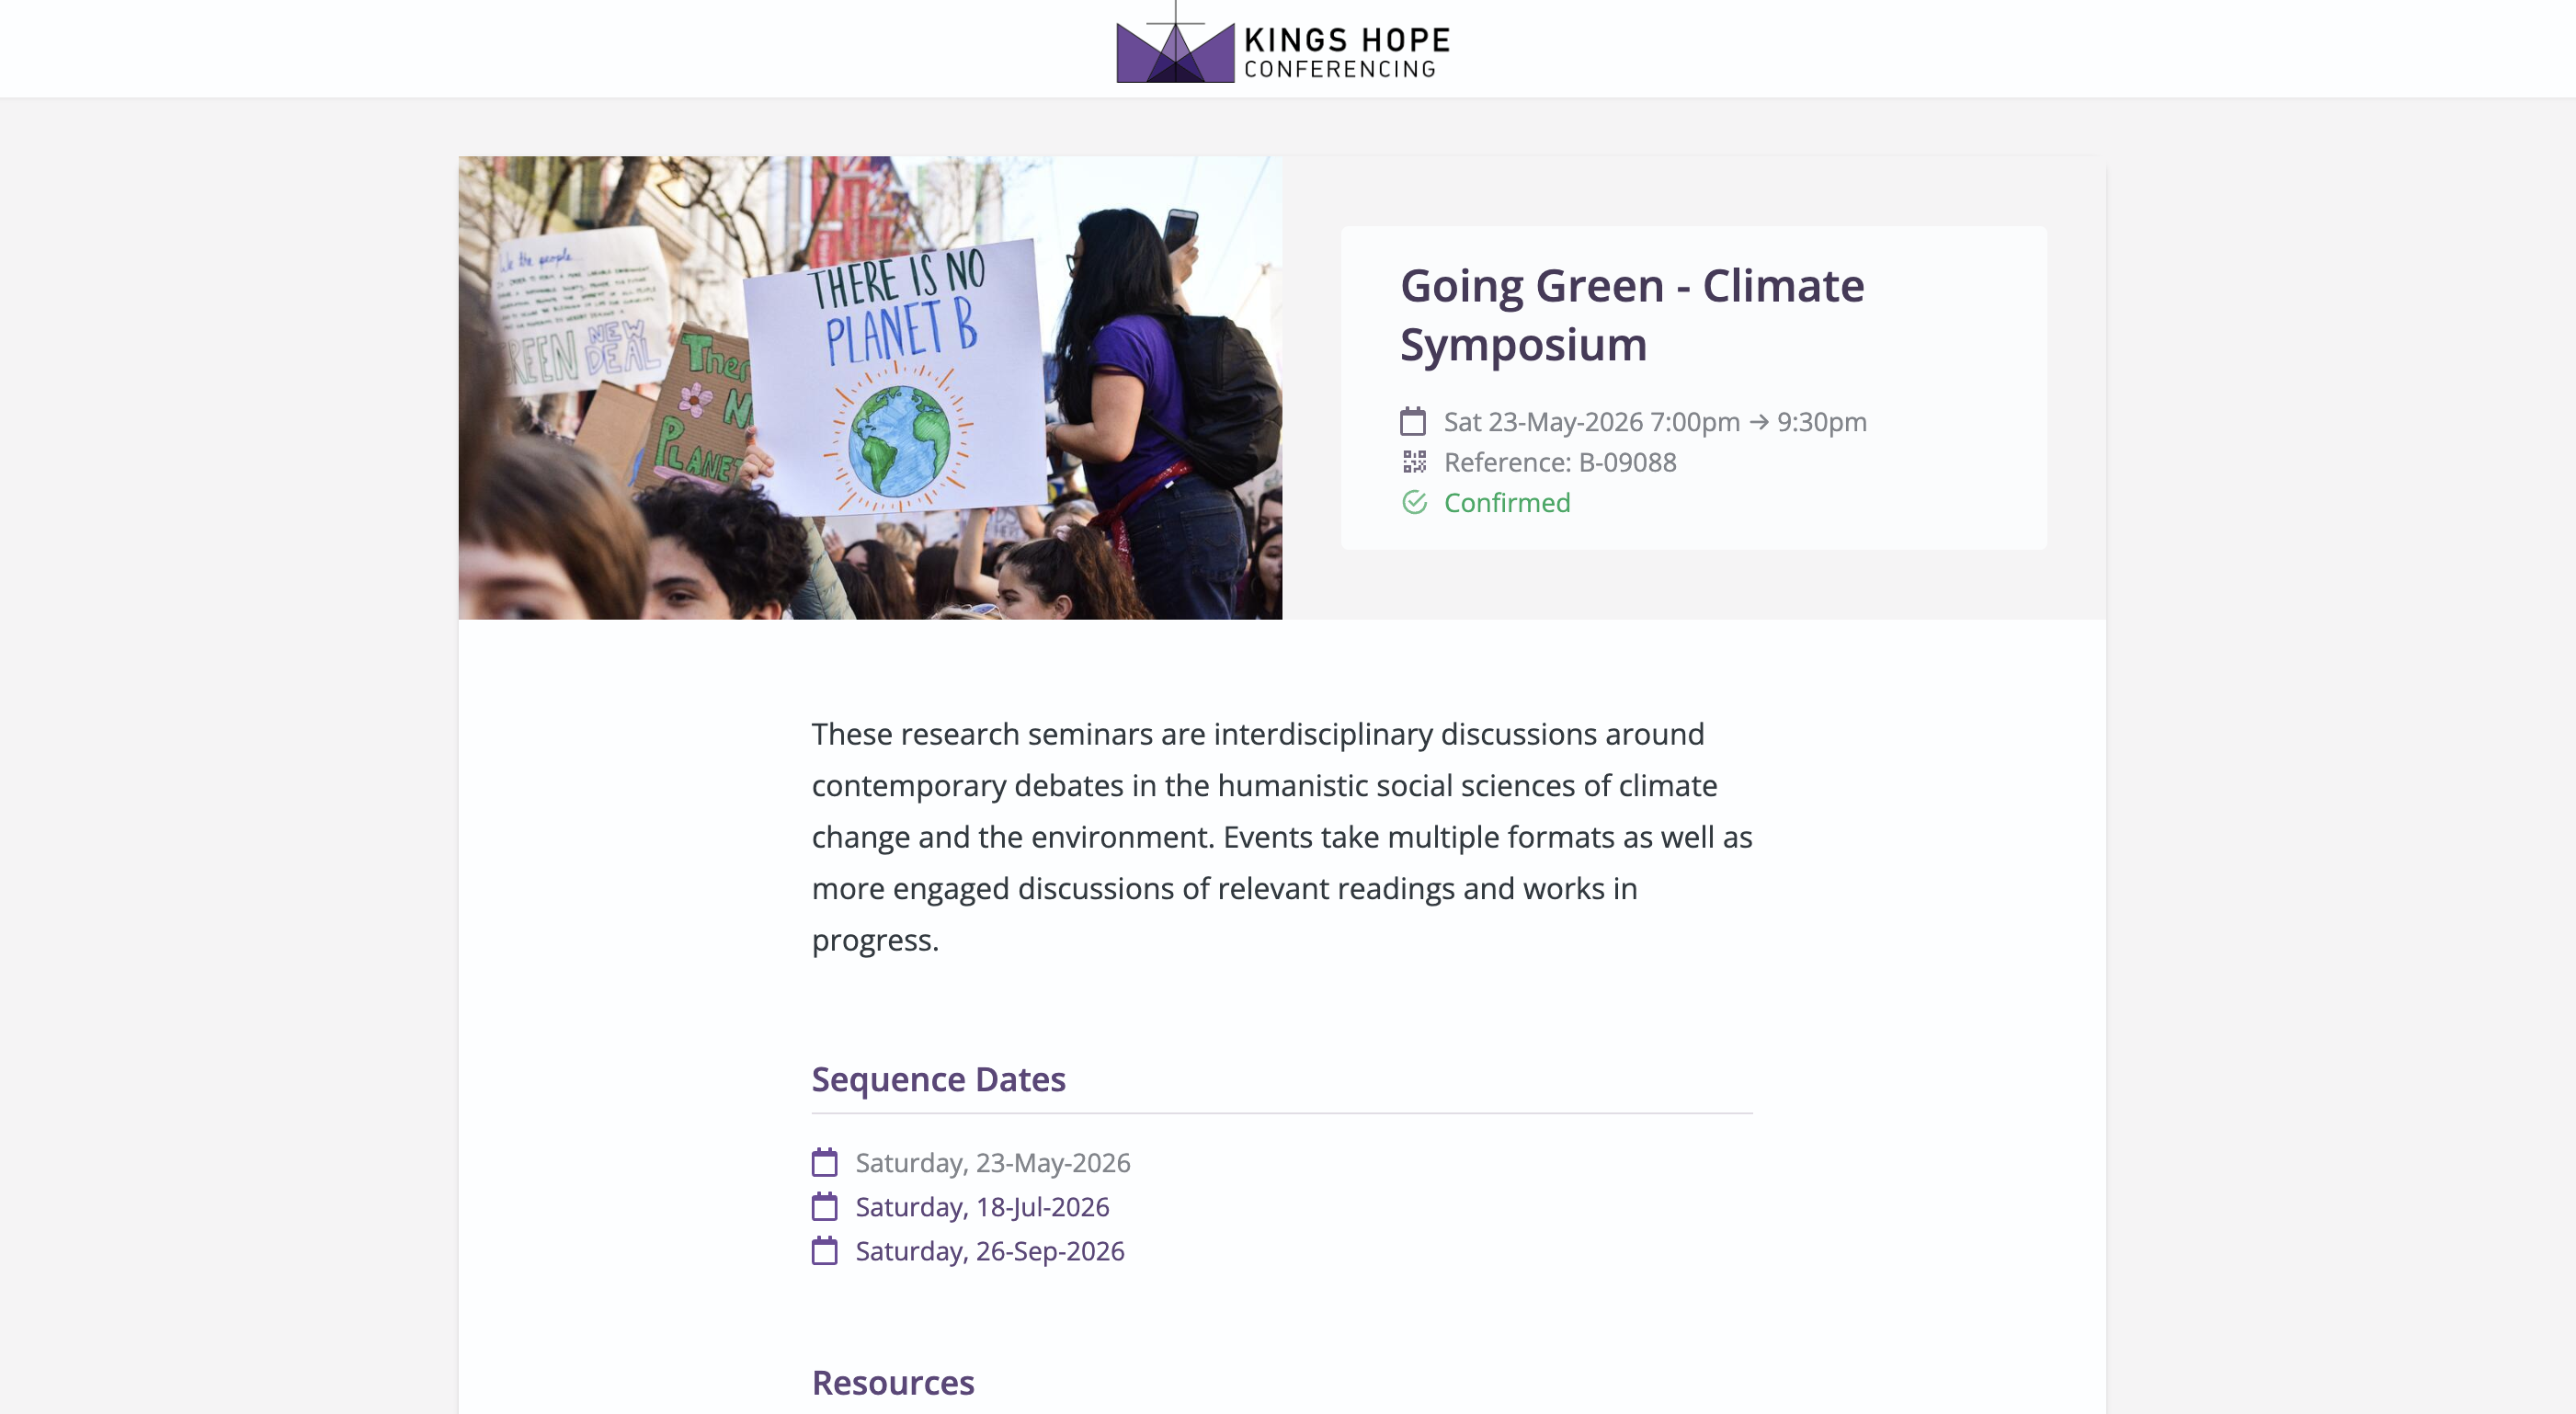
The booking page is styled to the Brand assigned to the booking Type. The booking date and timings, booking reference and booking status are shown in the first section. For sequence bookings, the sequence Dates are listed, with the currently viewed booking page date distinguished in grey. Clicking on another date in the sequence will open the booking page for that date.
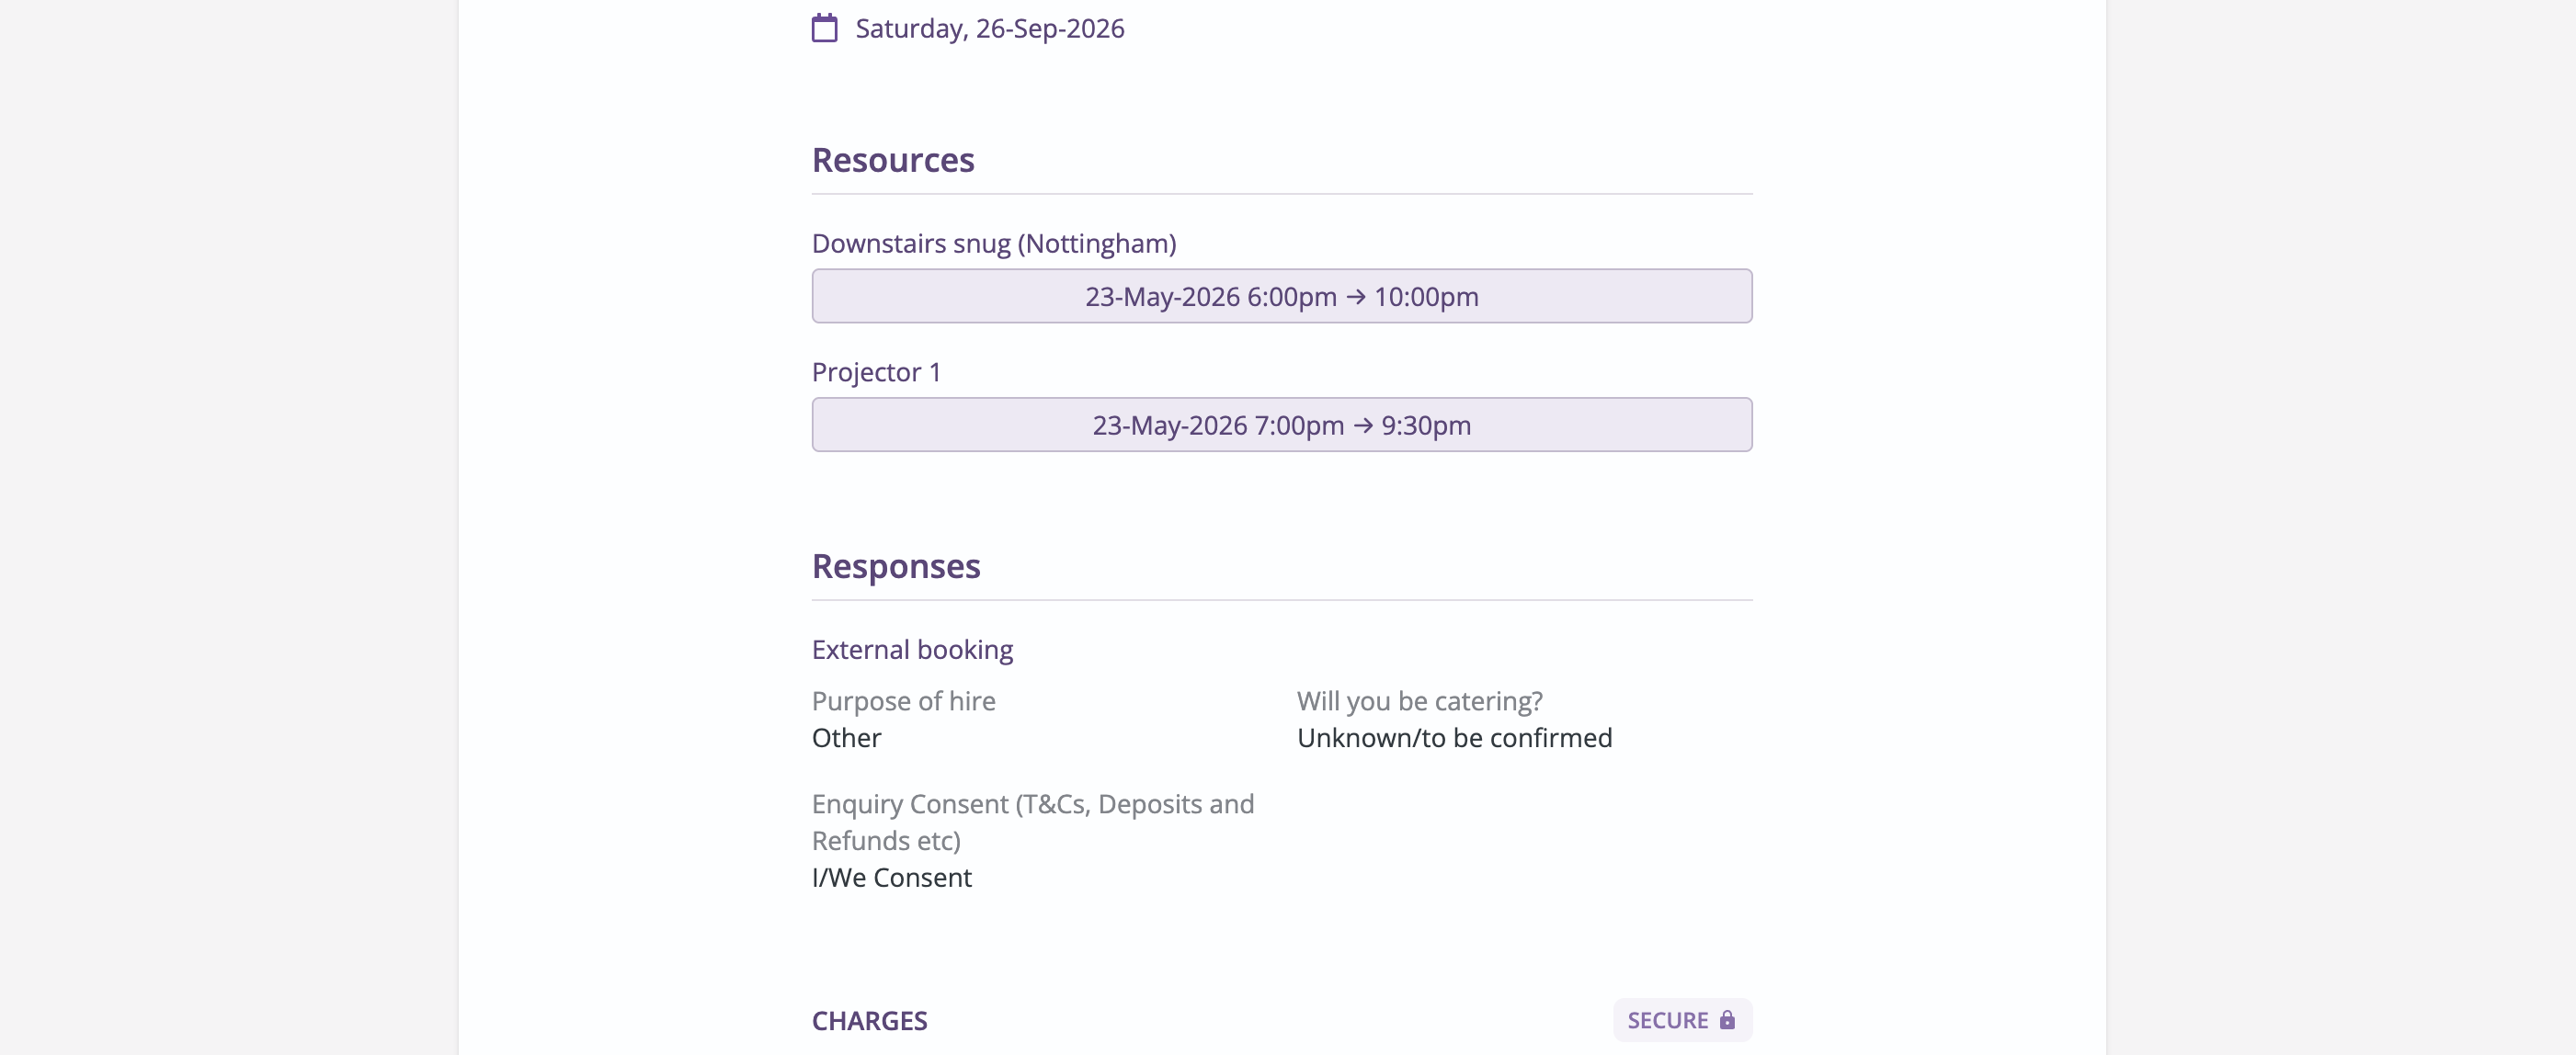
The booking Resources are listed, showing the booking times for each resource. The next section lists the booking type and resource question Responses collected from the customer as part of accepting their booking. These cannot be edited by the customer, but any changes processed by a User will be reflected on the booking page.
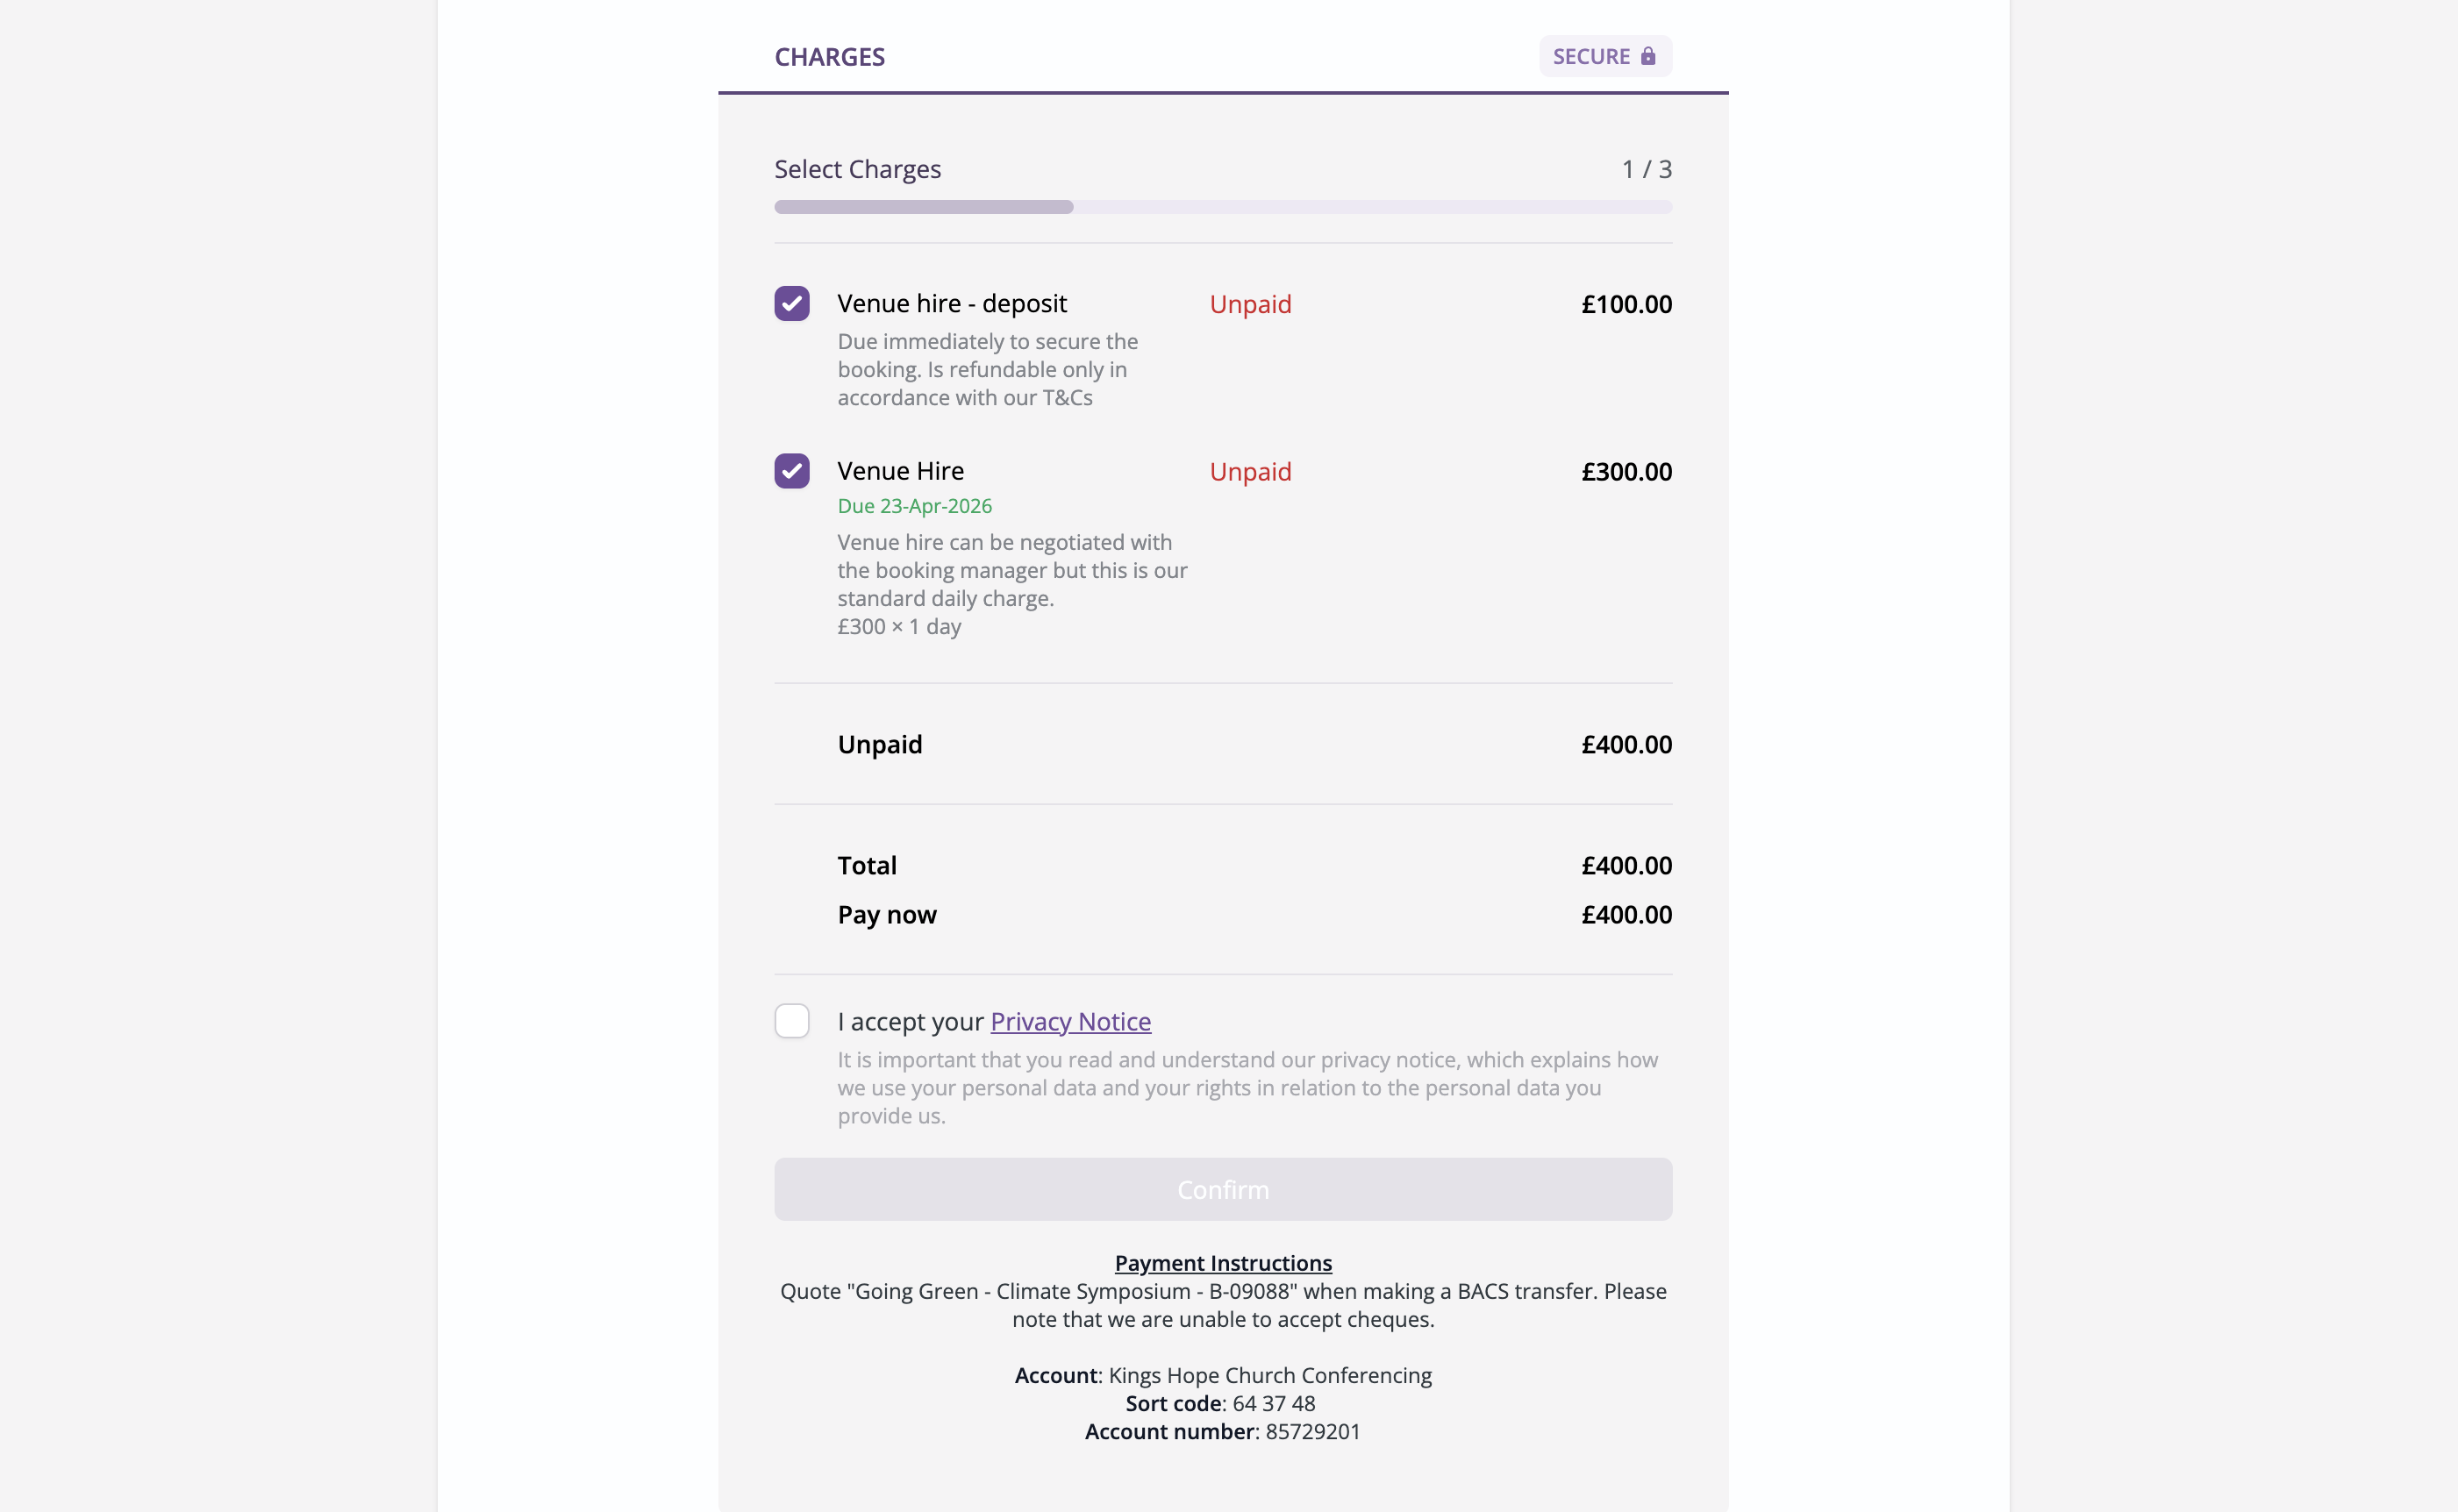
The next section lists all the booking charges for the booking or sequence, showing (where applicable) the related invoice number, due date, and payment status of each charge. Where Payment is enabled for a booking (and the Stripe card payment integration is completed), the Charges section offers customers an online payment experience to settle their Unpaid charges.
Finally, depending on your module settings, the booking page displays your Custom information message, allowing you to detail alternative payment methods or highlight specific terms and conditions, for example.
Sending a booking page to a customer
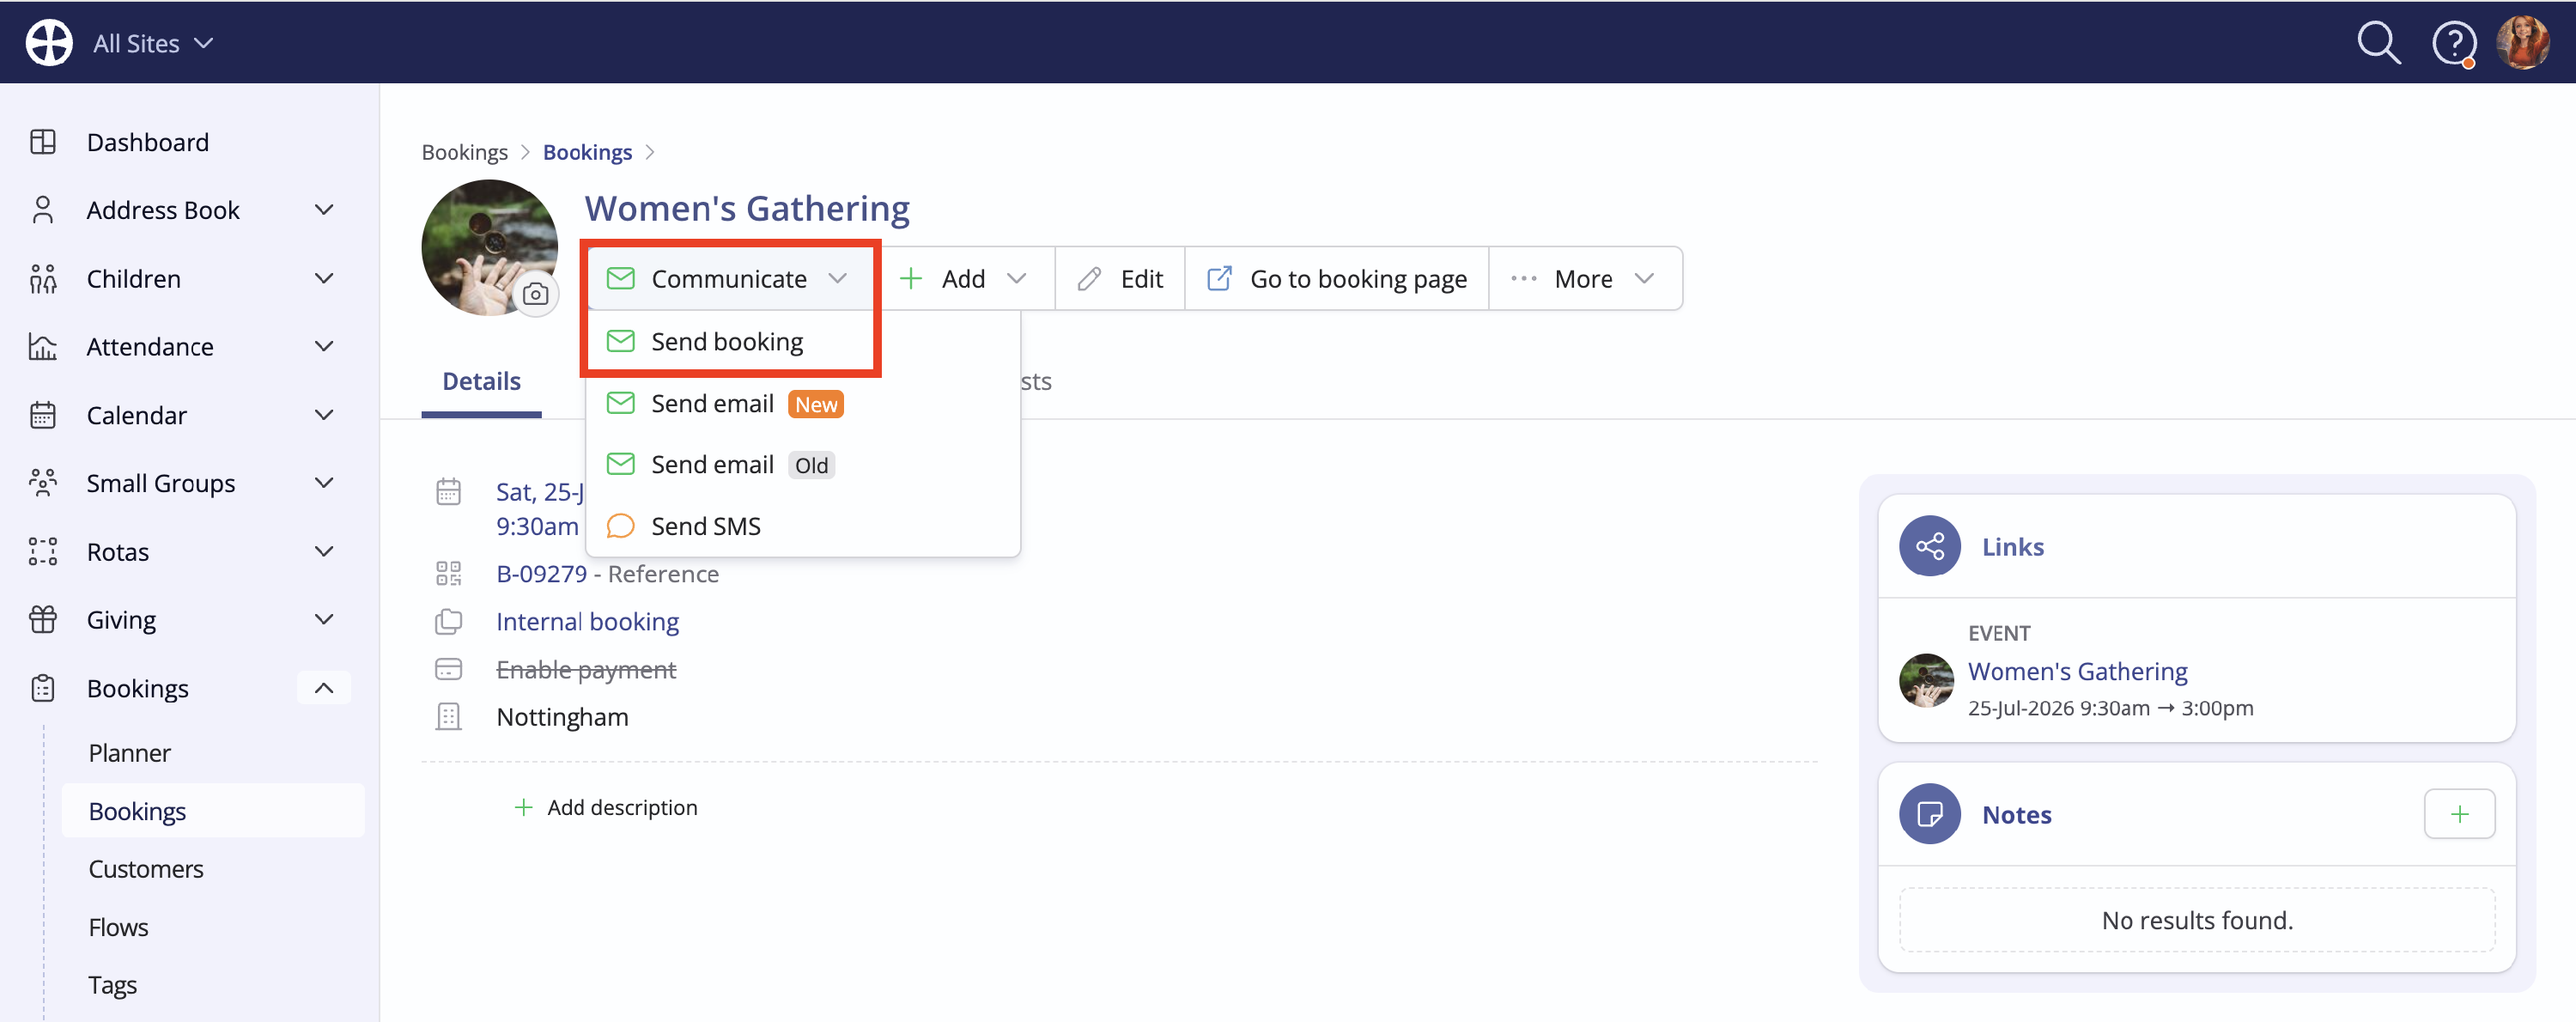
You can send the booking page to a customer at any time - whether the booking is pending or confirmed - to suit your internal admin processes. The option is only available where the customer has a valid email address. Select Send booking from the Communicate drop-down menu:
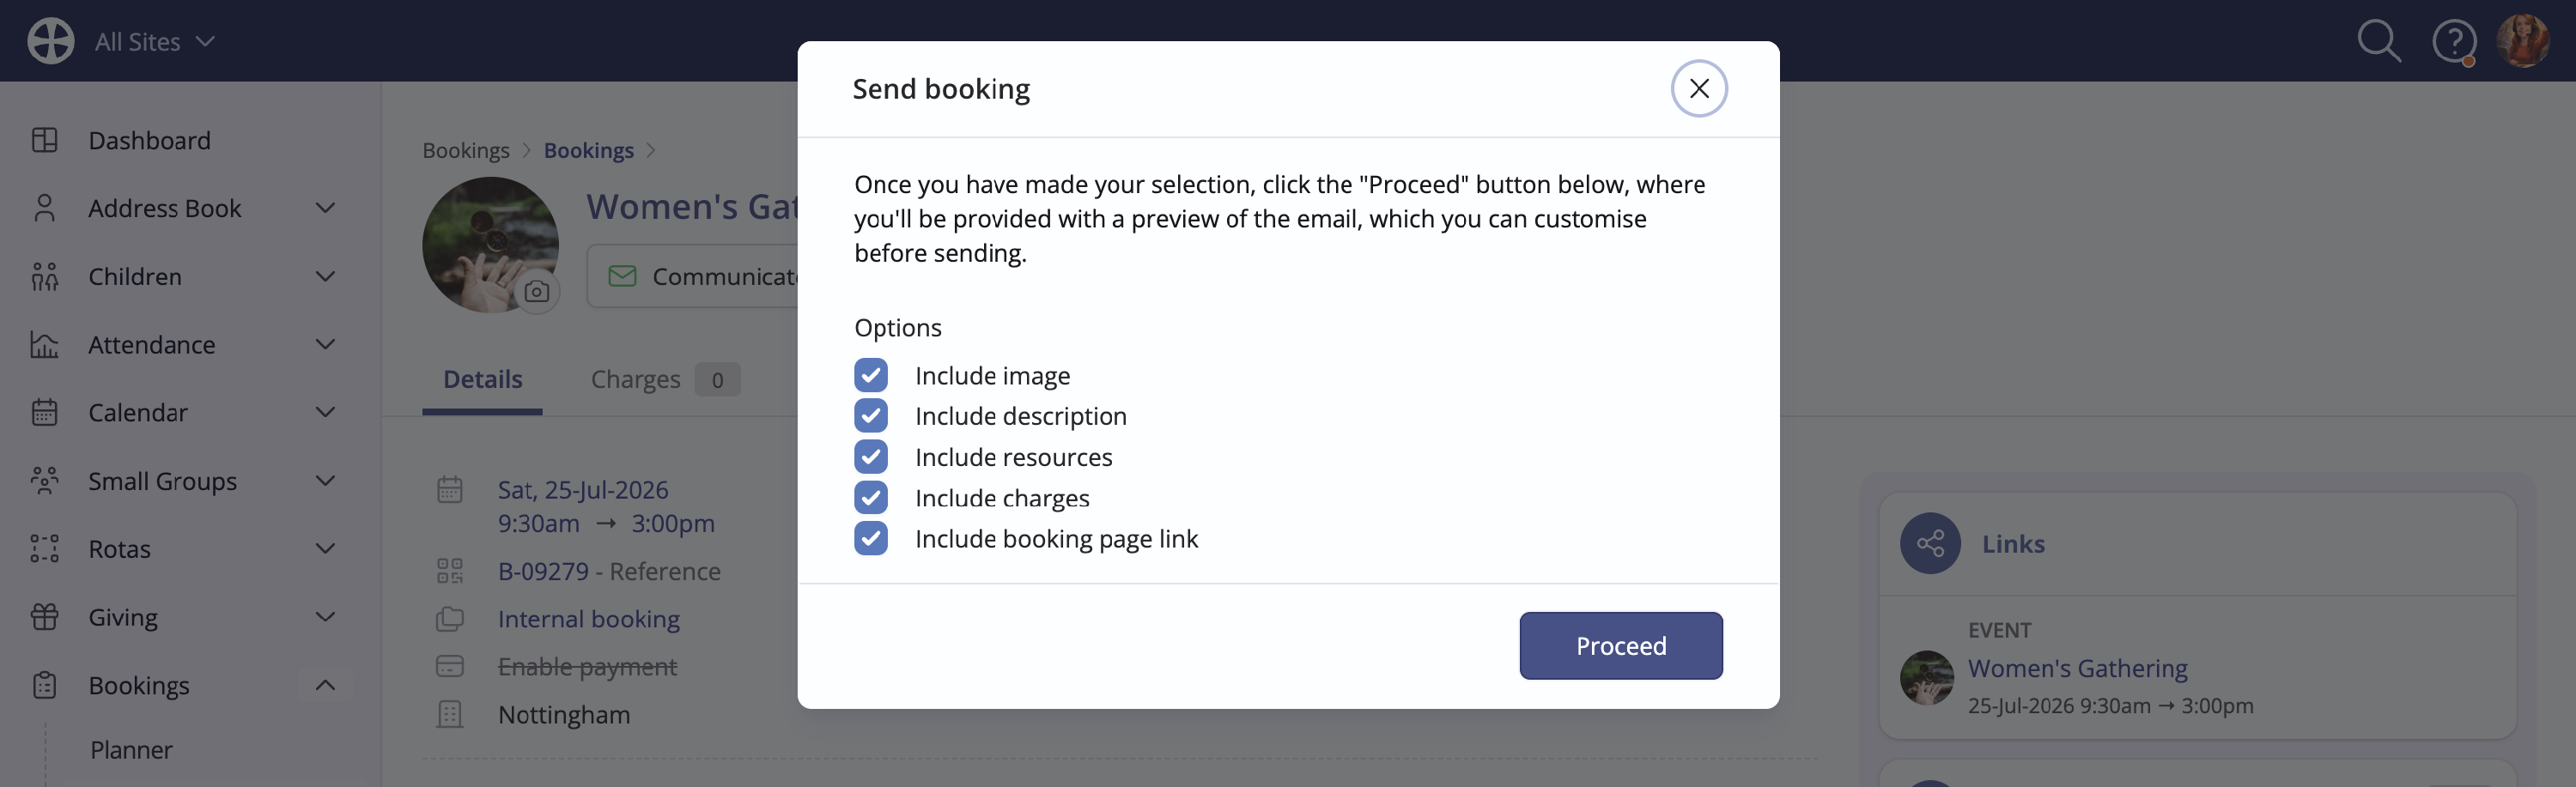
On the Send Booking 'options' pop-up, select the Options to include in the email and click Proceed.
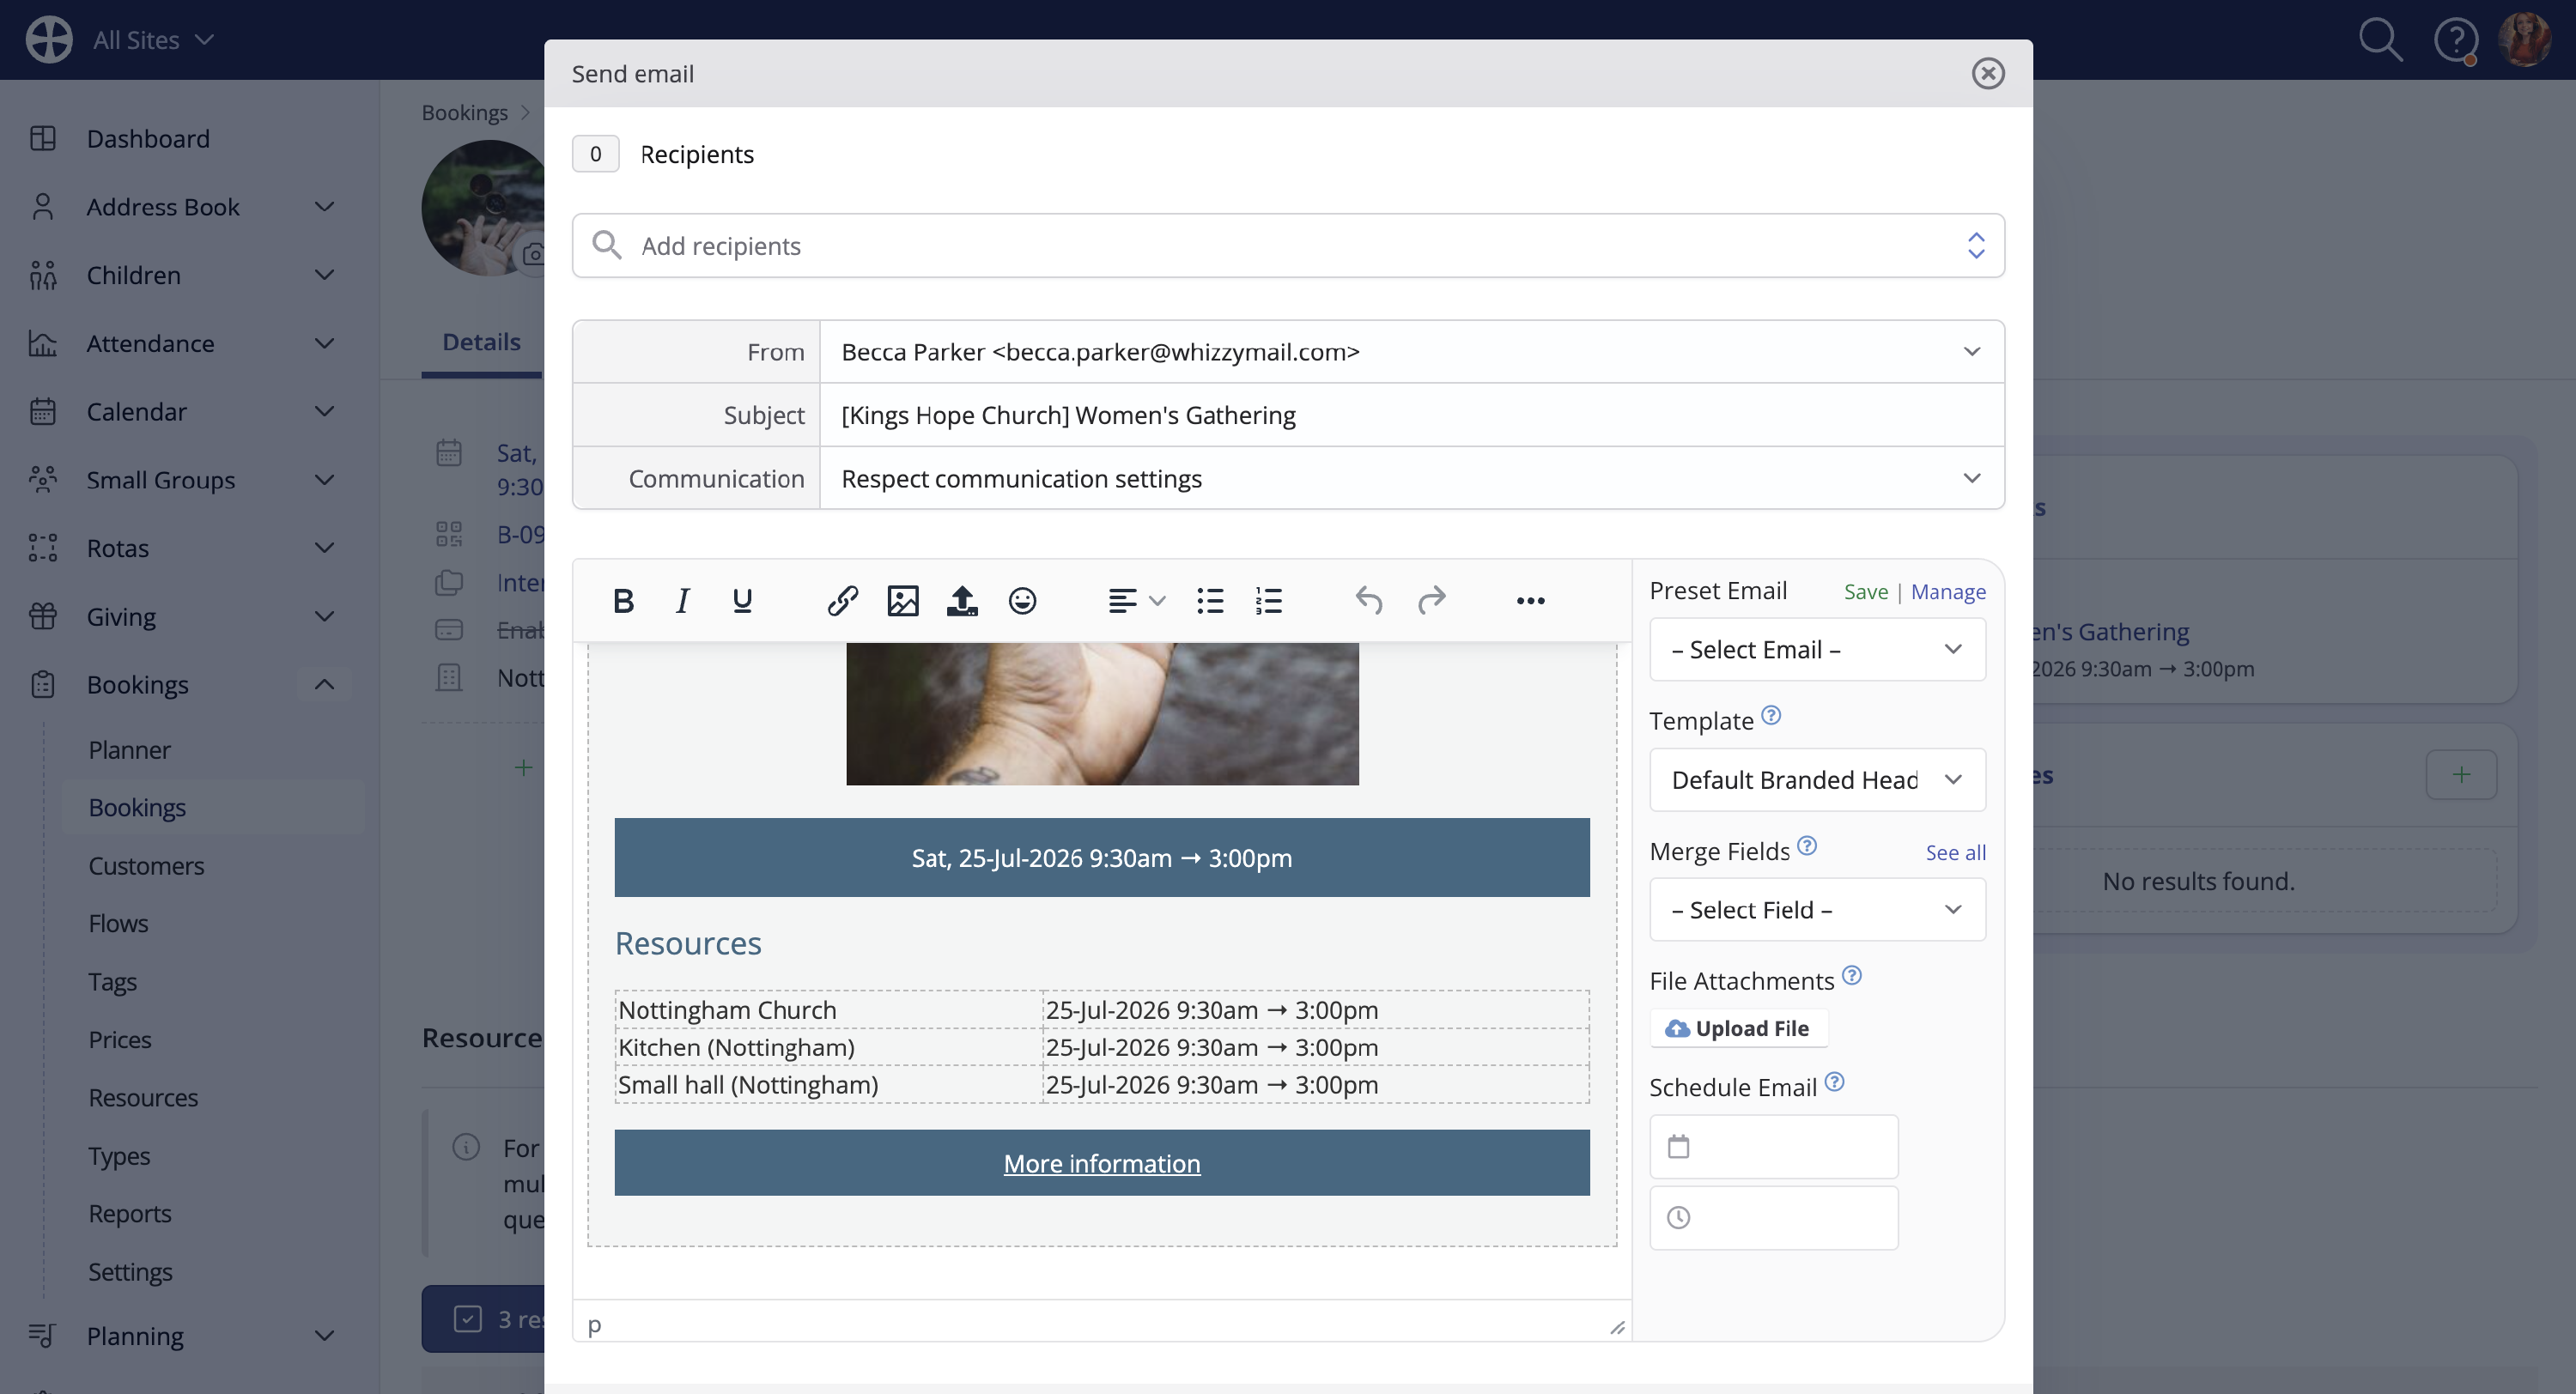
The Send email pop-up opens with the booking page options embedded into the message body. You can further customise the email if you wish or perhaps add a File Attachment or Schedule the message to be sent later. Click Preview Email.
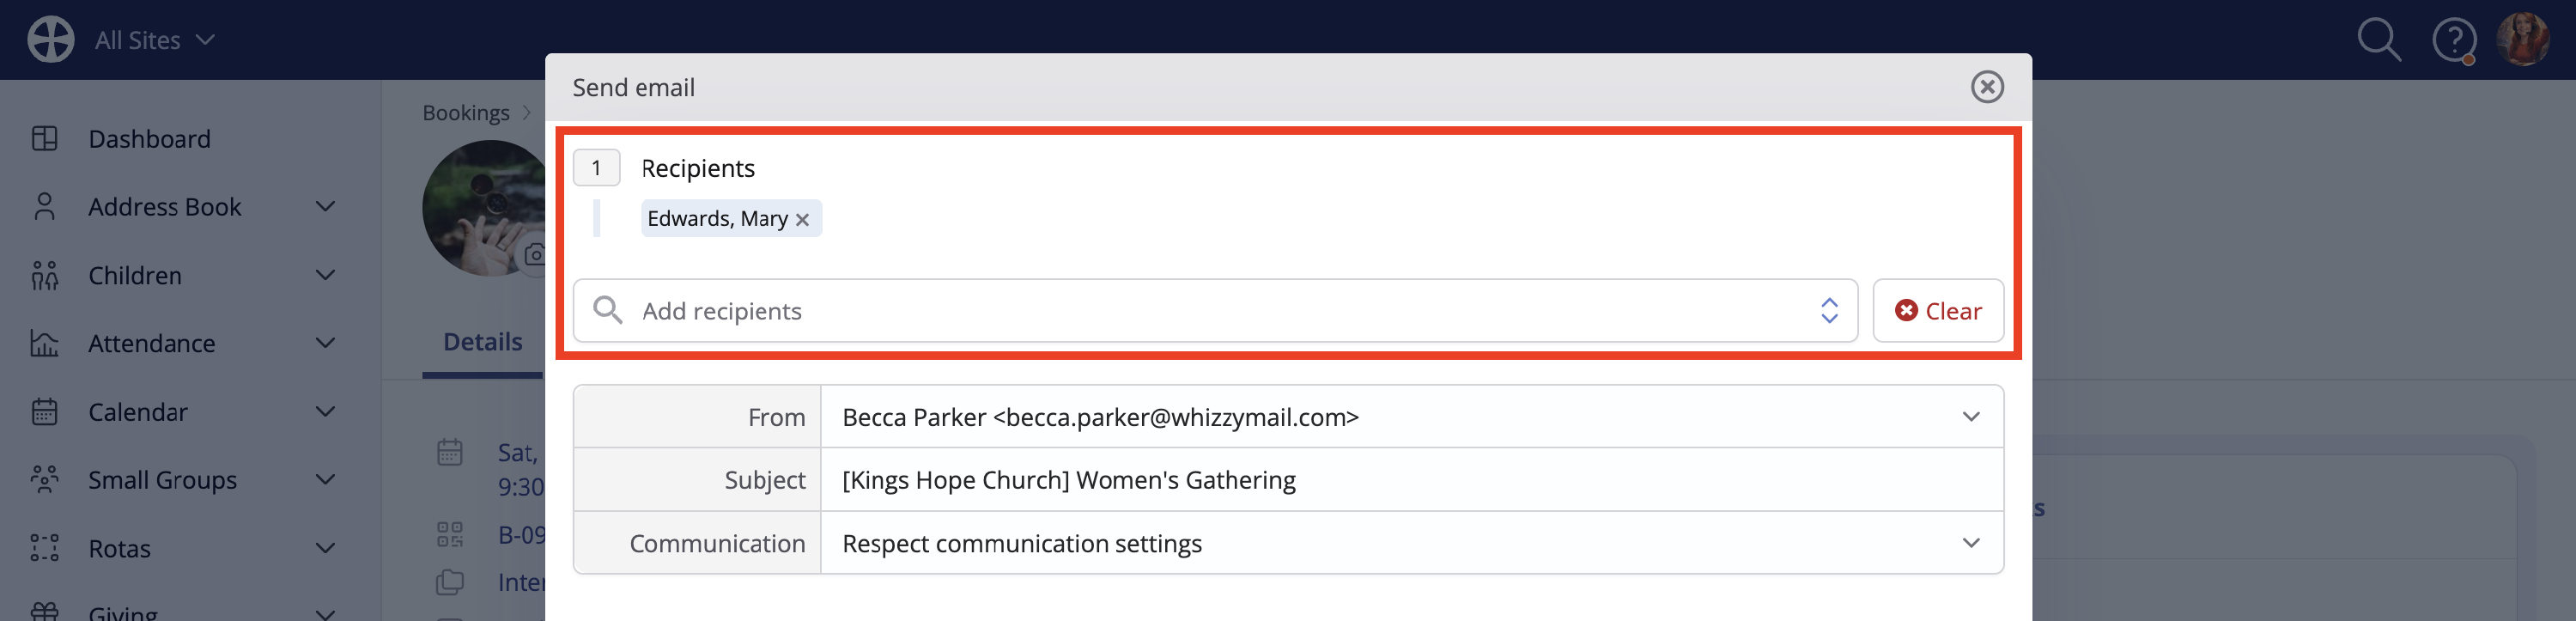
The email preview is displayed, showing the final "pre-send" version of the message. The booking's customer is auto-added as a recipient but you can add further Recipients if you wish. Click Send Email (or Schedule Email).
Overview of the booking charge 'online payment' user experience
While your booking customers can pay unpaid booking charges by any of your communicated payment methods, it's also possible to receive card payments using the same Stripe integration used to receive 'pay' event sign-ups. For the customer, this means a quick, secure and easily accessible payment experience; for you, it means prompt payment, no cash or cheque handling and reduced office administration as the booking charge payment status is updated automatically.
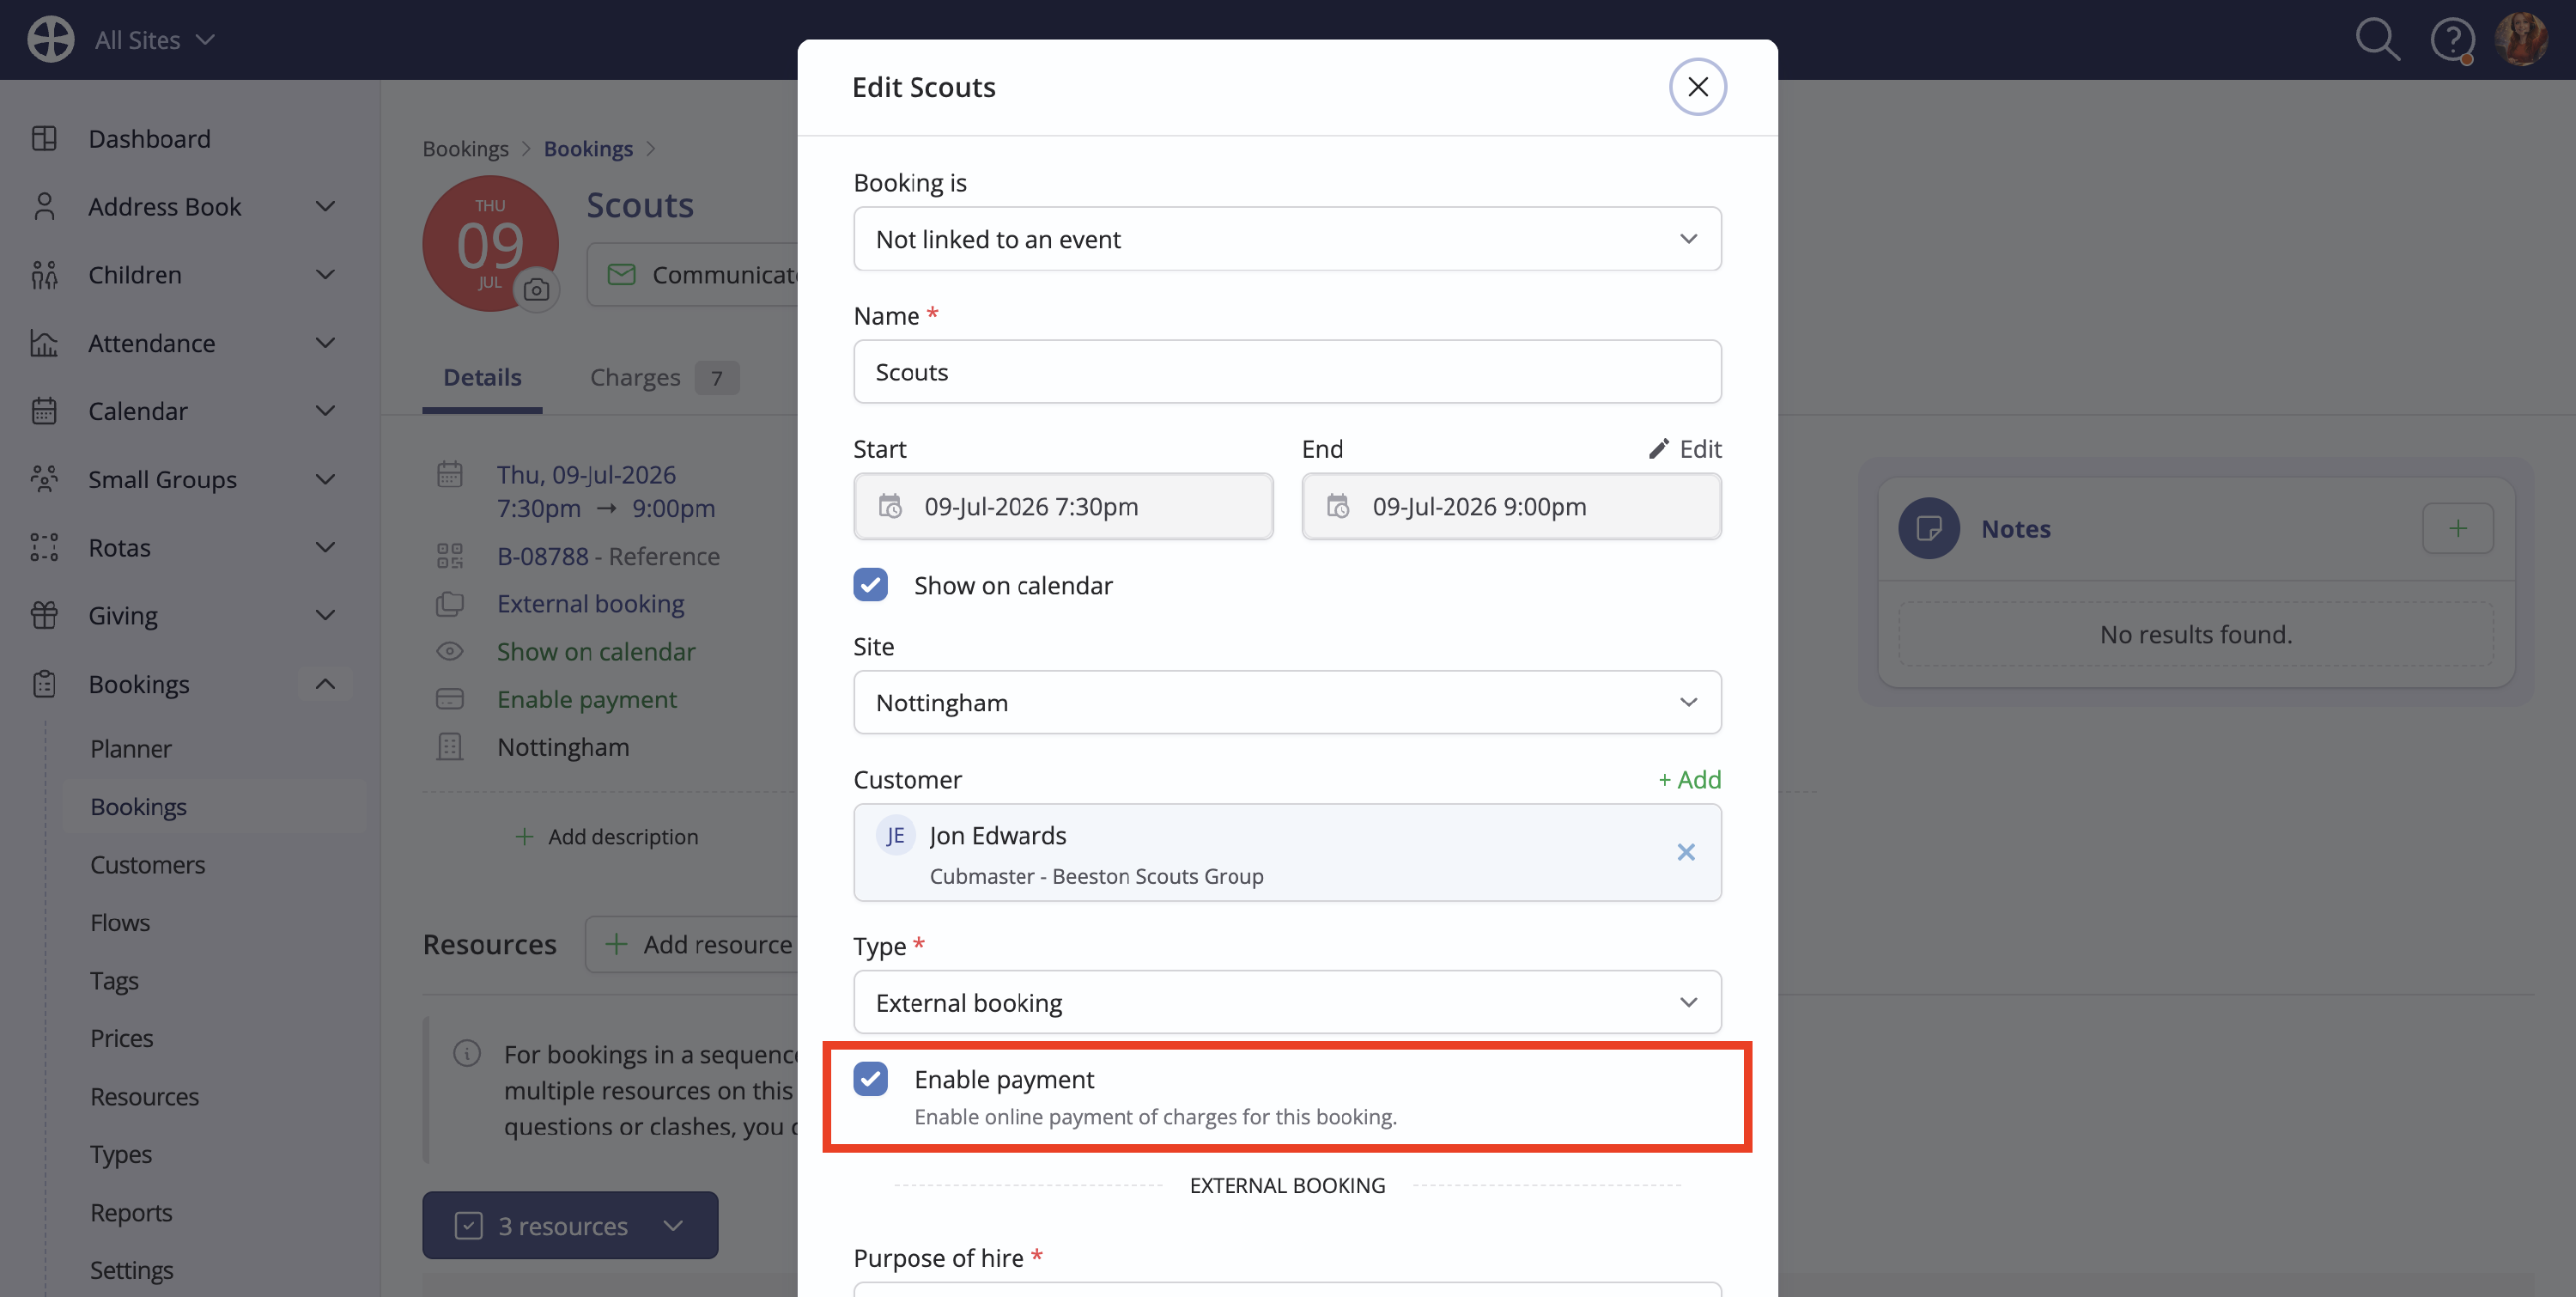
You can enable or disable online payments on a booking-by-booking basis if you wish. For example, if you have a customer who always pays by bank transfer or cheque - perhaps for several bookings - you may wish to turn off the Proceed to payment button on the booking page. Tick or untick the Enable [online] payment option on the booking's "Edit" page as appropriate.
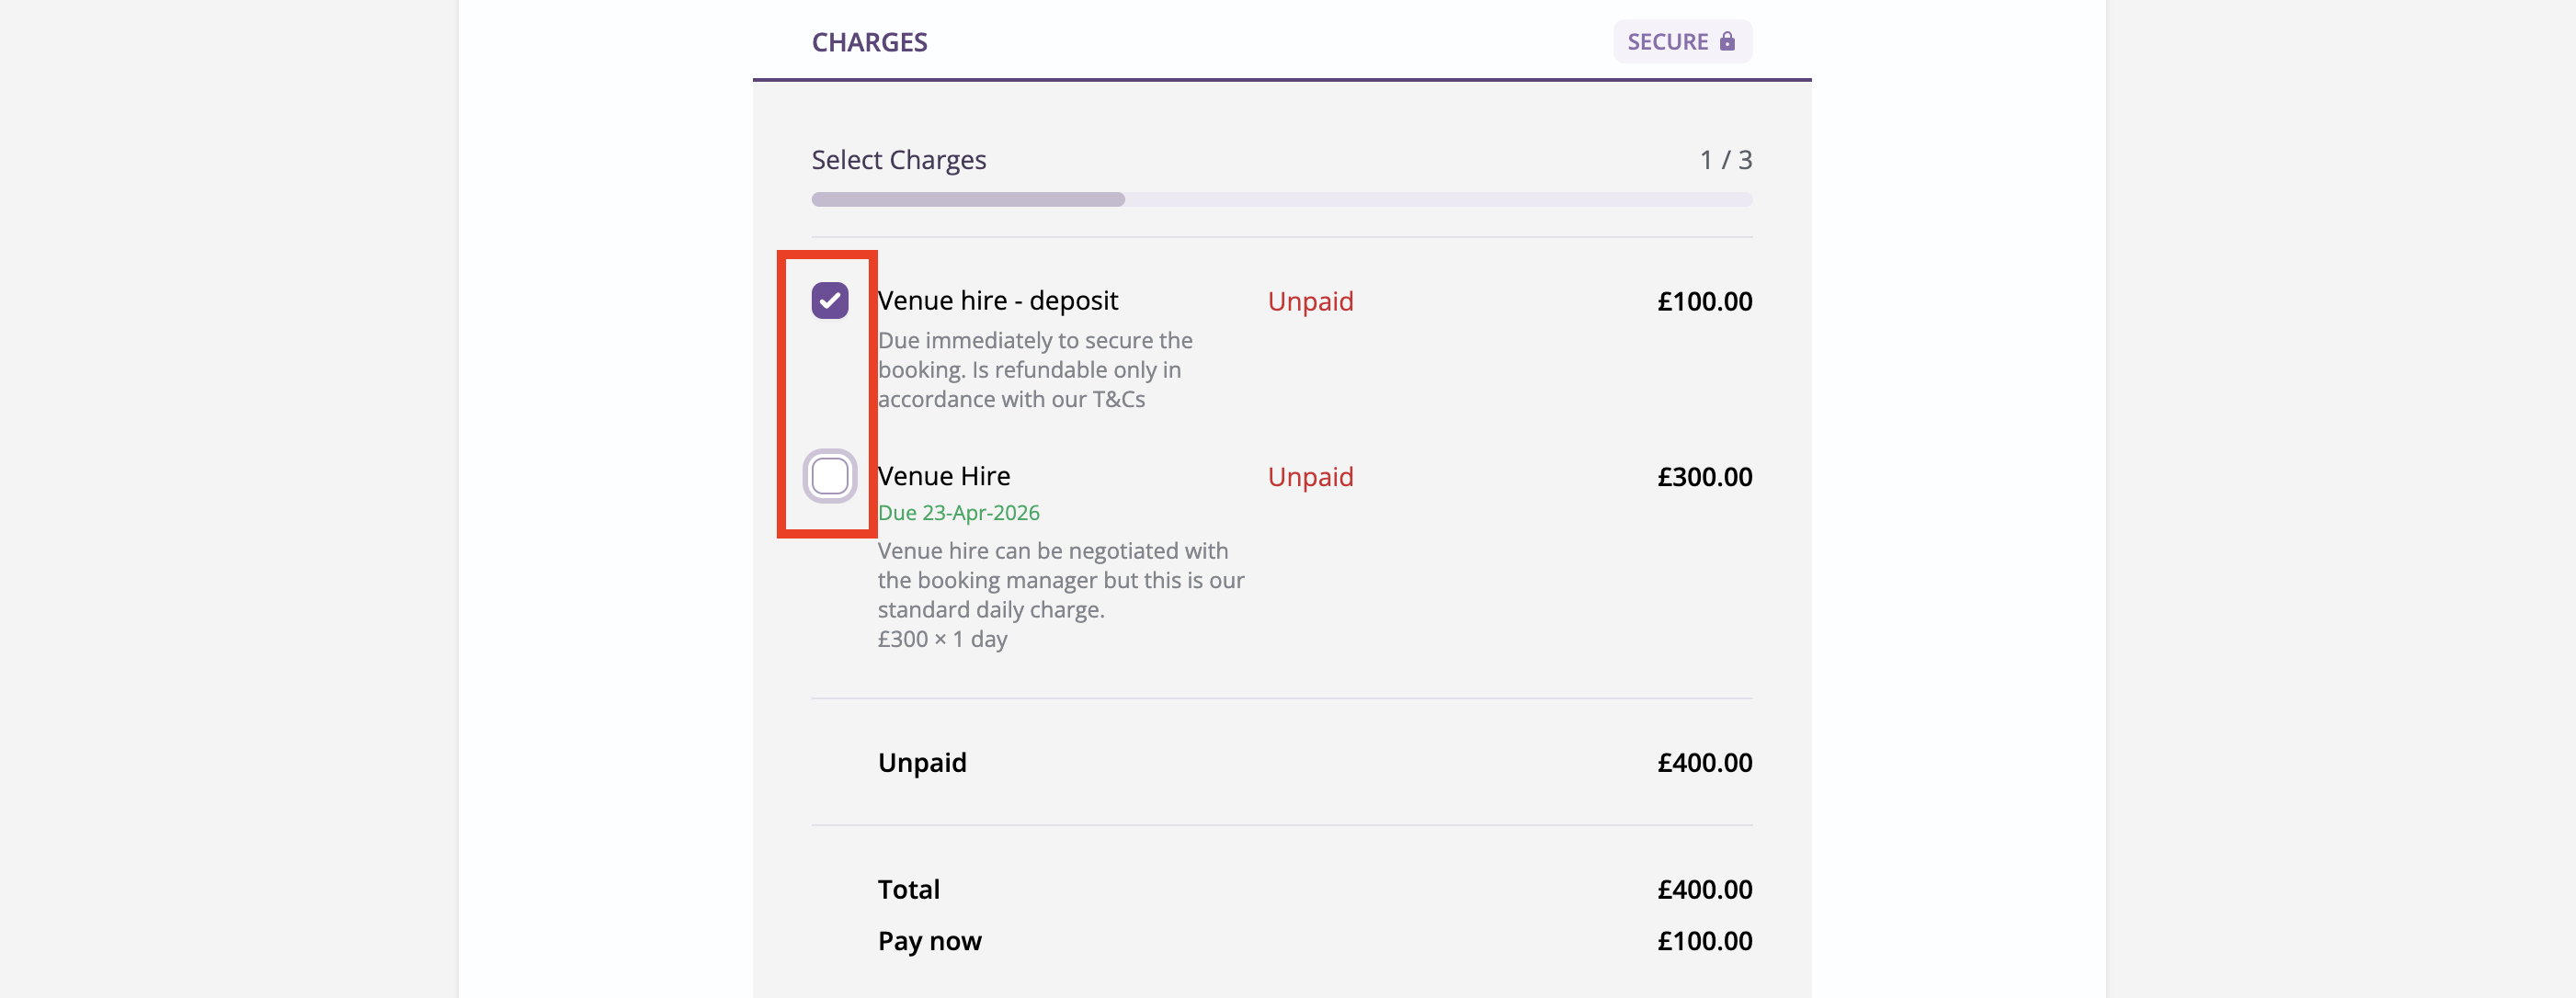
When Enable payment is ticked, and where there are unpaid charges for the booking or sequence, the Charges section includes a three-stage process to settle those charges online. Where there are multiple unpaid charges, the customer can select the charges they wish to pay, perhaps based on the charge due date (if set).
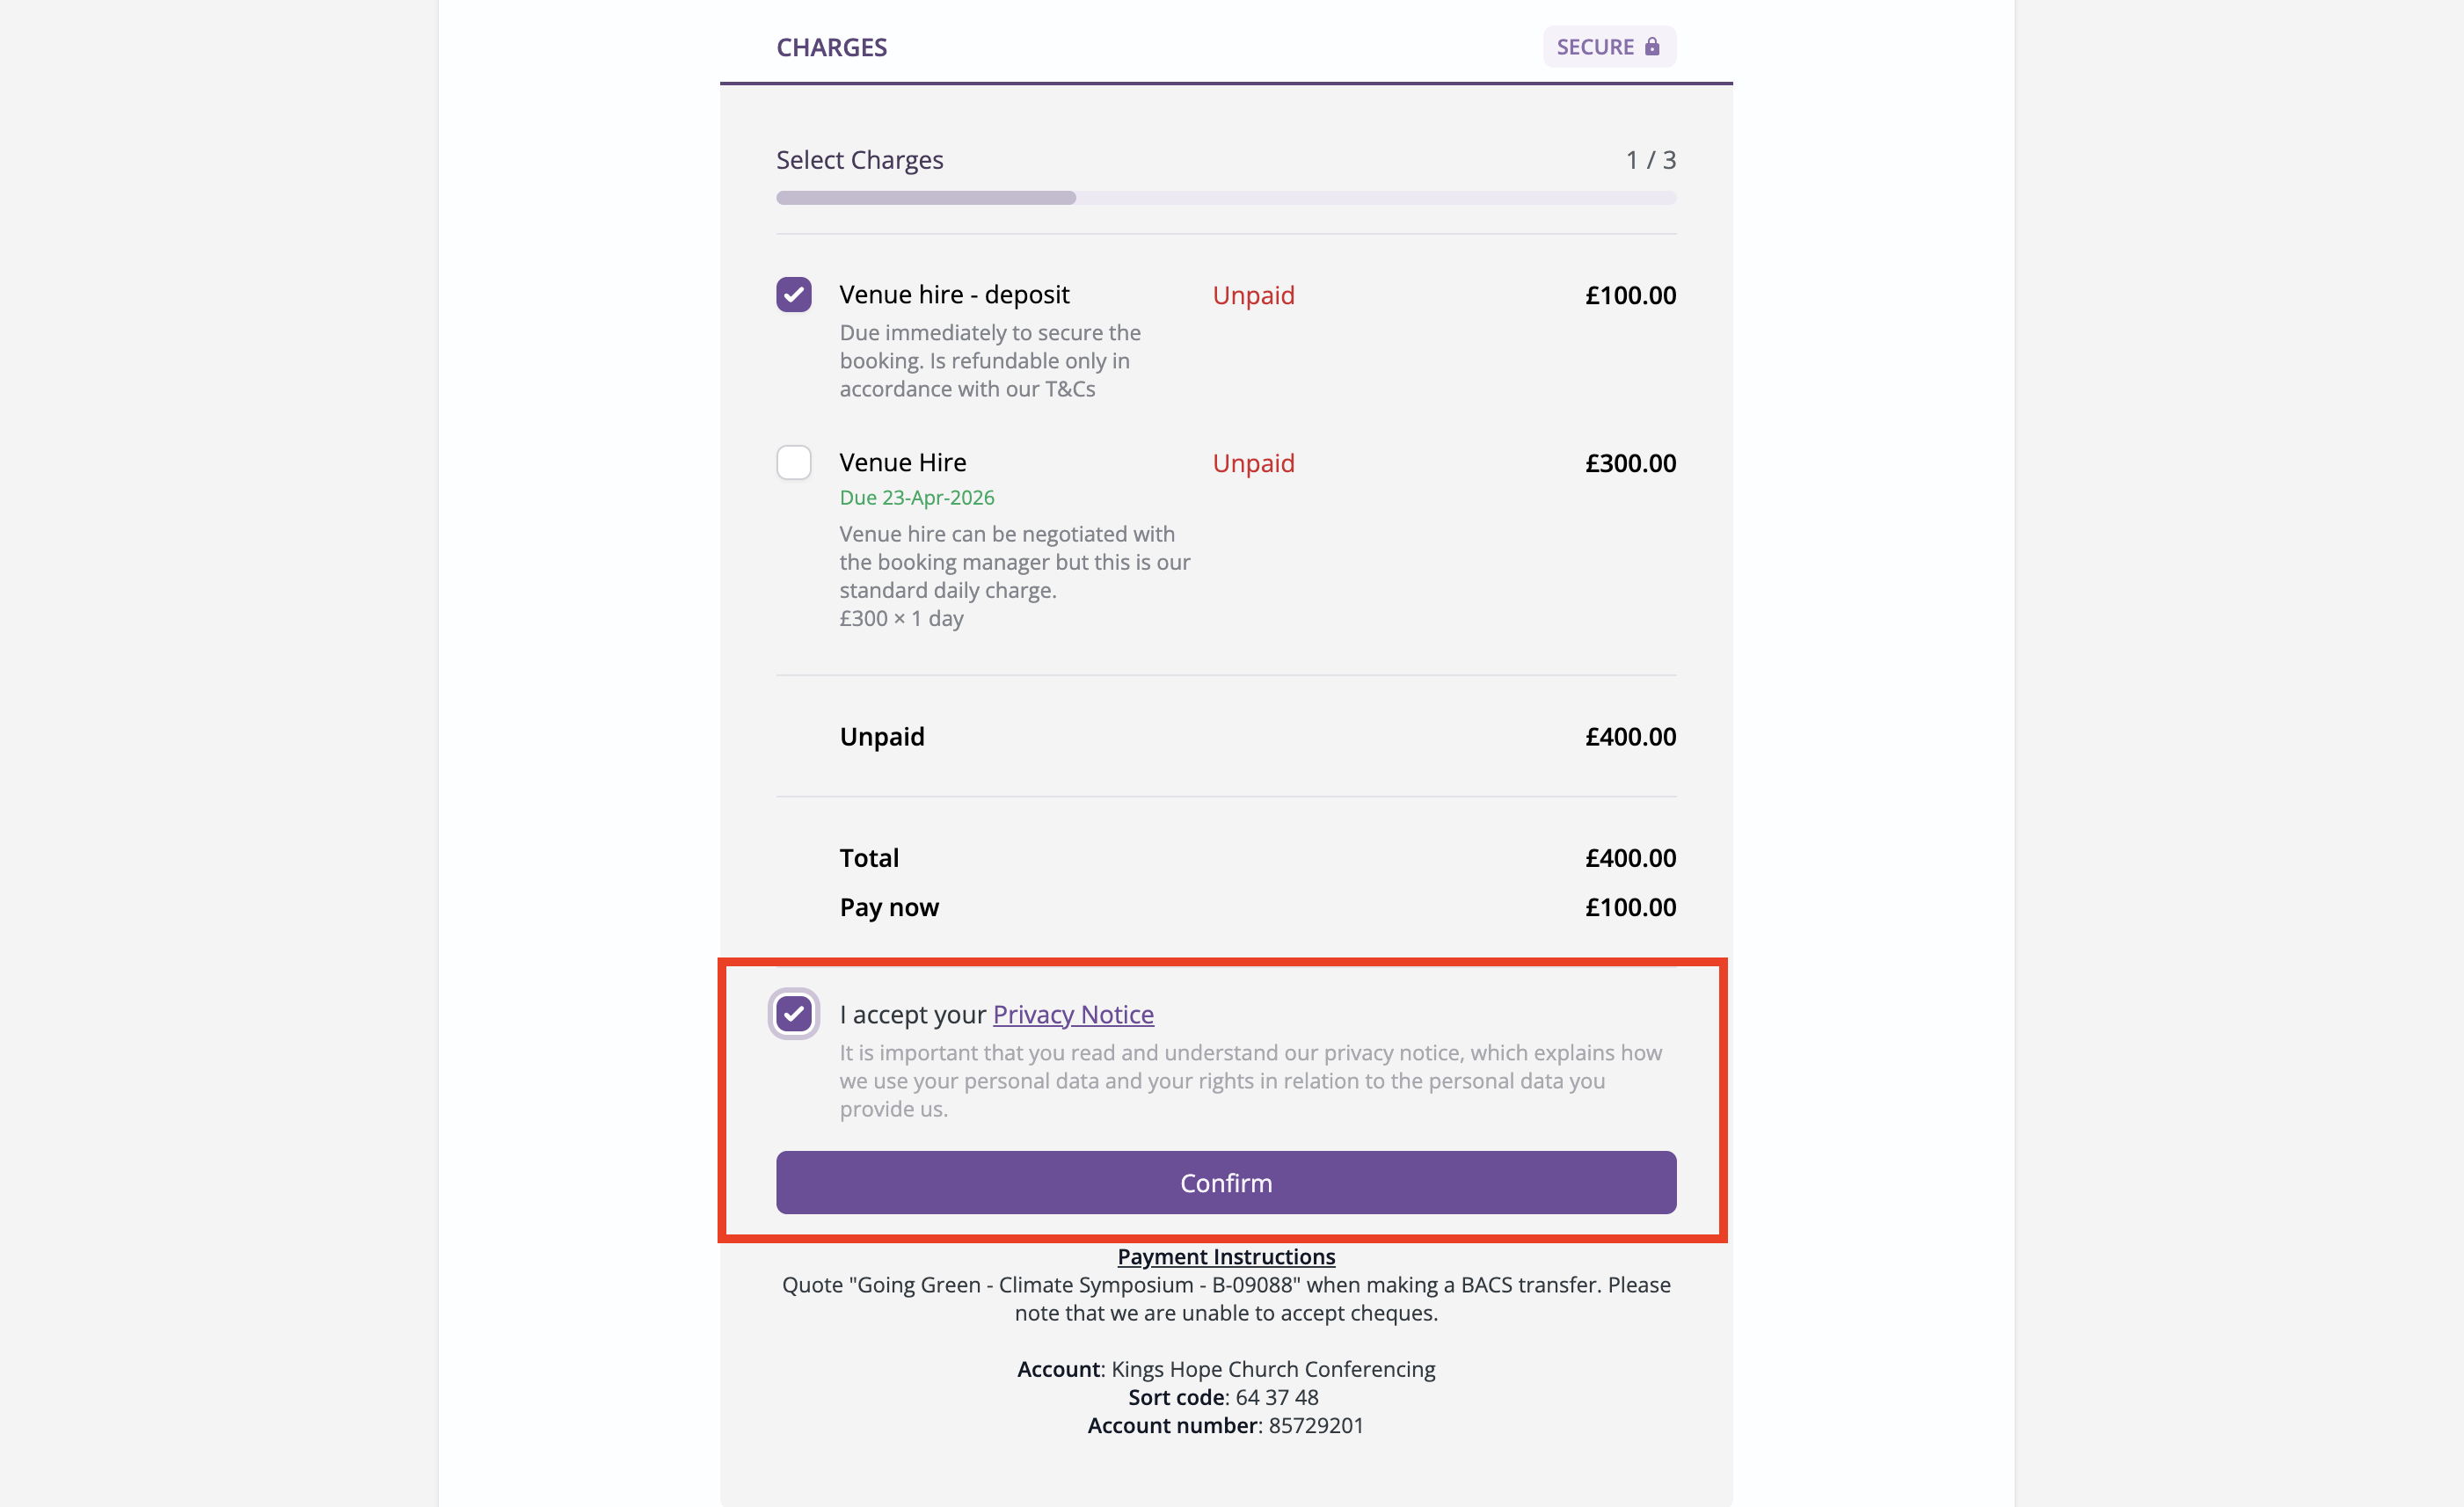
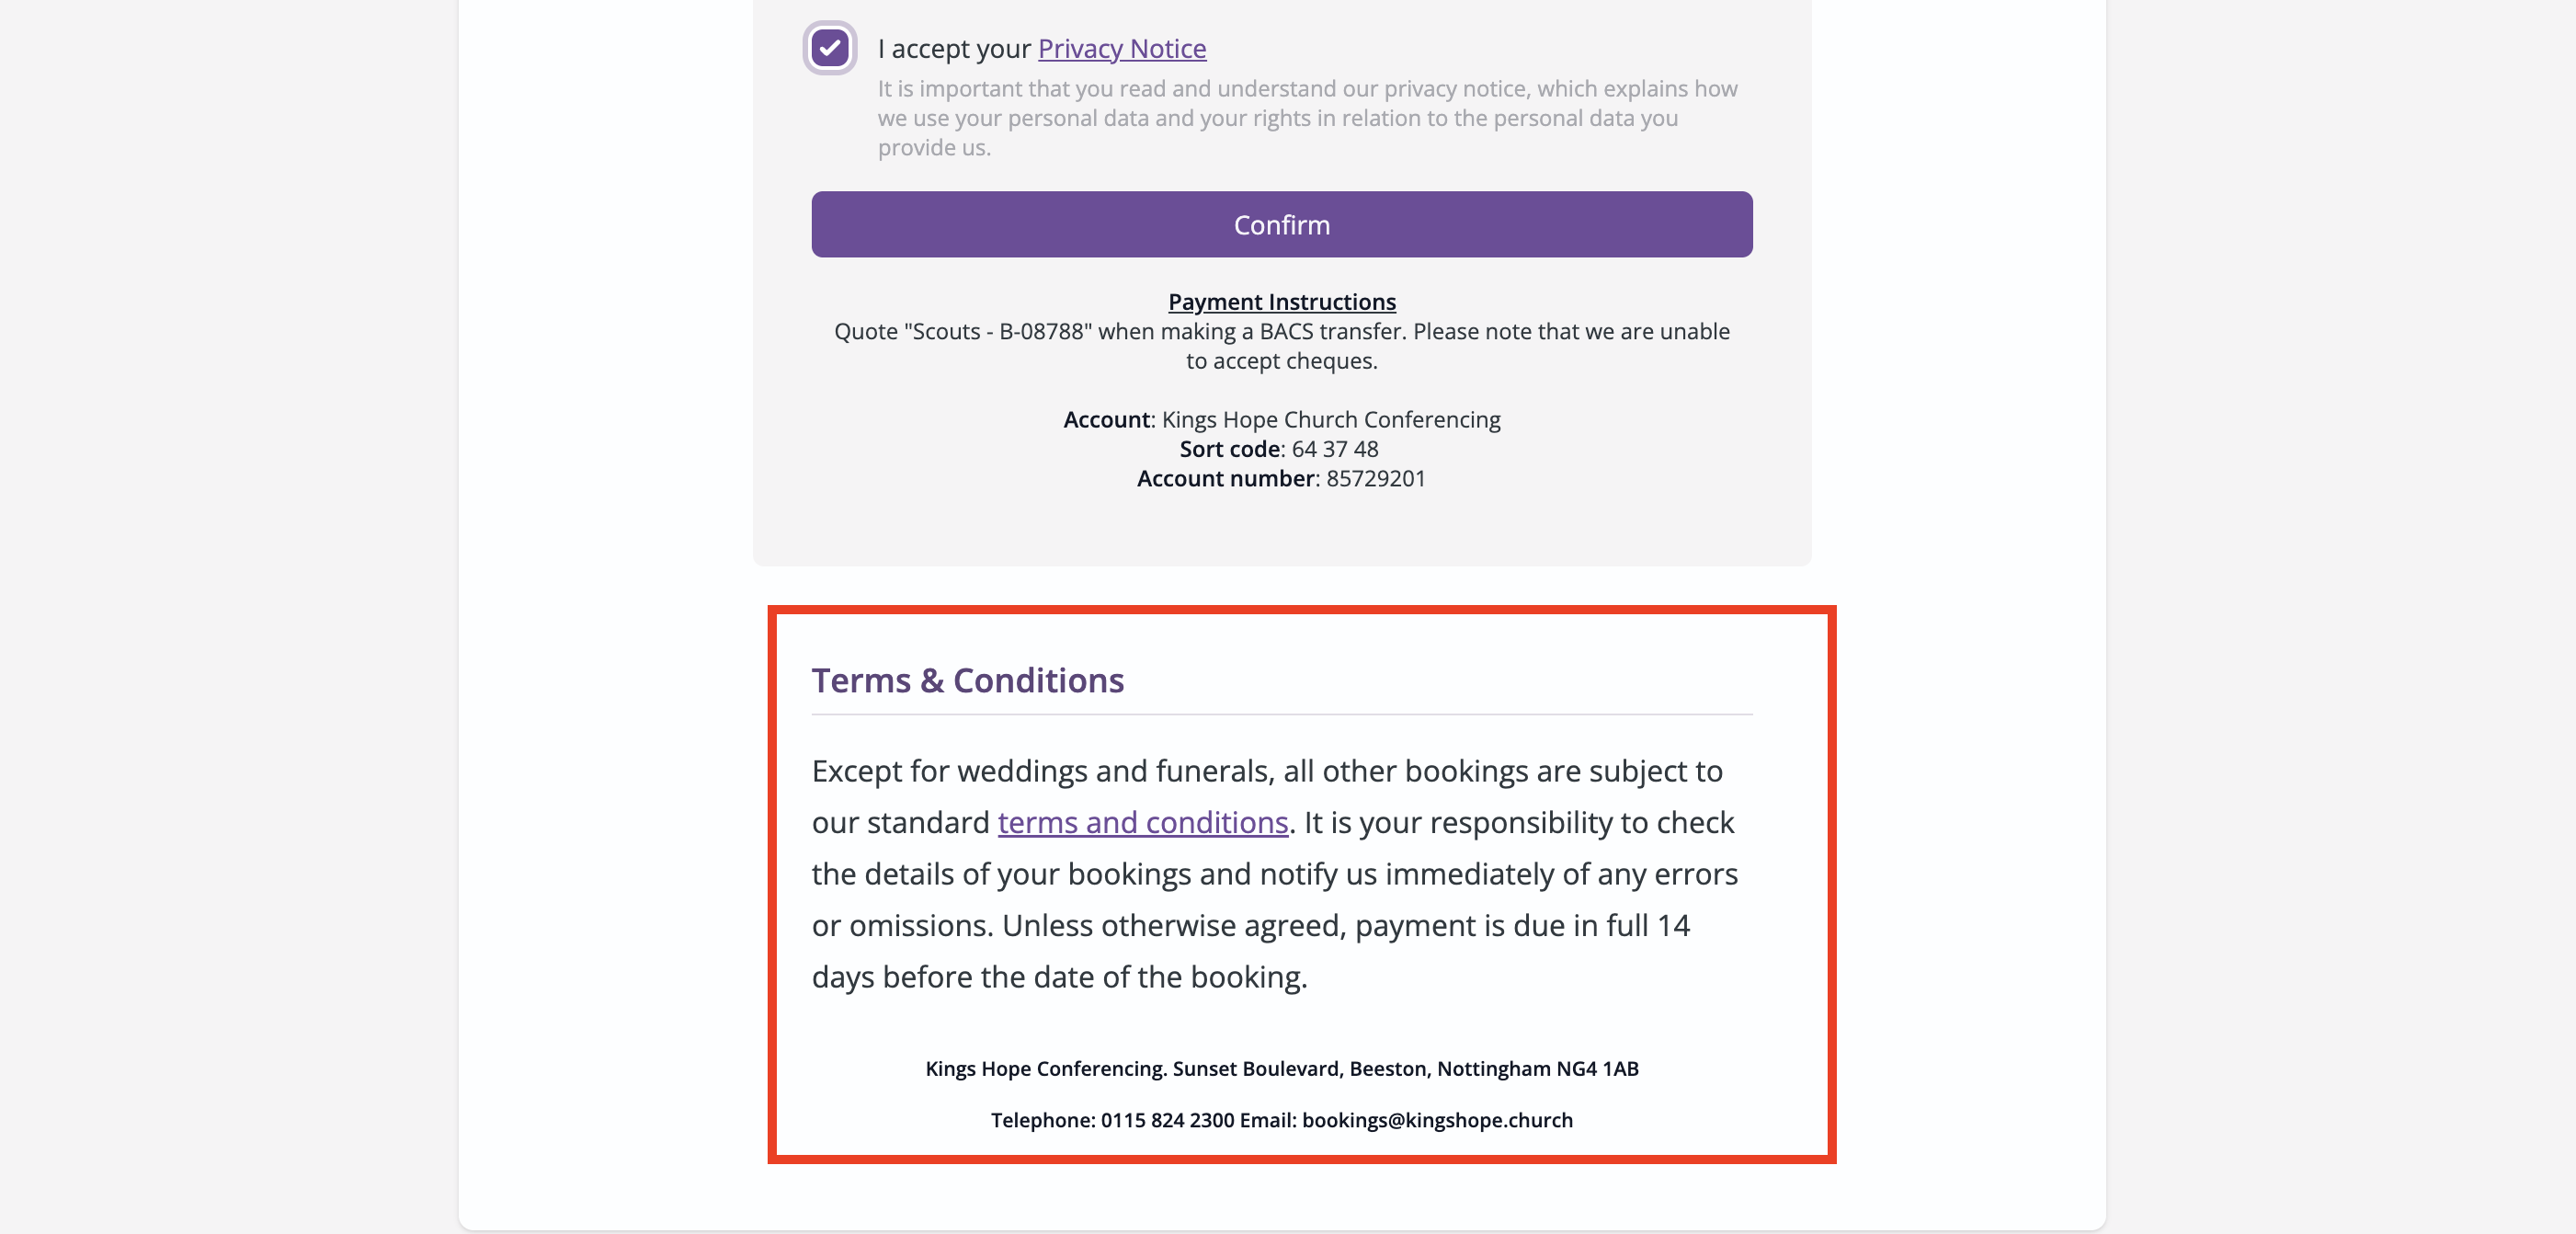
Dependent upon one being present in your Account Profile, the customer is required to indicate that they have read, understood and accepted your Privacy Notice before they can continue. If you have added further payment instructions to the booking's Type', these will be shown under the Confirm button.
Finally, in the Module Options section of the Bookings module, you can set a Custom Information message through the options available in the Booking Page section. Click Edit to make changes.
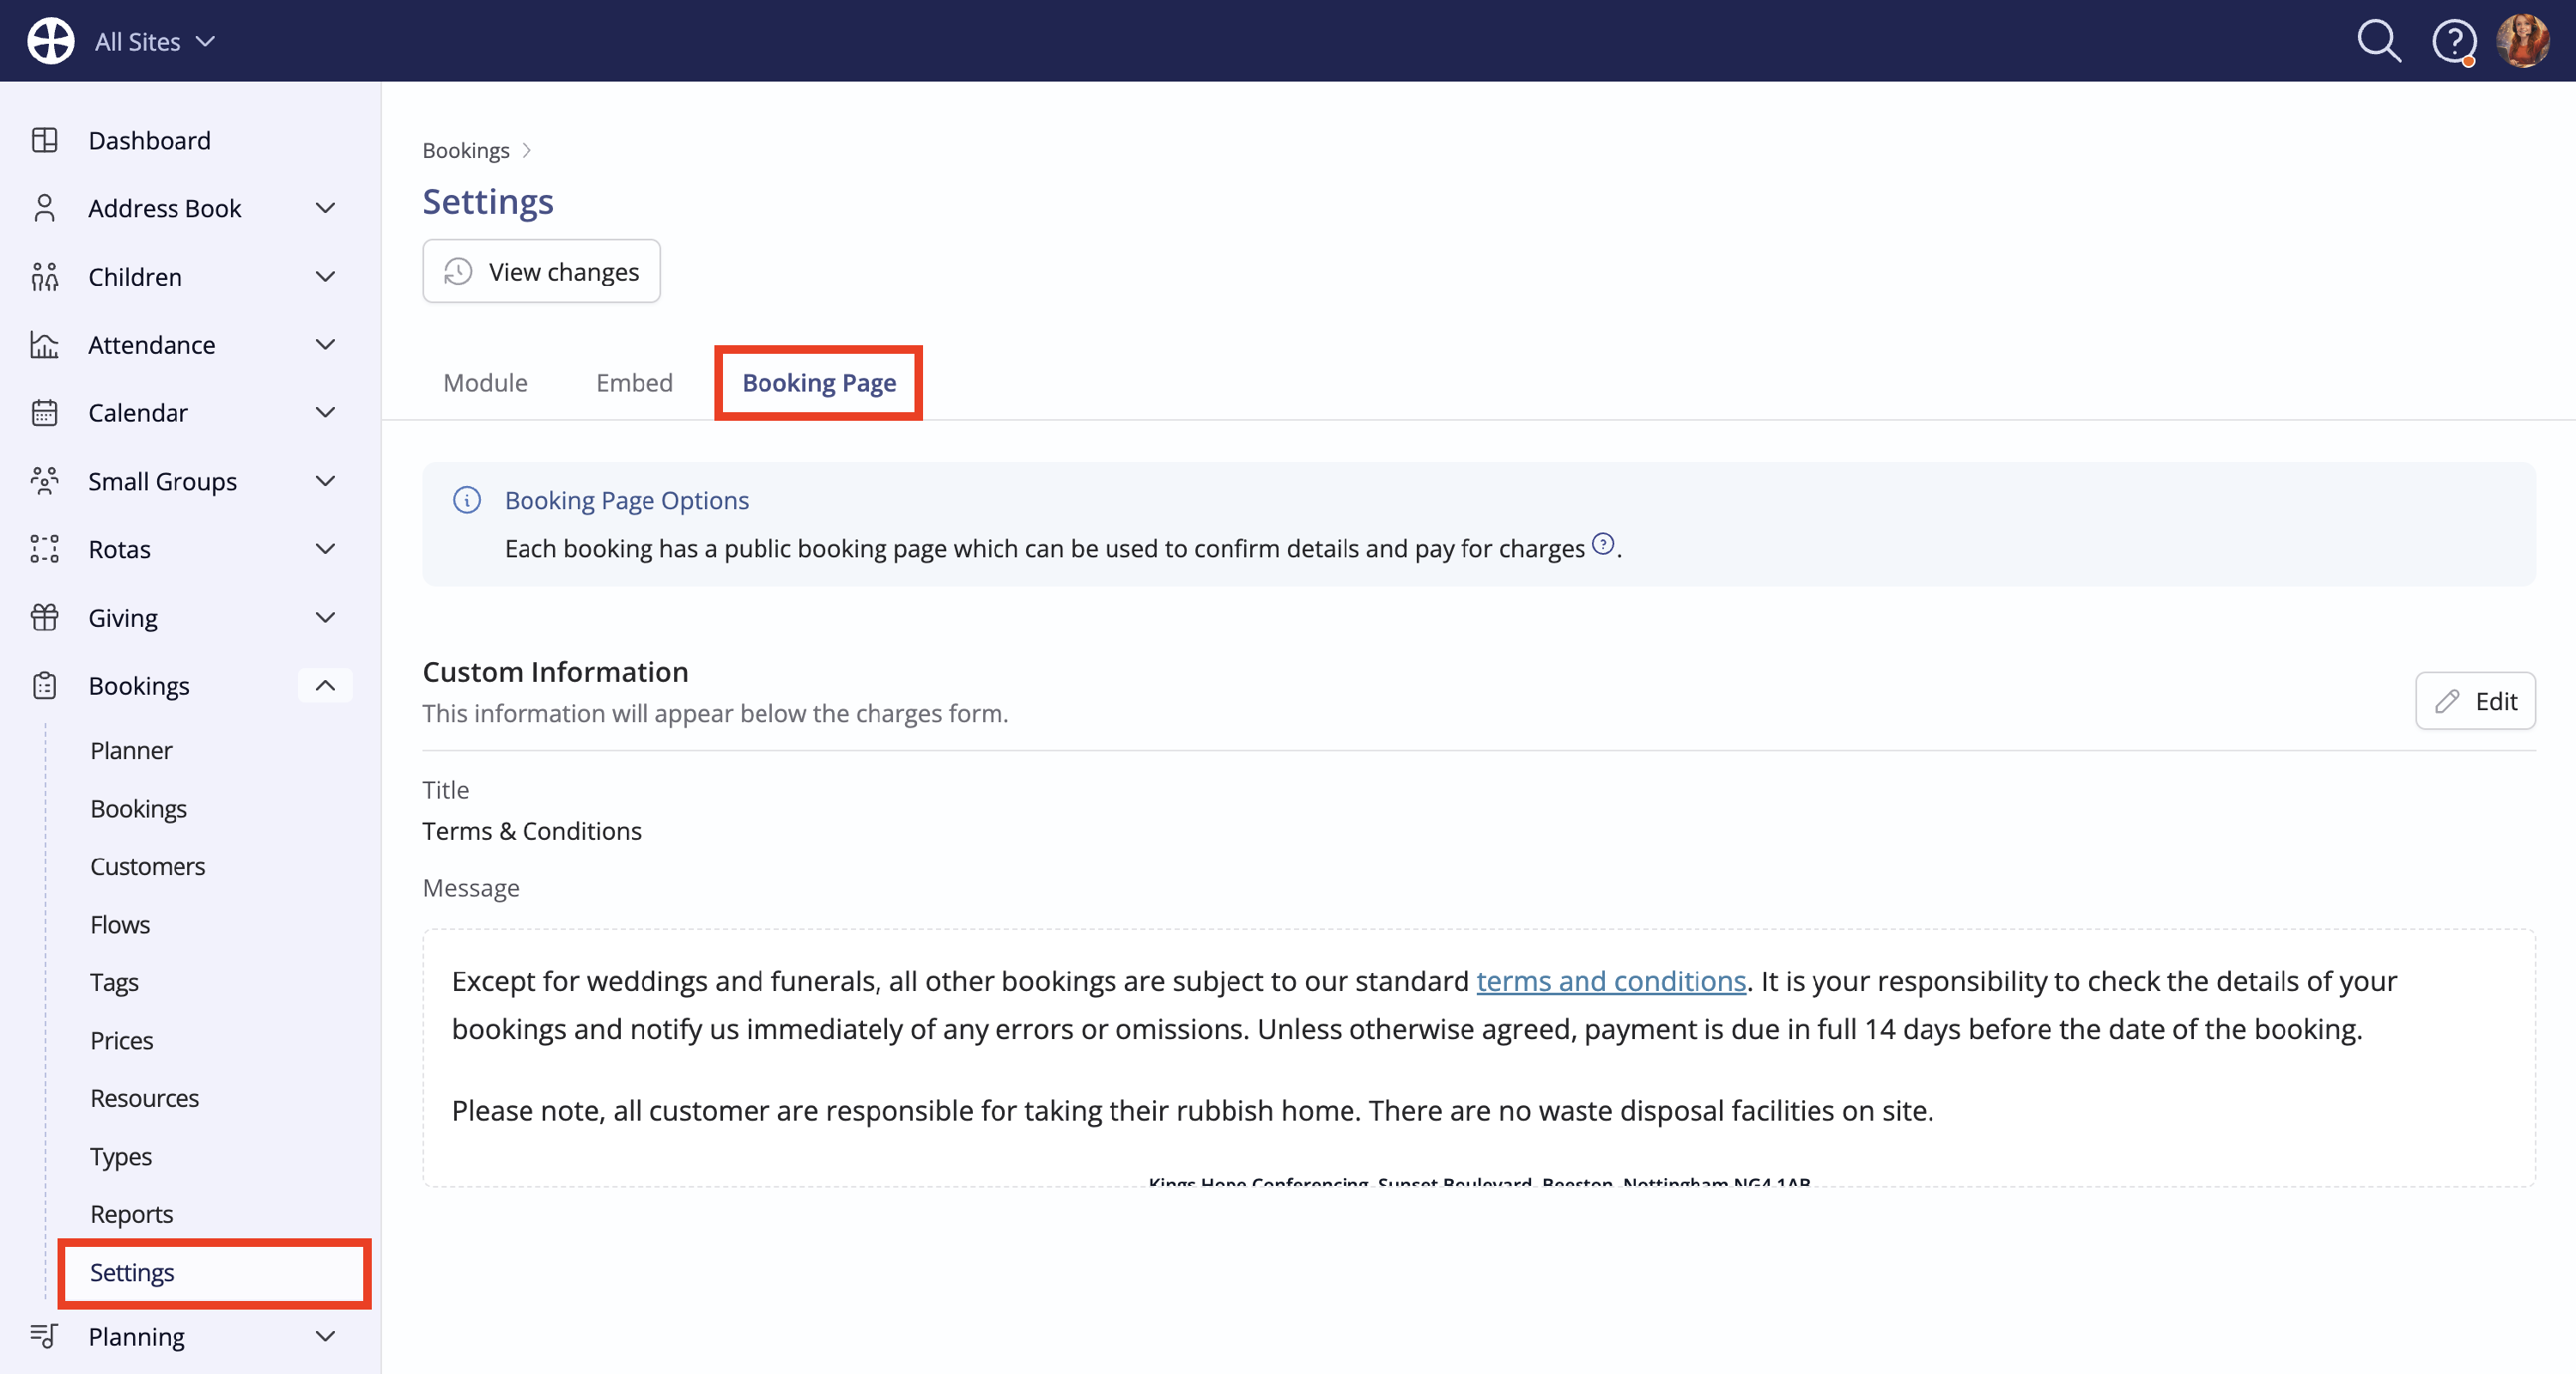
That message is then displayed at the end of the booking page, below the Charges section.
Clicking the Confirm button takes the customer to the second stage to review the contact details linked to the booking, including the customer's Name, Email, Phone and Address details.
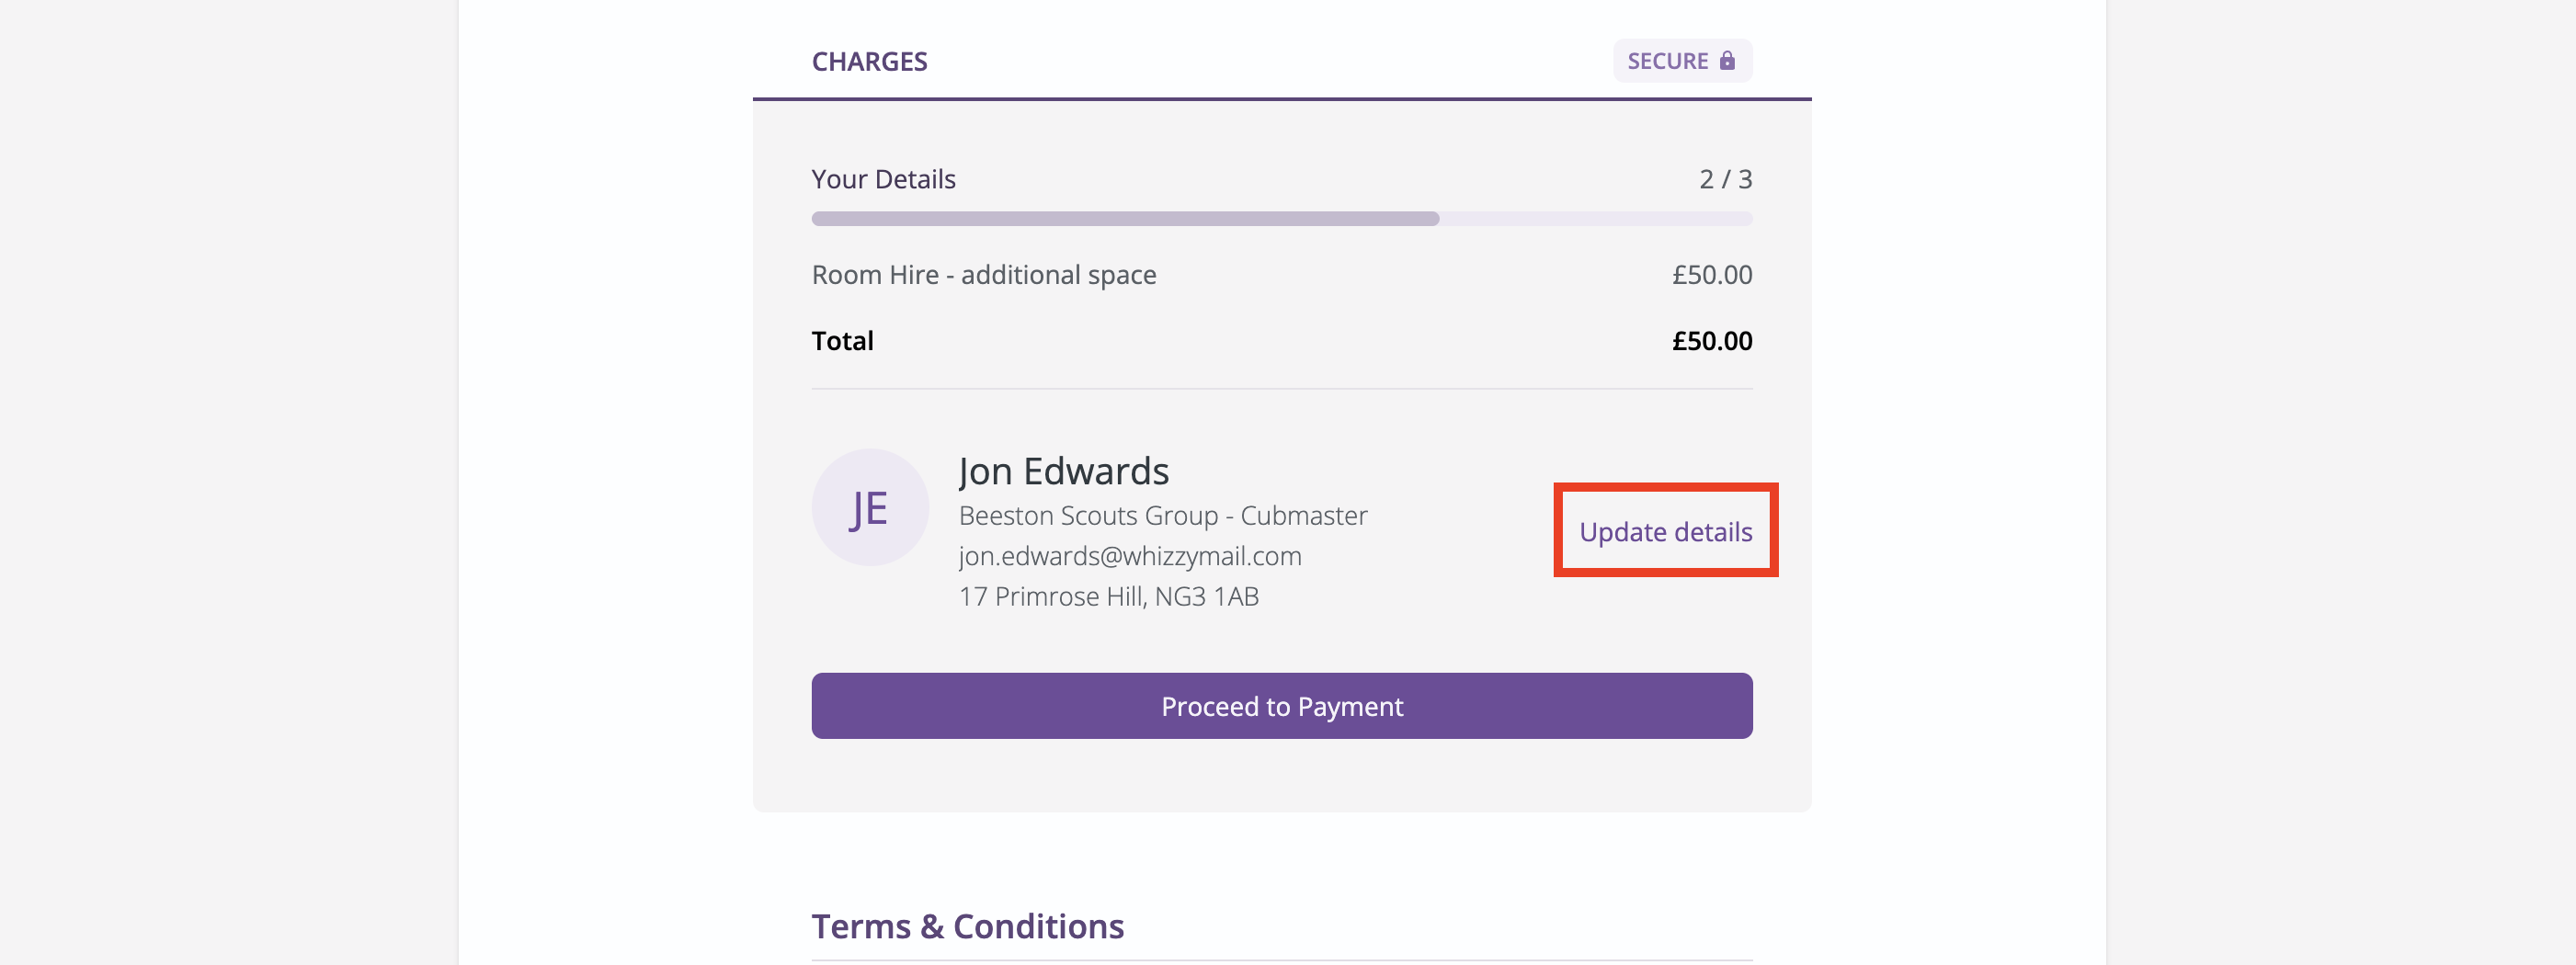
If no customer details have been provided or the customer selects the Update Details button (shown above), a form opens to allow them to add or update their customer contact details.
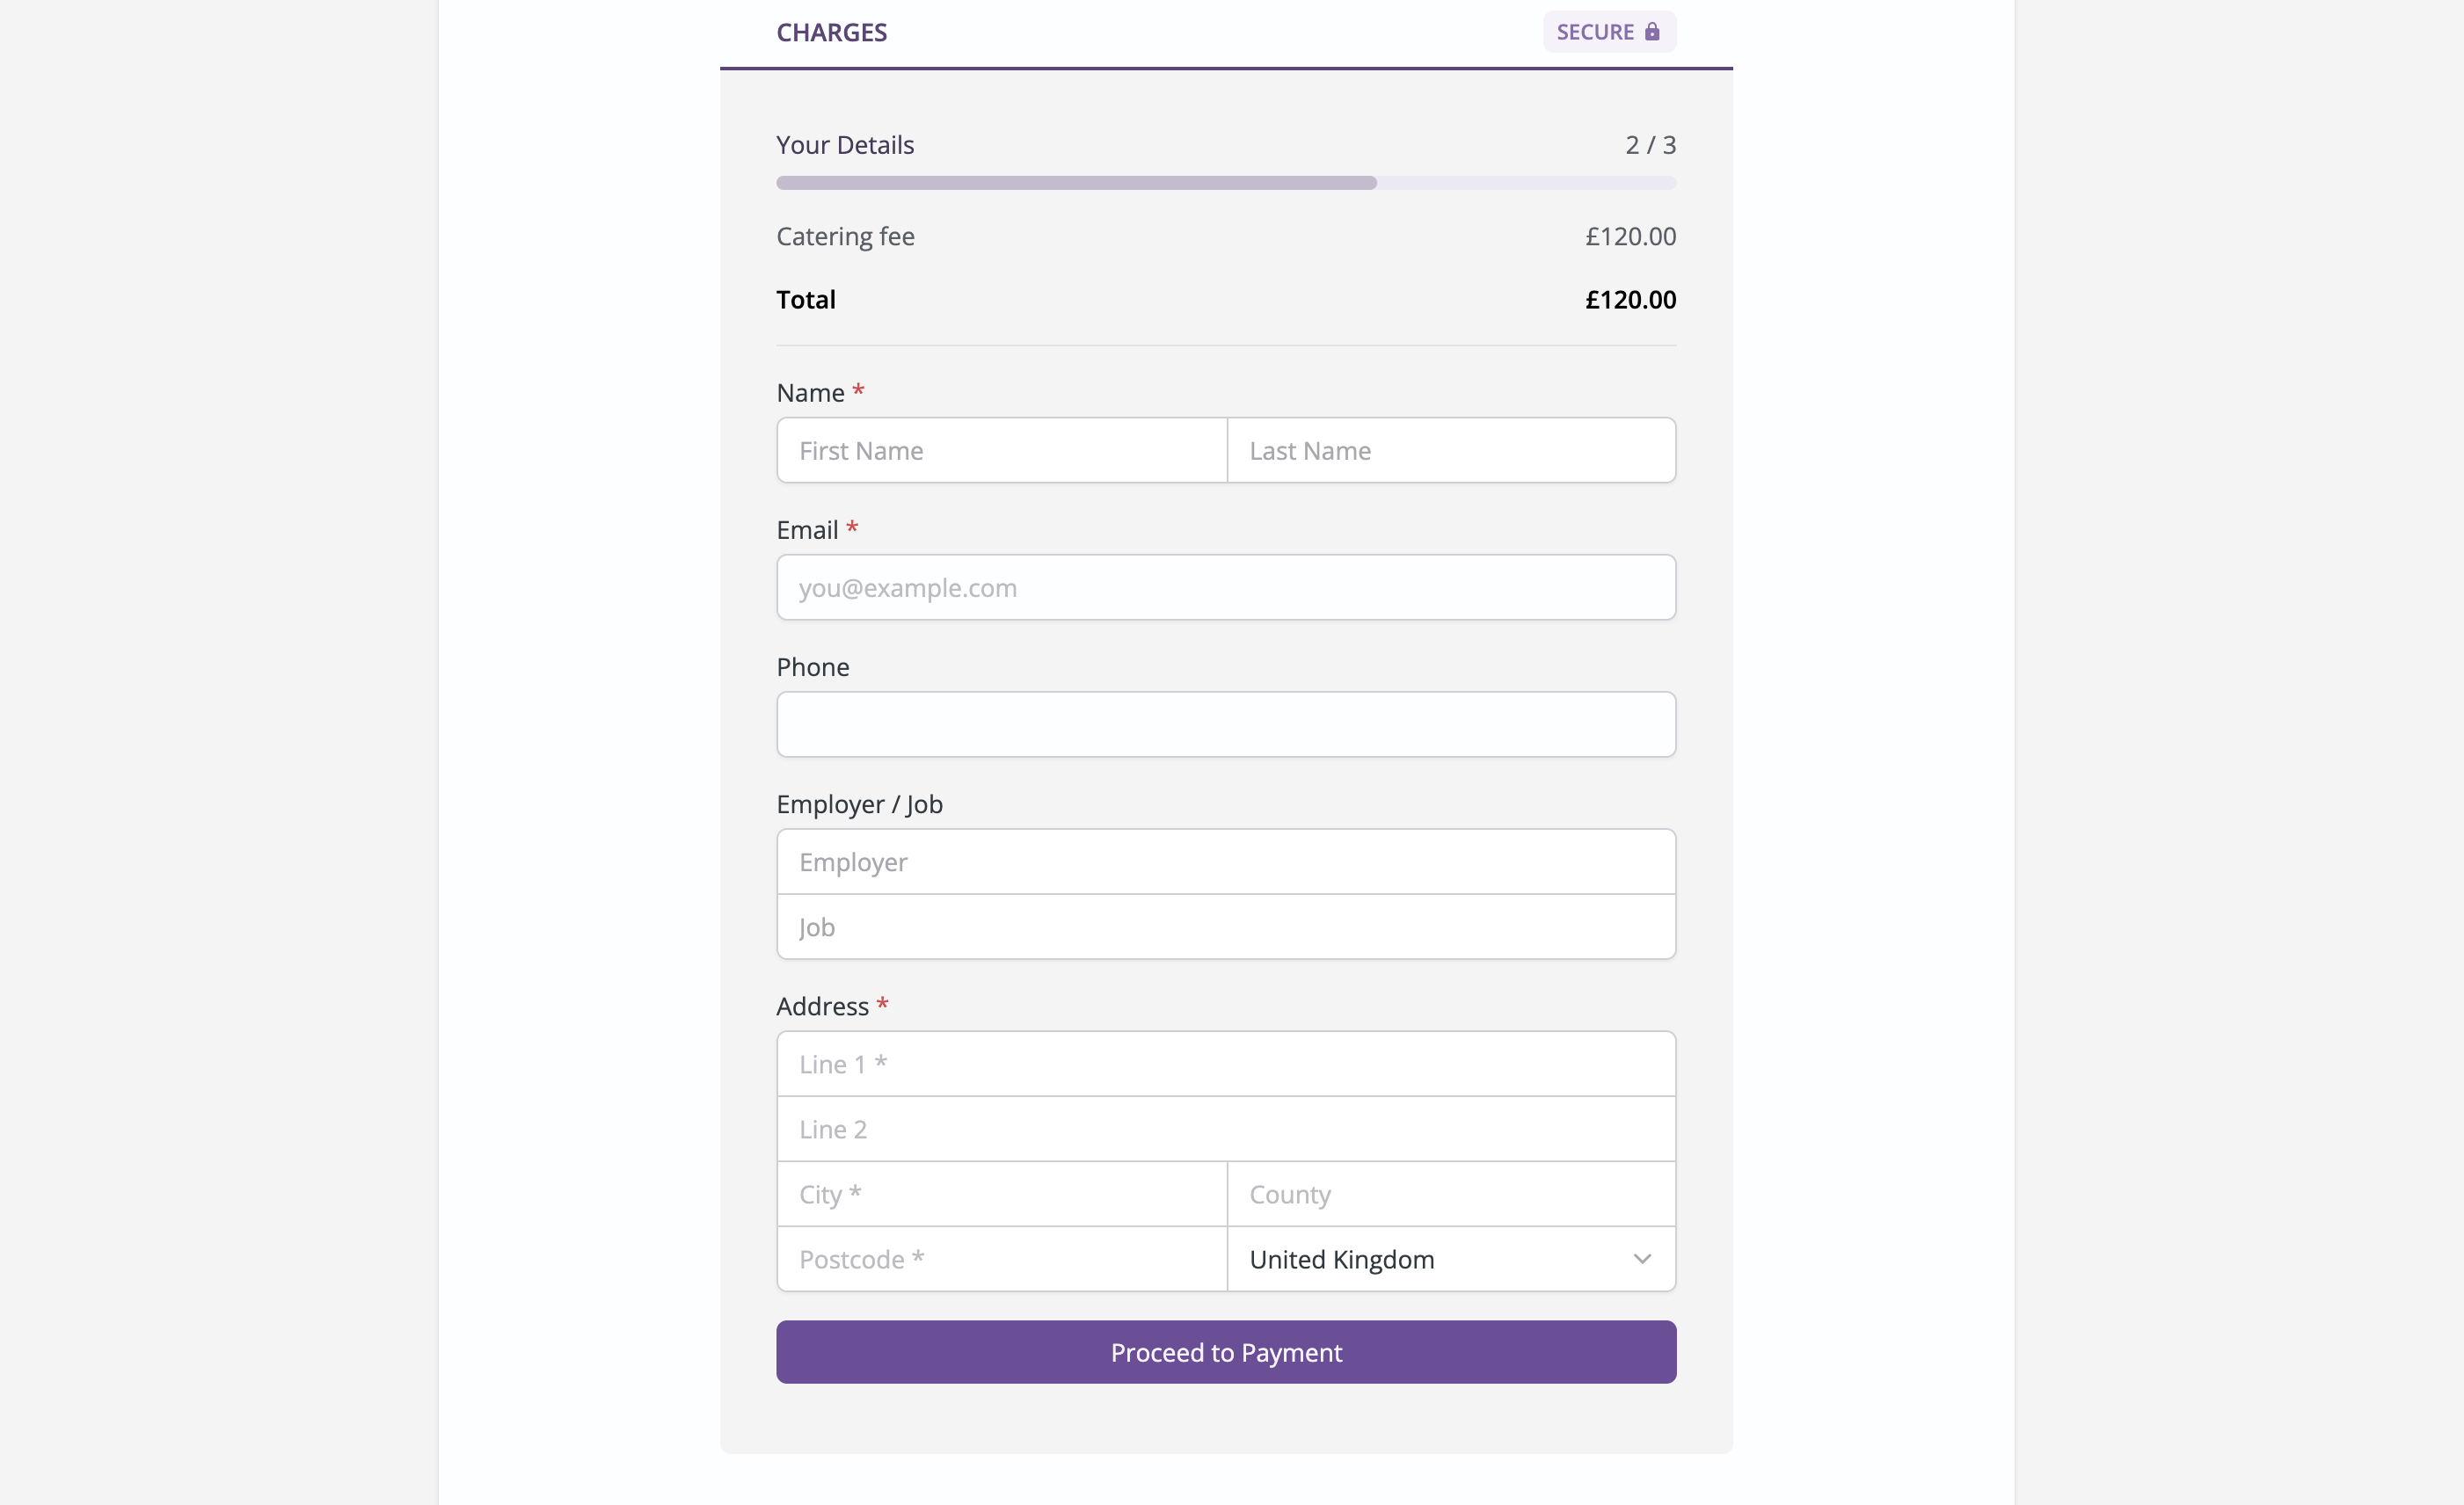
Having reviewed those details, they click Proceed to Payment to move on to the final stage, where they can enter their Billing Details (cardholder billing details may be different from the customer's details) and Card Details.
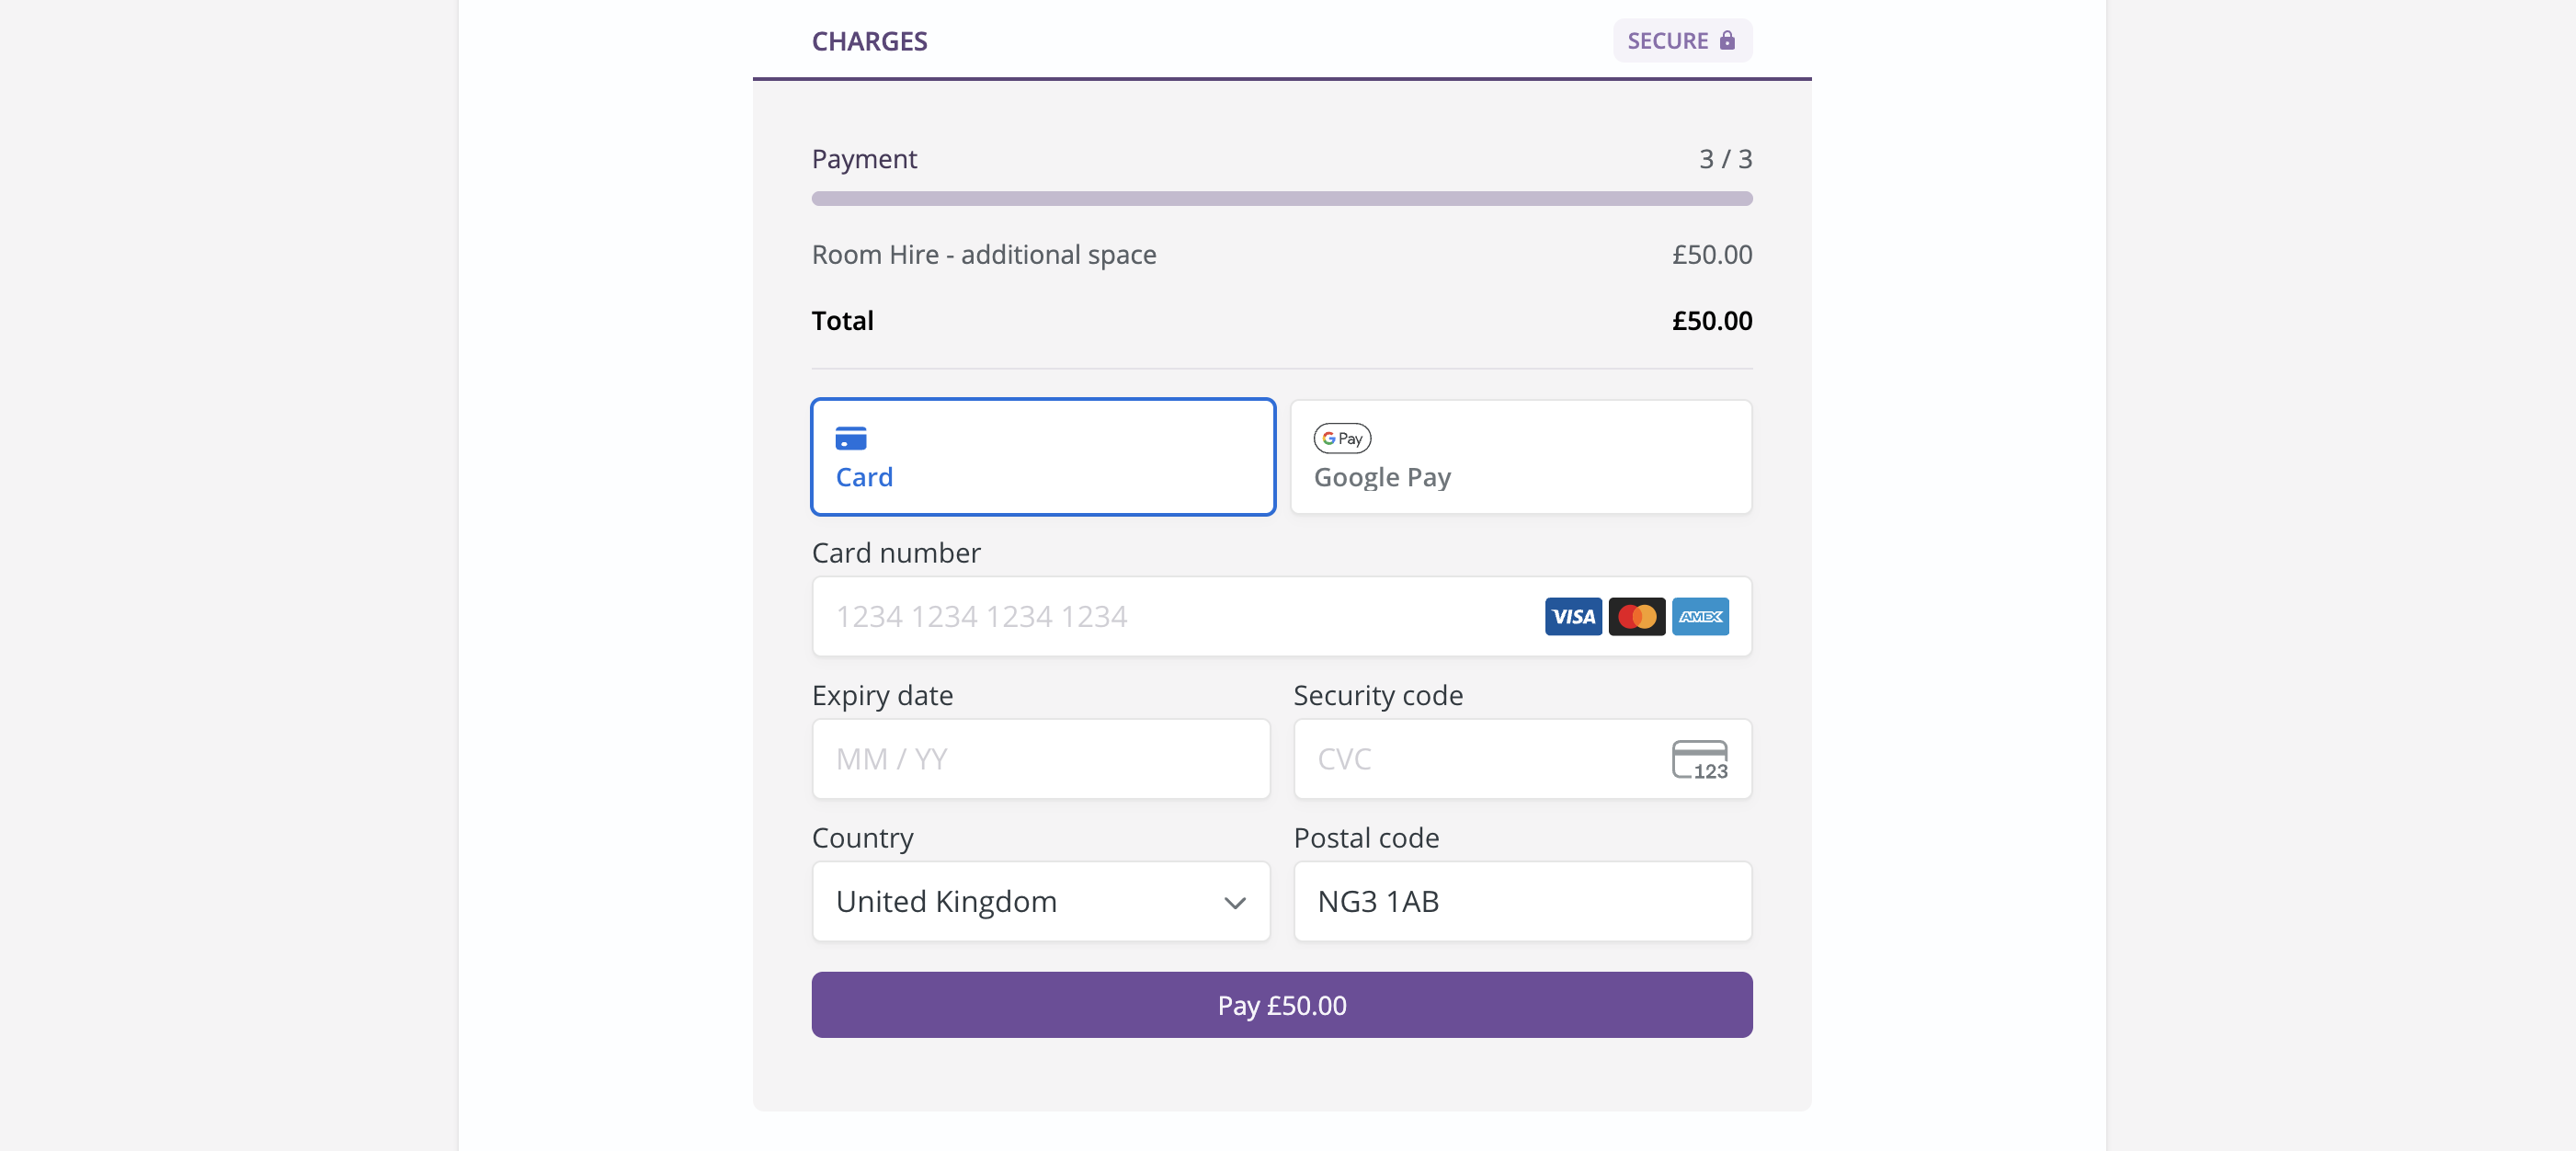
Once they are happy, clicking Pay will complete the process. A success message is displayed on the screen and a payment confirmation email is sent to the customer's email address confirming the payment made. The charge "status" is also updated from Unpaid to Paid in ChurchSuite. The charges listed on the booking page will also be updated to reflect the payment made.