The Check-In Admin area
In this article
Introduction
Admin area security
Accessing the Admin area during an active session
The Check-In summary page
Group summary pages
Child profile pages
Introduction
Leaders often need quick access to important information about the children and visitors in their care during an active session, but it's not always desirable to give them access to the Children module.
The Check-In Admin area is designed to give leaders secure access to all the information they need to run their group during an active session. We encourage you to read the related support articles on Running a Check-In session in a kiosk and Running a Check-In session as a register, which give a helpful overview of how the Check-In system works in different configurations depending on whether your check-in process is "Register first, Check In later" or "Register & Check In". In this article, we specifically tour the Admin area to familiarise you with the functionality available to Check-In overseers and leaders as they manage their groups at your various events and gatherings.
Admin area security
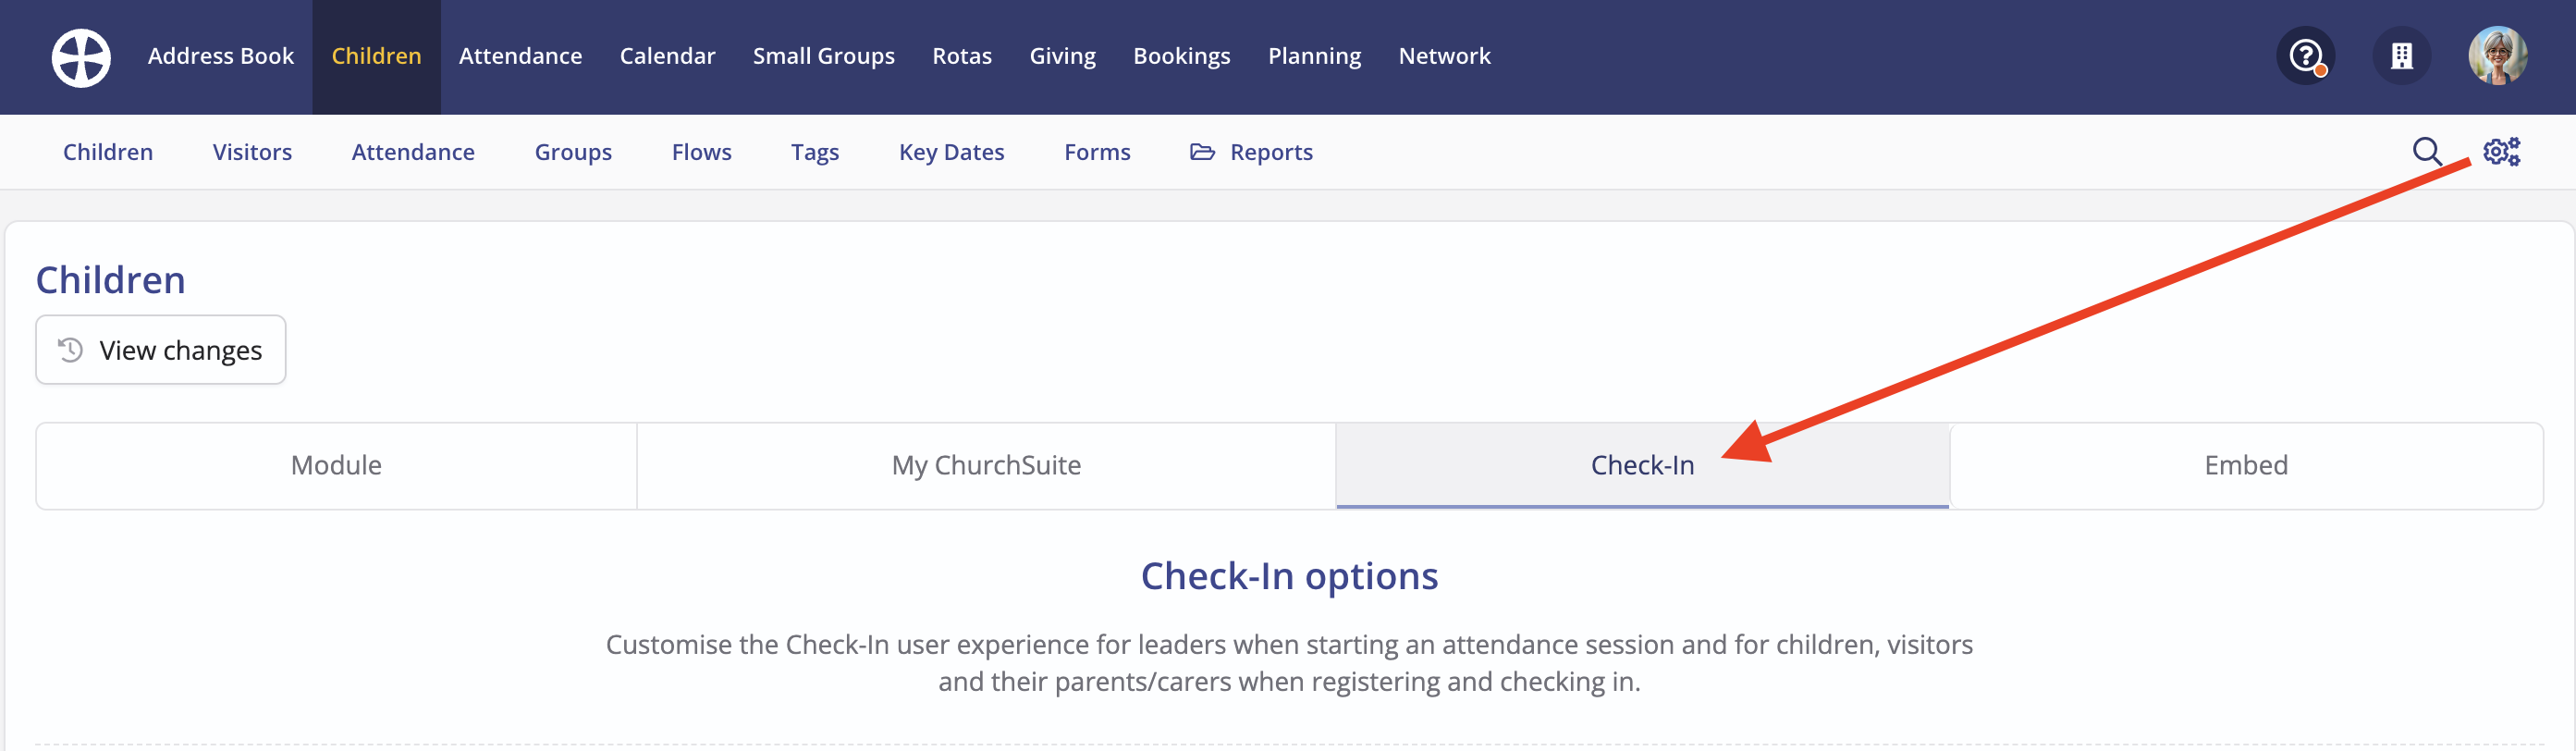
The Admin area is secured by a 4-digit PIN, which is set in the Check-In options in the Children module settings:
Scroll to the end of the Check-In options to locate the Admin Area PIN currently set. Click Edit to make changes.

The PIN is optional. If set, you'll need to share it with those who oversee starting Check-In sessions and any group leaders who need to access the Admin area during their session. The Admin PIN is enabled for each Check-In device by default. The first time a device accesses the Admin area, the PIN is required, but for staffed devices and on a device-by-device basis, you can keep signed in to the session, removing the need to re-enter the PIN on that device every time you enter the Admin area. If you opt to stay signed in, or if no PIN is entered in the module settings, leaders can quickly switch between the Check-In 'Search' page or Group Register and the Admin area without re-entering the PIN each time. For Check-In devices that are typically left unattended - such as an unstaffed Check-In device in Kiosk mode - we recommend using the Admin PIN.

Accessing the Admin area during an active session
During an active Check-In session, in both Kiosk and Register mode, the Admin Area is accessed from the Check-In Menu:

If enabled, enter the Admin PIN:

The Check-In summary page
The first page you'll see in the Admin area is the Check-In Summary. If no one has been checked in yet, the Summary may be collapsed - click Show empty groups to expand the Summary group list. The 'people count' to the right of each group shows the number of currently checked-in children and visitors vs. the number of registered children and visitors. The two values will be different if there are registered children who have not yet been checked in (for a "Register first, Check In later" session) or if any children have been checked out.

The group check-in progress bar explained
The check-in progress bar prioritises two group settings: adult-child ratio and capacity.
In this example, the group has a capacity of 12. However, because the adult-child ratio is 1:3 and only three adult team members are currently checked in, the bar prioritises check-in progress relative to the adult-child ratio:

In this next example, the group has a capacity of 18 and an adult-child ratio of 1:6. While the adult-child ratio would permit up to 24 children with four checked-in adult team members, the group's maximum capacity of 18 takes priority.

When a group's capacity is reached, no further children can register or check in. However, when a group's adult-child ratio is reached, further check-ins are still permitted, but you may wish to draft in additional adult team members to comply with your adult-child requirements, or adjust the ratio in the group's Edit settings. Non-adult team members are distinguished separately and excluded from the adult-child ratio calculations (shown in this example).

From the Check-In Summary page, leaders can access Session settings and their Device settings or, as shown in the next section, click on a group of interest to see the group summary page and the list of registered/checked-in children, visitors and team members.

Session settings explained
- Pause (Resume) - You can pause an active session from any Check-In device. This will prevent further registrations or check-ins until the session is resumed.
- Settings - Allows you to make changes to the settings for the active session, such as check-in code, check-in process ("Register & Check in" or "Register first, check in later) and number of badges of each type to print for the session.
- Swap - Leaders can swap between other active sessions. This is ideal when you have consecutive sessions and there's a period of overlap where you're checking children out of one session and checking children in for the next session.
- Leave - You can leave an active session if the Check-In device is no longer being used.
- Close - Depending on the Check-In User permissions, a leader can close the active session when it ends. This will check out all remaining checked-in children, visitors and team, and end the session for all other devices.
Group summary pages
Clicking on a group on the Check-In Summary opens the group summary page. For a Register first, Check In later session, the registered attendees are initially shown as not checked in (shown in grey). Clicking the slider will check them in and add the check-in time stamp to the child's attendance record in the group. Clicking the slider for a checked-in child will check them out and add the check-out time stamp to the child's attendance record in the group.

For a Register & Check In session, registered attendees are initially shown as checked in (shown in green). Clicking the slider for a checked-in child will check them out and add the check-out time stamp to the child's attendance record in the group (shown in red). A checked-out child can be checked back in again if the child is returned to your care. The Filter and Search bar at the top of the group page can be used to filter a long list.

As seen in the example below, icons next to a child's name indicate if the child has medical details, additional needs, or additional information recorded, but full details are shown on the child's profile page (seen when clicking the child's name in the list) and shown for all children in the group when viewing the group details page. Visitors are distinguished by a V symbol displayed in a child's avatar. From the group page, clicking Add, leaders can add late arrivals and any adult attendees (contacts attending your children's group) to the group without needing to return to the Register or Kiosk Check-In page; however, it is not possible to register a new visitor (adult or child) through this add-to-group workflow.

Finally, in this section, note the Group actions:
- Edit - to make changes to the group's adult-child ratio or group capacity.
- Details - to see a summary of pertinent information about registered children in the group - Medical Short, Medical, Additional Needs, Additional Info and Photo/Video Consent.
- Notes - provides a great place for group leaders to add feedback from their session.

Child profile pages
Clicking on a child's name within the Admin area opens their profile, which shows pertinent information about the child and their emergency parent/carer contact details. A child's profile details cannot be changed from within the Check-In system; they can only be updated from within the Children module. Note also the option to Edit the child's role and support needs (see below), Re-print badge, Move the child to a different group, Delete an incorrect check-in, and Check out the child from the session.

Clicking Edit allows you to change the child's role (Attendee/Team Member) and, for a child, to edit the Support Needs - the default ratio for that child.

Editing the Support Needs for an attendee allows you to accommodate children who require support that differs from the default group ratio. Choose the appropriate needs from the options shown, or enter Custom support needs.


Click Submit to save the changes, and the group ratios will be automatically updated to reflect the live situation.
Editing a checked-in team member follows the same principle, allowing you to indicate their Support Capacity - the number of attendees they can support.
