Customising the Check-In user experience
Introduction
In this article, we'll focus on the Check-In Options in the Children module settings that control certain aspects of the Check-In User experiences for leaders, parents/carers, attendees and visitors. For customers who are new to the Check-In System, we draw your attention to the other Check-In-related articles shown at the end of this article.
Customising Check-In options
Navigate to the Check-In tab in the Children module settings, accessed via the cogwheel icon in the top-right corner of the module. Begin by choosing your preferred Session Defaults, which apply when creating a new session from scratch in the Check-in system. Click Edit to make changes to the settings on this page. For badge printing from a browser environment, the Badge Size selected must match the label stock loaded in the printer and the default paper size set in browser Print settings; otherwise, you'll experience a label size mismatch error, and labels won't be printed, or the printed labels will be scaled incorrectly when printed.

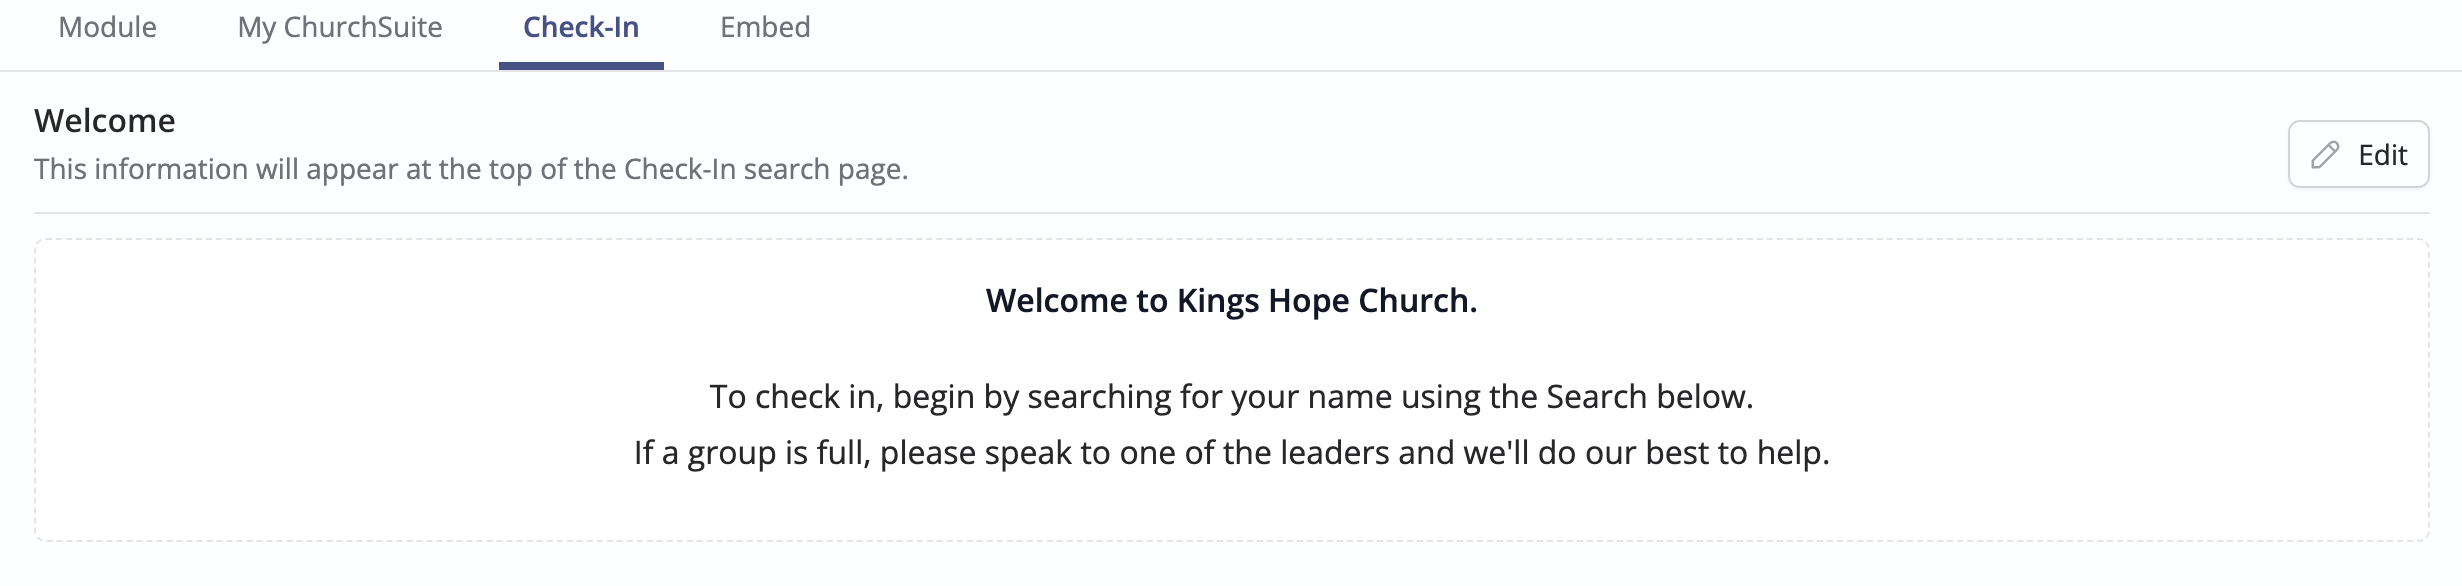
Optionally add a Welcome message to the top of the Check-In 'Search' page that parents and carers see when using a Check-In device in Kiosk mode. For example, you could add guidance for parents/carers on where to get help if they experience an issue checking their child in or have a question.
Choose the Search criteria you want to offer parents/carers to help them locate their child in the Check-In system. Name search matches full and partial first or last names of children, visitors, team member contacts and parents/carers. Phone search matches on a full or last four digits from a parent/carer's telephone or mobile/cell number.
For example, for an unstaffed Kiosk mode device, you may wish to restrict the visibility of people's identities by turning off name search, which minimises the risk of unscrupulous name testing. However, for a staffed Check-In device, offering a broader range of search fields will make it easier for your Check-In leaders to locate attendees in a search.

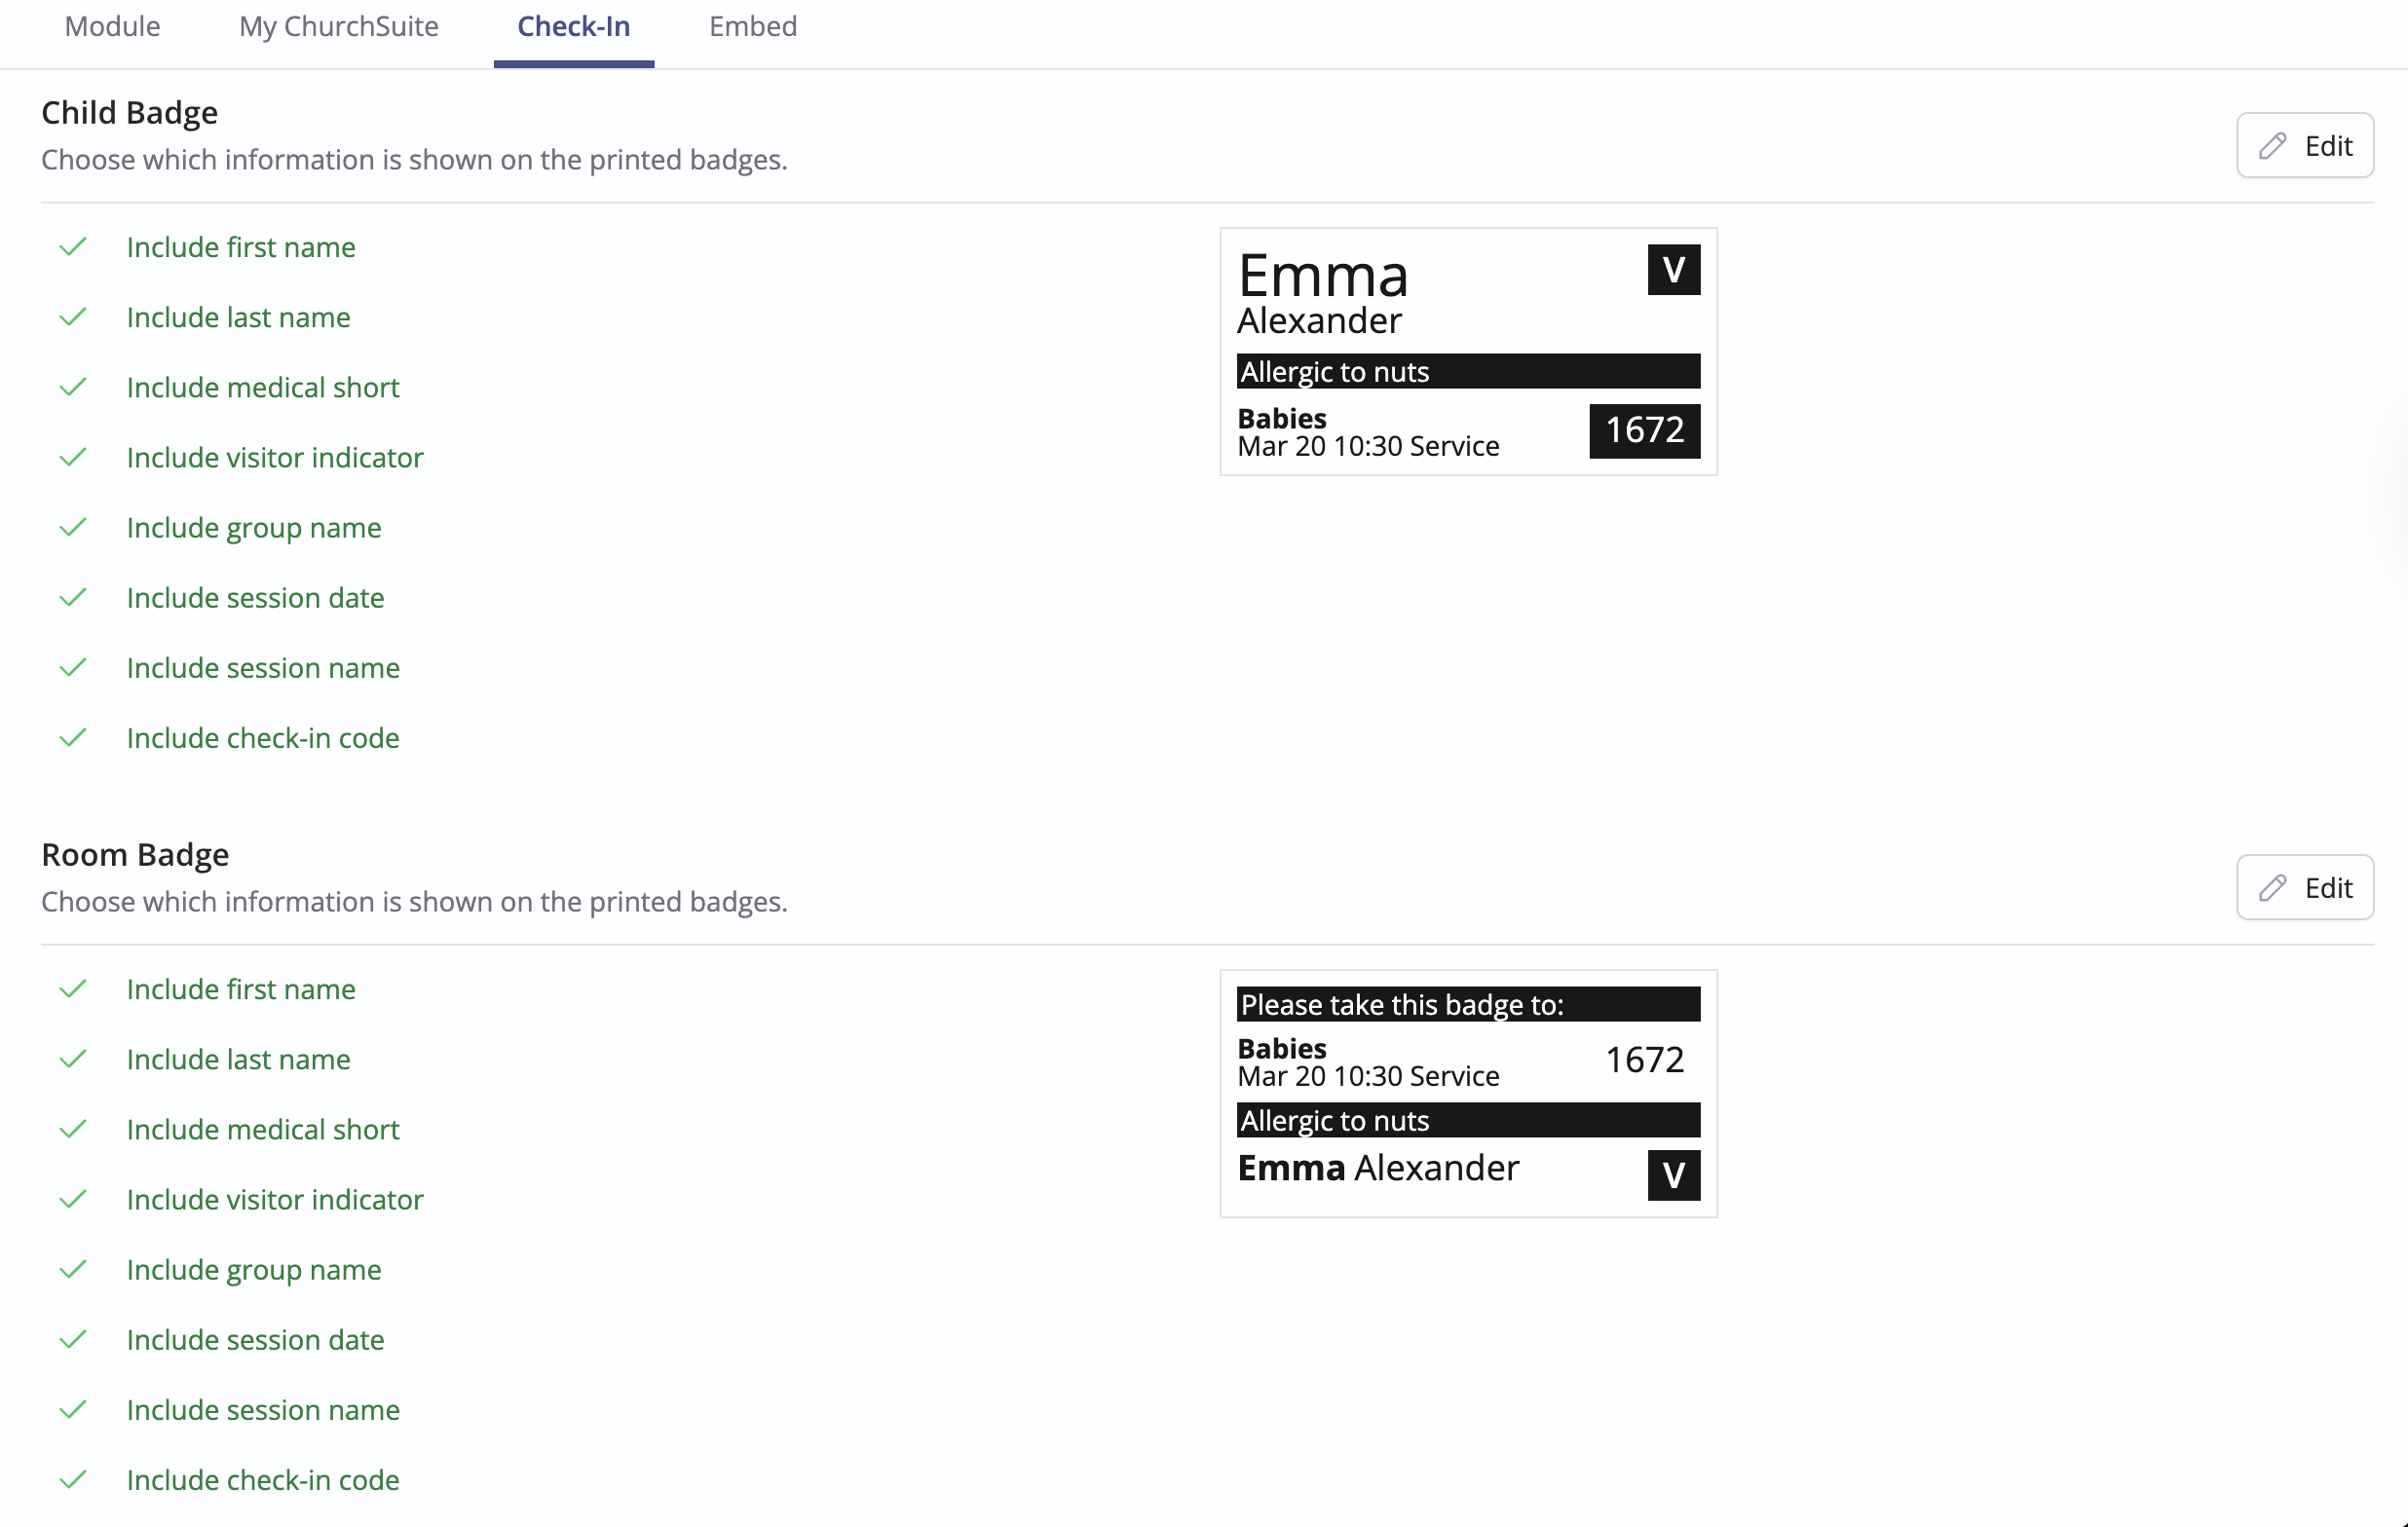
You can choose the fields of information shown on printed Child and Room Badges. However, parent and Team badges cannot be further customised.
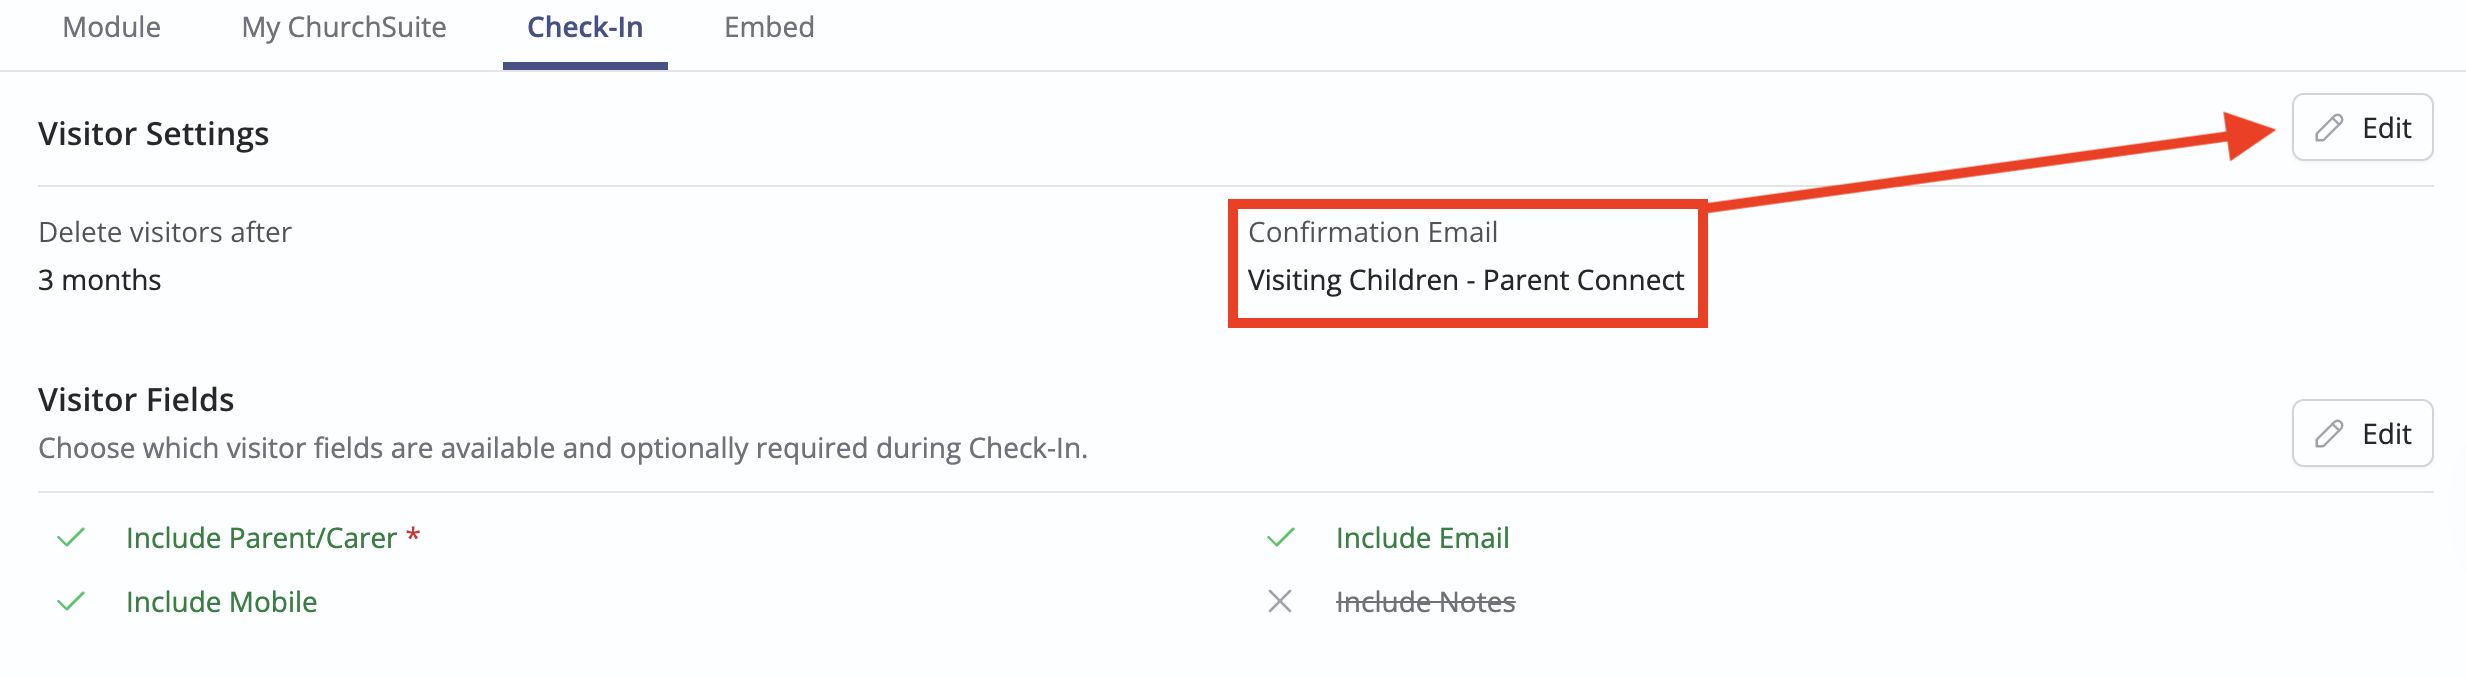
The Visitors Settings allows you to set the time period visitor data will be retained for, along with a preferred email to be sent on submission of the visitor form. Whenever a visiting parent or carer completes the Visitor check-in process and submits personal data about their visitor child, a confirmation email is always sent to the parent/carer email address (if an email address is supplied on the Visitor form). That confirmation email contains full details of the personal data that was submitted.
However, you might prefer to send a more welcoming message to your visitors. This can easily be done by creating a Preset 'visitor welcome' email and setting it as the "Success" Confirmation Email. ChurchSuite will automatically append the data submission confirmation to the end of your Preset email before sending.
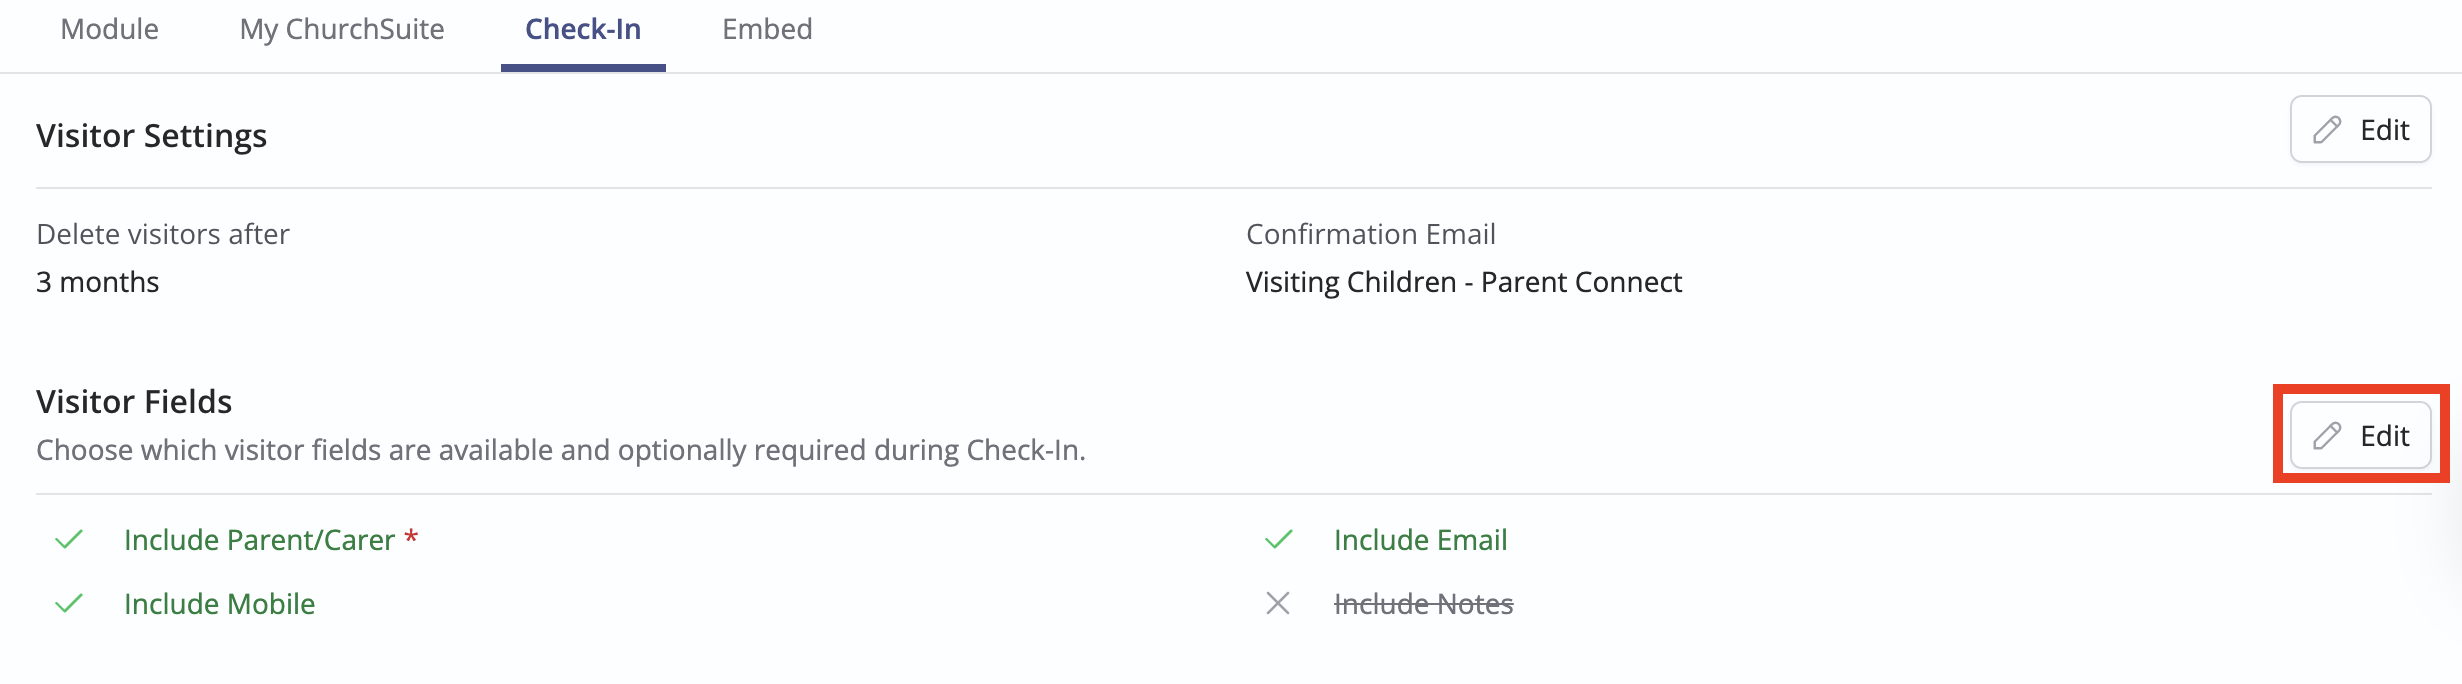
The Visitors Fields determine which fields are shown and required on the form when registering a new visiting child. For further information, see the related support article on Managing details of visiting children.
Did you know?
Visiting children are not automatically added to the Children section in the Children module. Instead, a separate list of visitors and their parent/carer details is maintained in the Visitors section of the module. Visitor attendance is recorded against the visitor's profile and the group for each session they attend. Subject to your organisation's Data Protection Policy and Privacy Notes, and with appropriate consent/permission, regular visitors can easily be added to the Children section, which preserves their historic group attendance data. Visitor profiles are automatically deleted in accordance with a visitor retention policy (shown above) when they have not checked in for the specified period of time. When a visitor profile is deleted, the visitor profile link in historic group attendance data is replaced by a text-only record of the visitor's name.
You can optionally add a Success message that is displayed on the Check-In device after an attendee has been successfully registered. For example, you could add parent/carer pick-up instructions for the end of the session.
Finally, set a preferred Admin PIN that you will share with your Check-In leaders so they can access a secure Admin area during an active Check-In session. We've produced a support article about the Check-In admin area.
