Using preset emails
In any organisation, certain emails are sent time and again. Welcome emails to new visitors. Invitation emails to certain events. Emails requesting parental consent. However, what often happens is that they get rewritten over and over again. By using the Preset Email functionality, you can avoid this fate!
Using preset emails
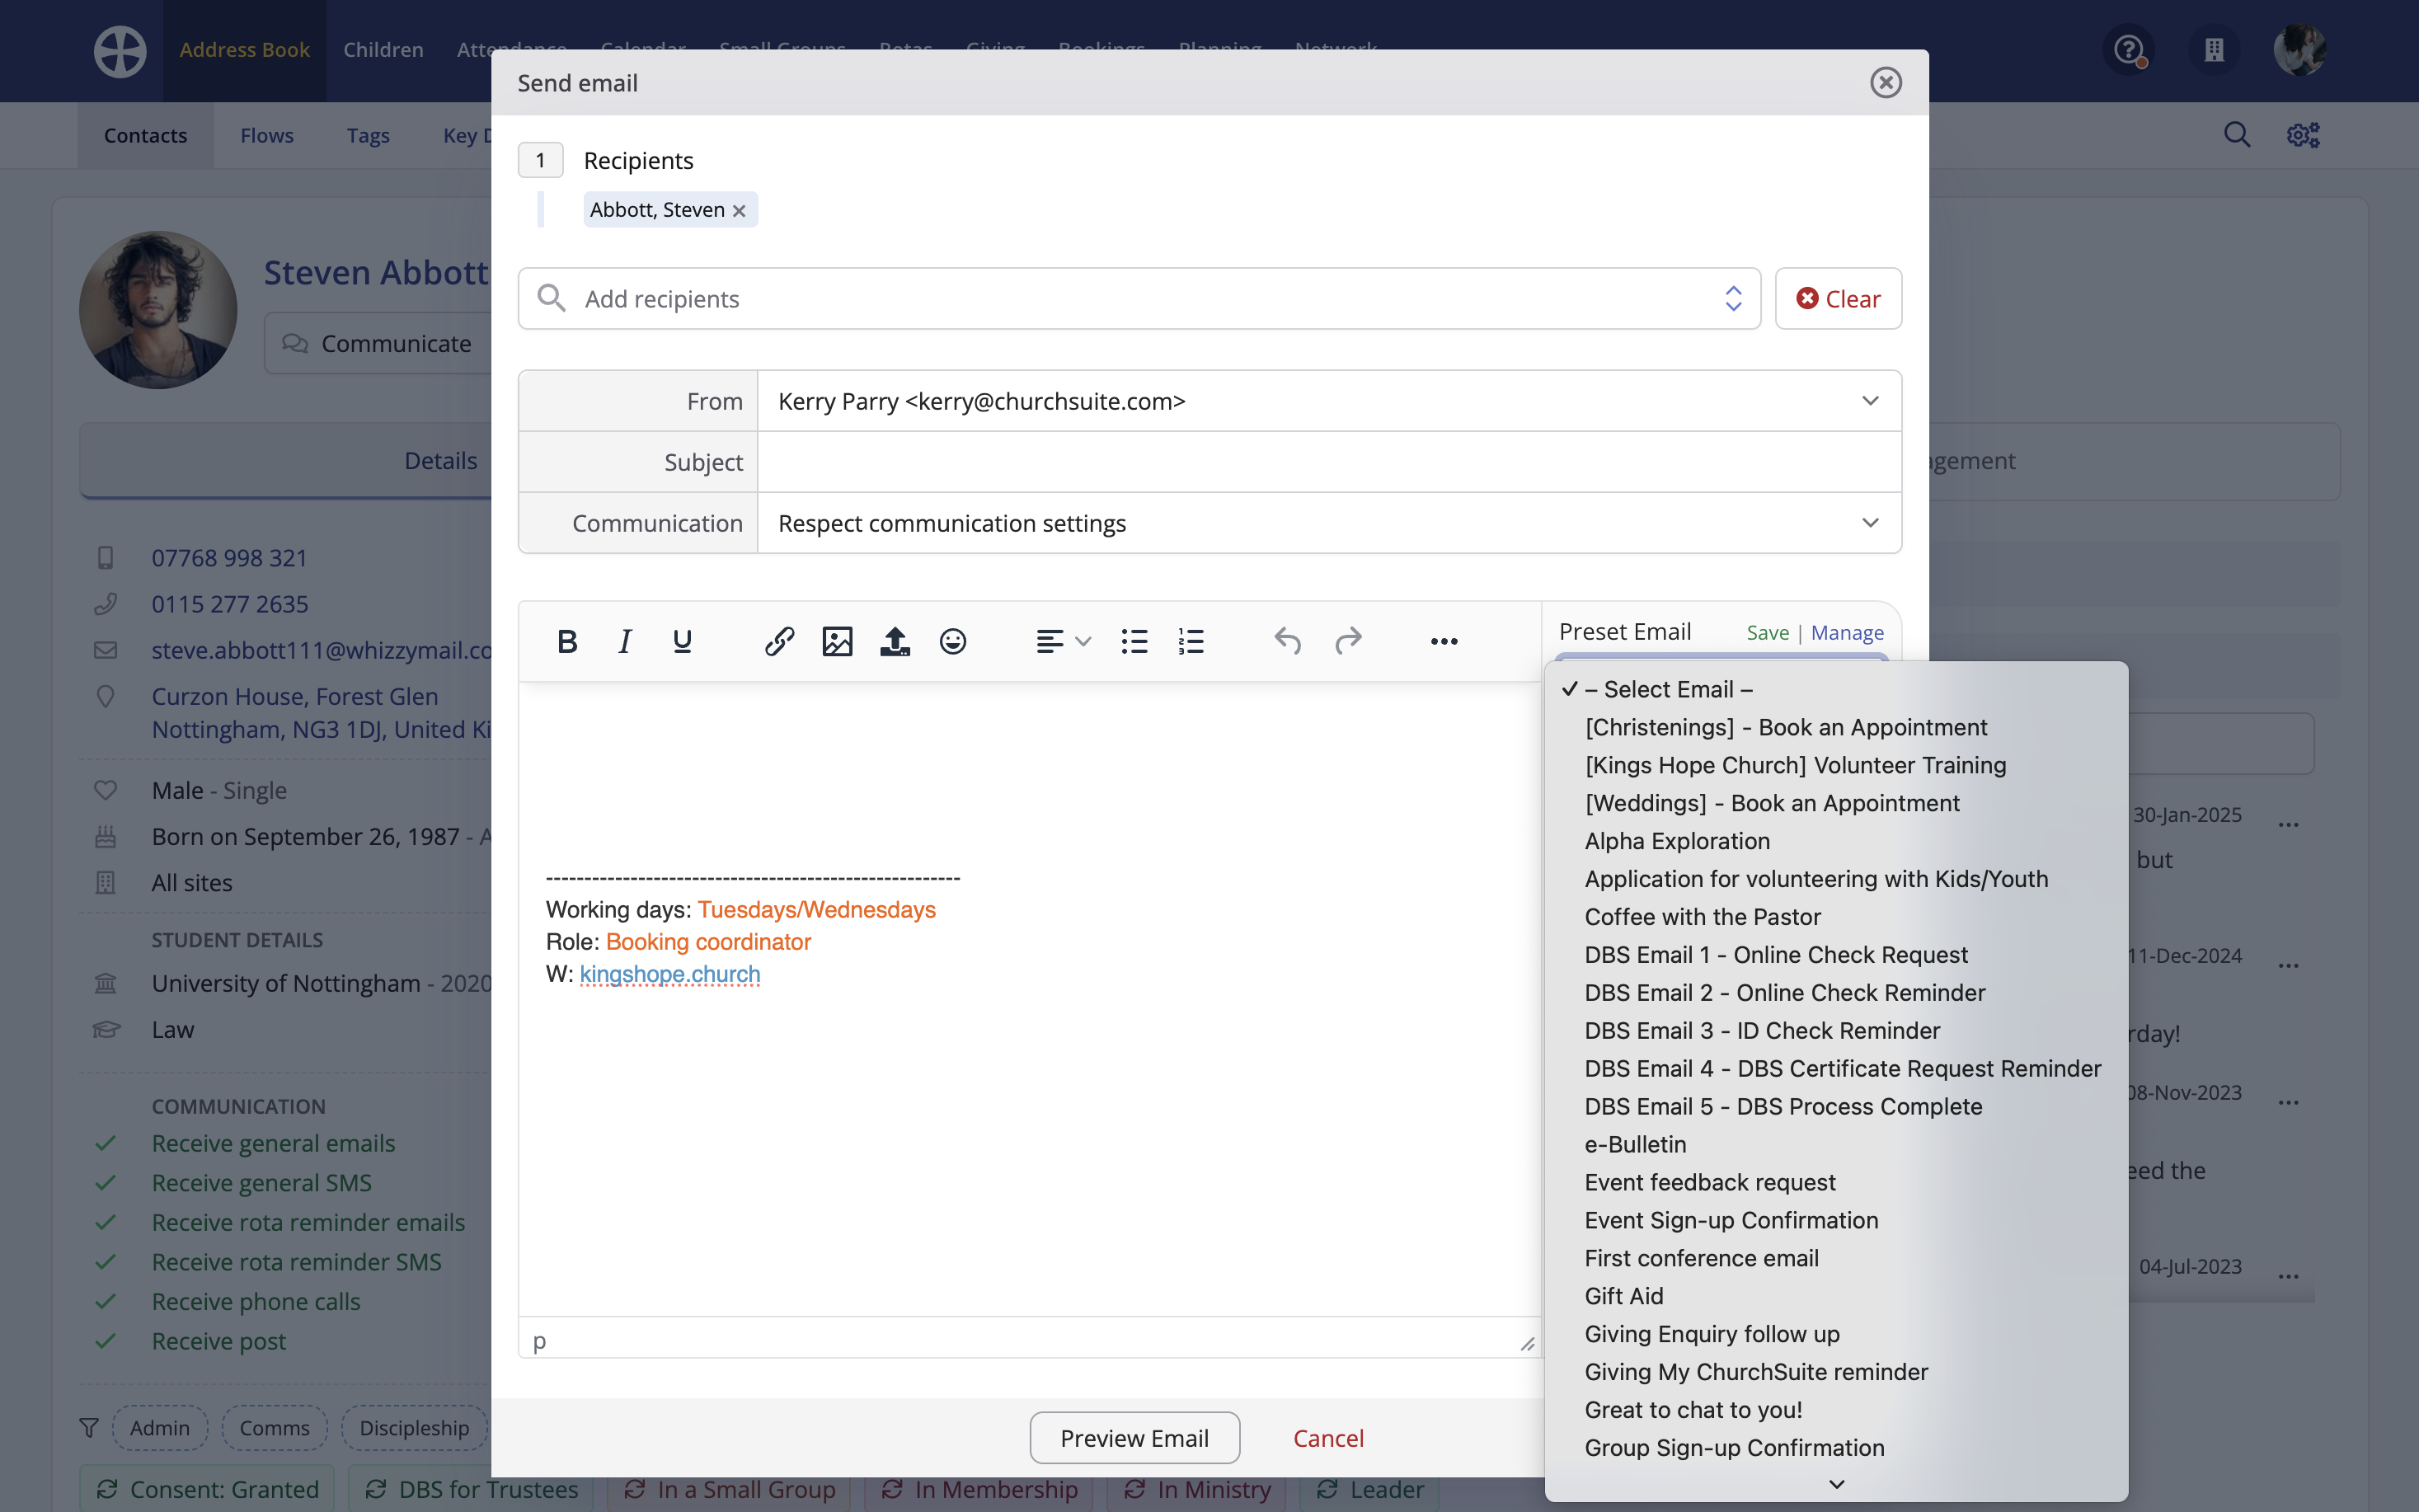
When composing an email, you have the option to select from a list of Preset Emails. This option only shows if at least one Preset Email has been previously prepared. Selecting a Preset email from the drop-down list will populate the message into the Email Composer, ready for any further edits before sending.
Adding preset emails
You can add or manage Preset emails by selecting My Profile from your User menu.
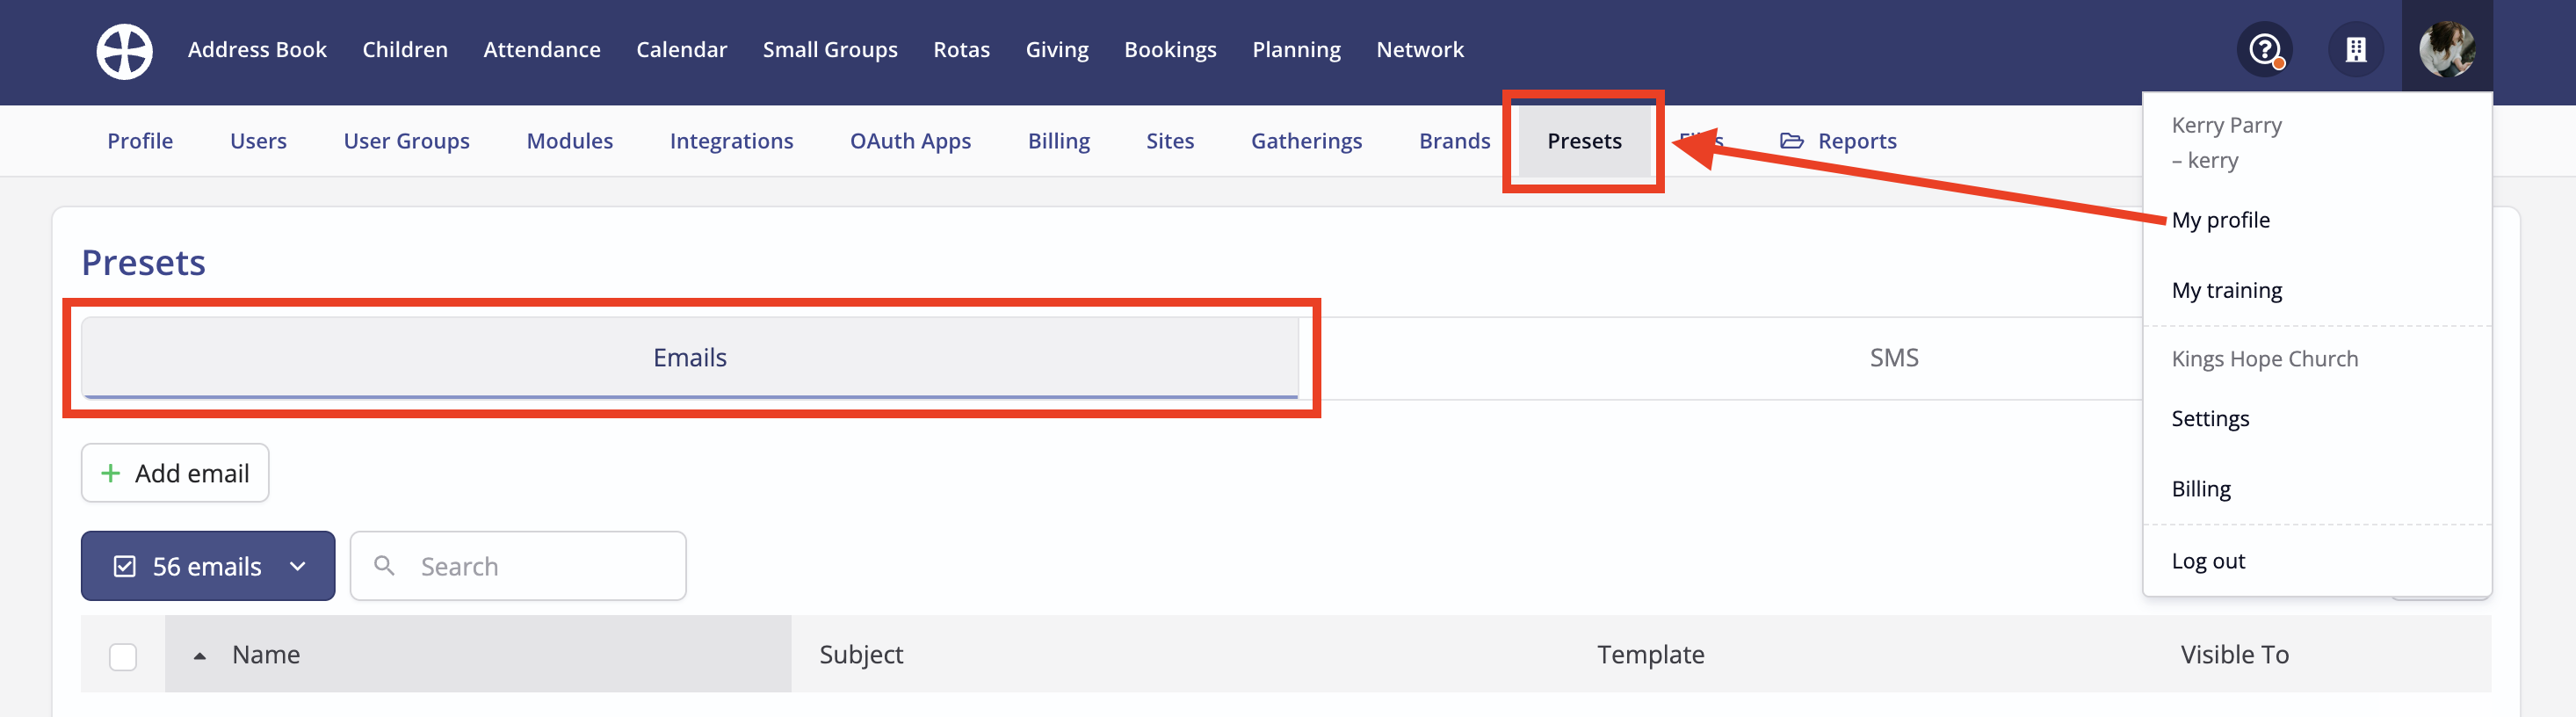
You will see a list of Presets that are currently visible to you - any previously set as visible to Just Me (i.e. your own presets), those that are visible to a User Group you belong to (i.e. restricted presets) and those that are visible to All user groups (i.e. unrestricted presets). You will also see "system" presets, like the Consent request and My ChurchSuite invitation, which are visible to all users (distinguished with visibility 'N/A').
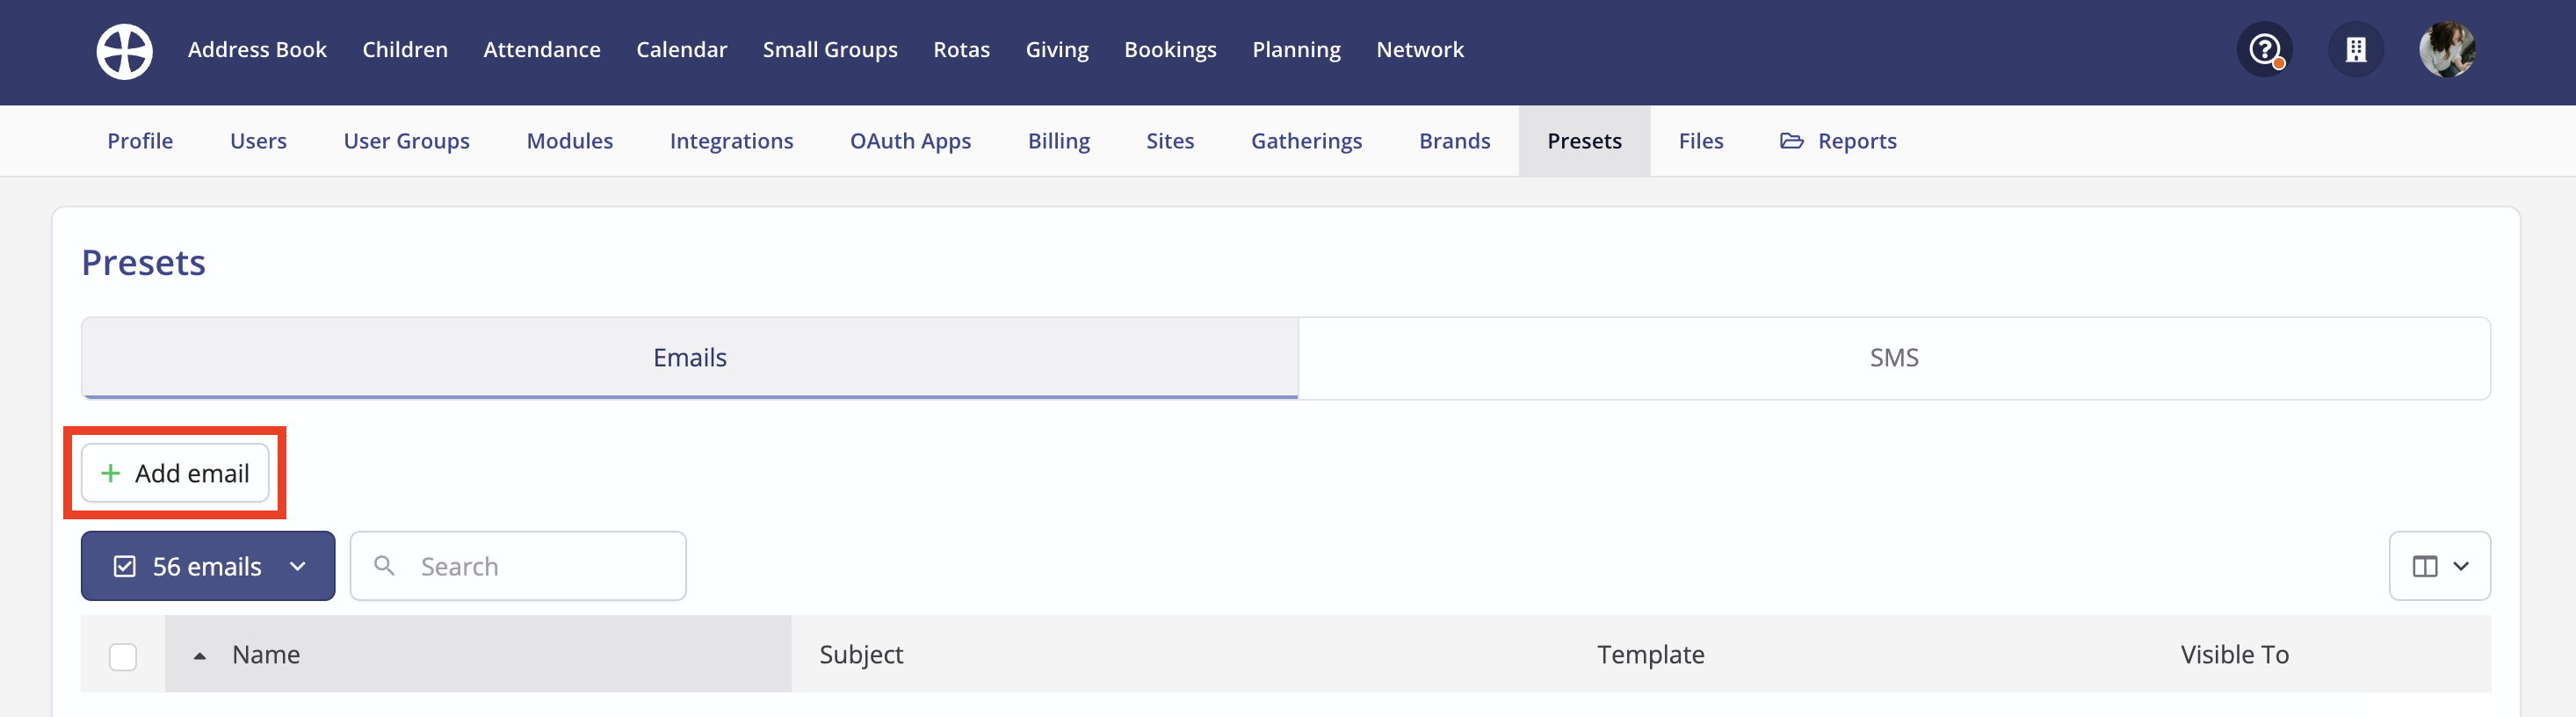
To add a new Preset email, click Add email.
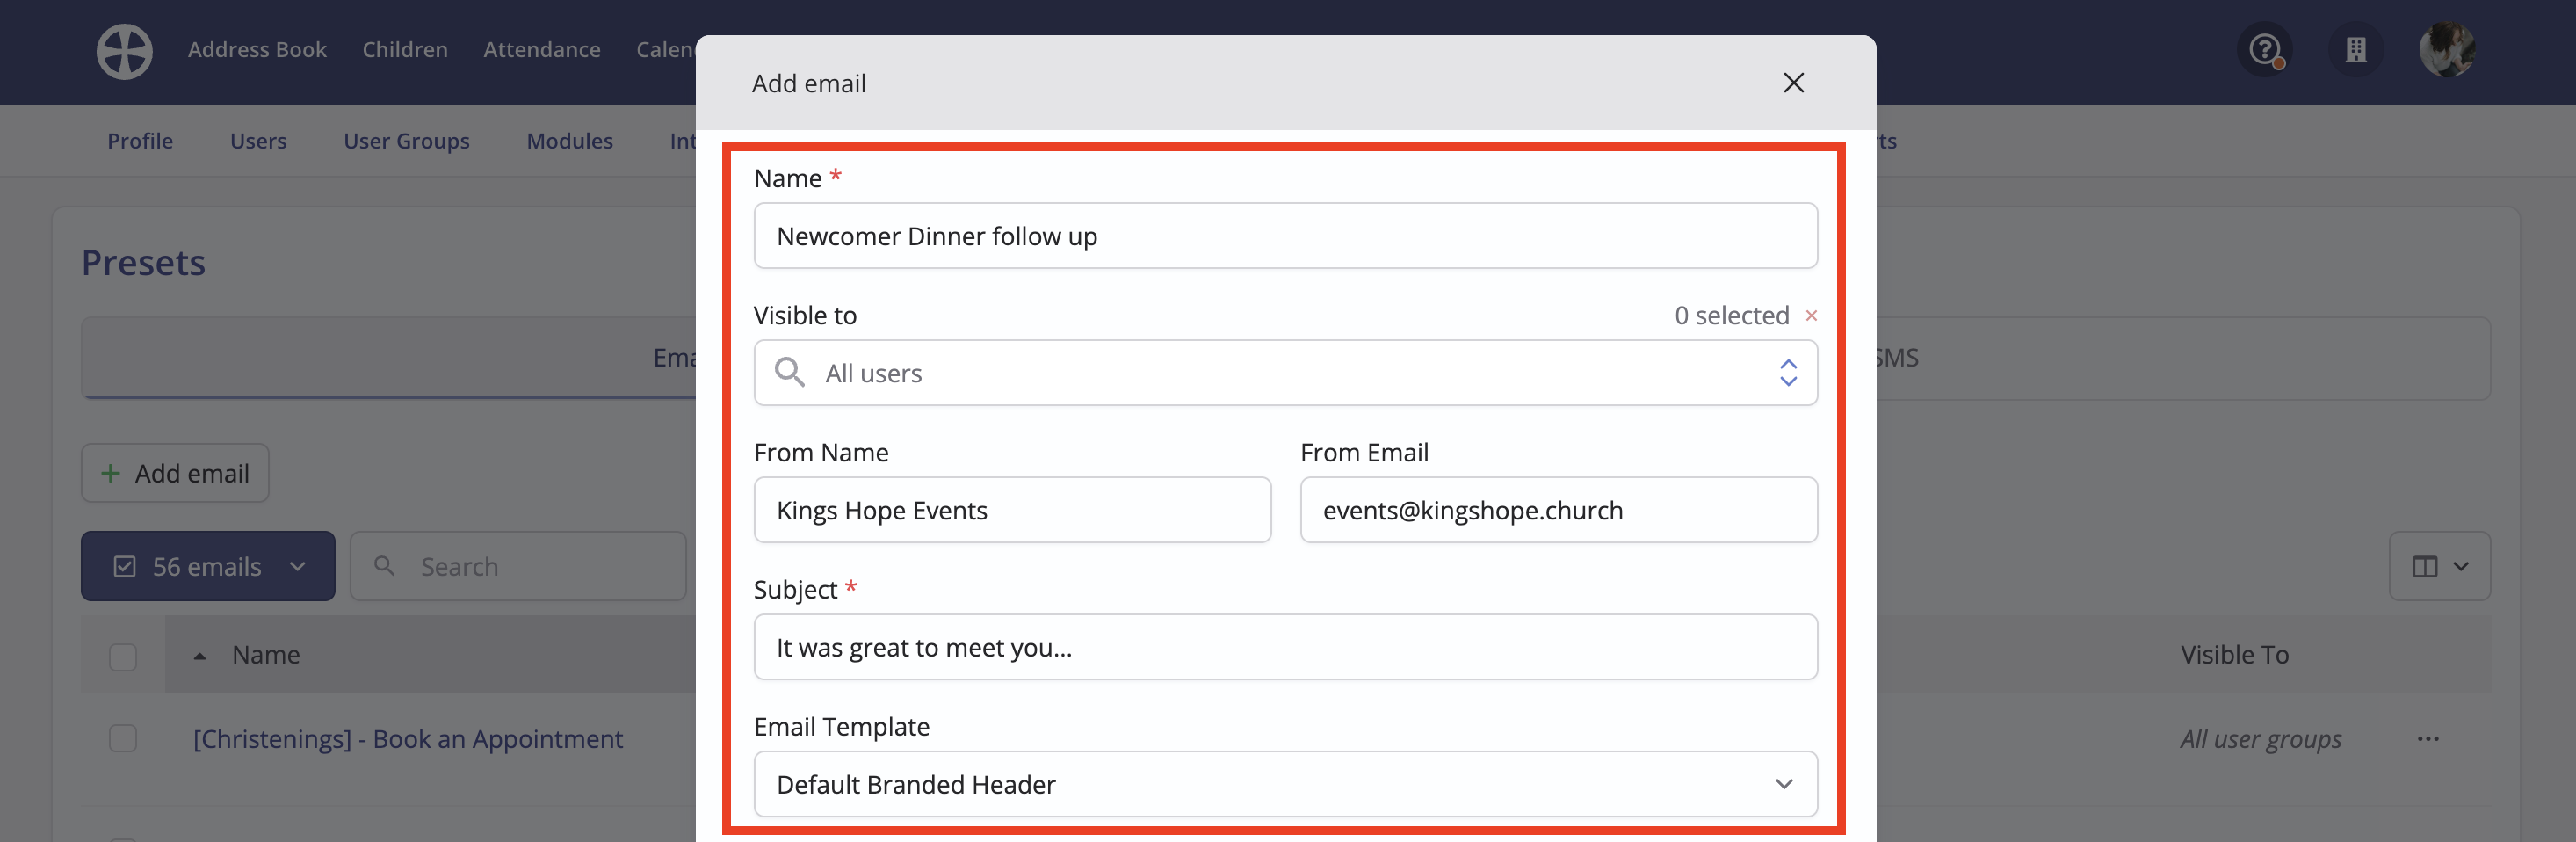
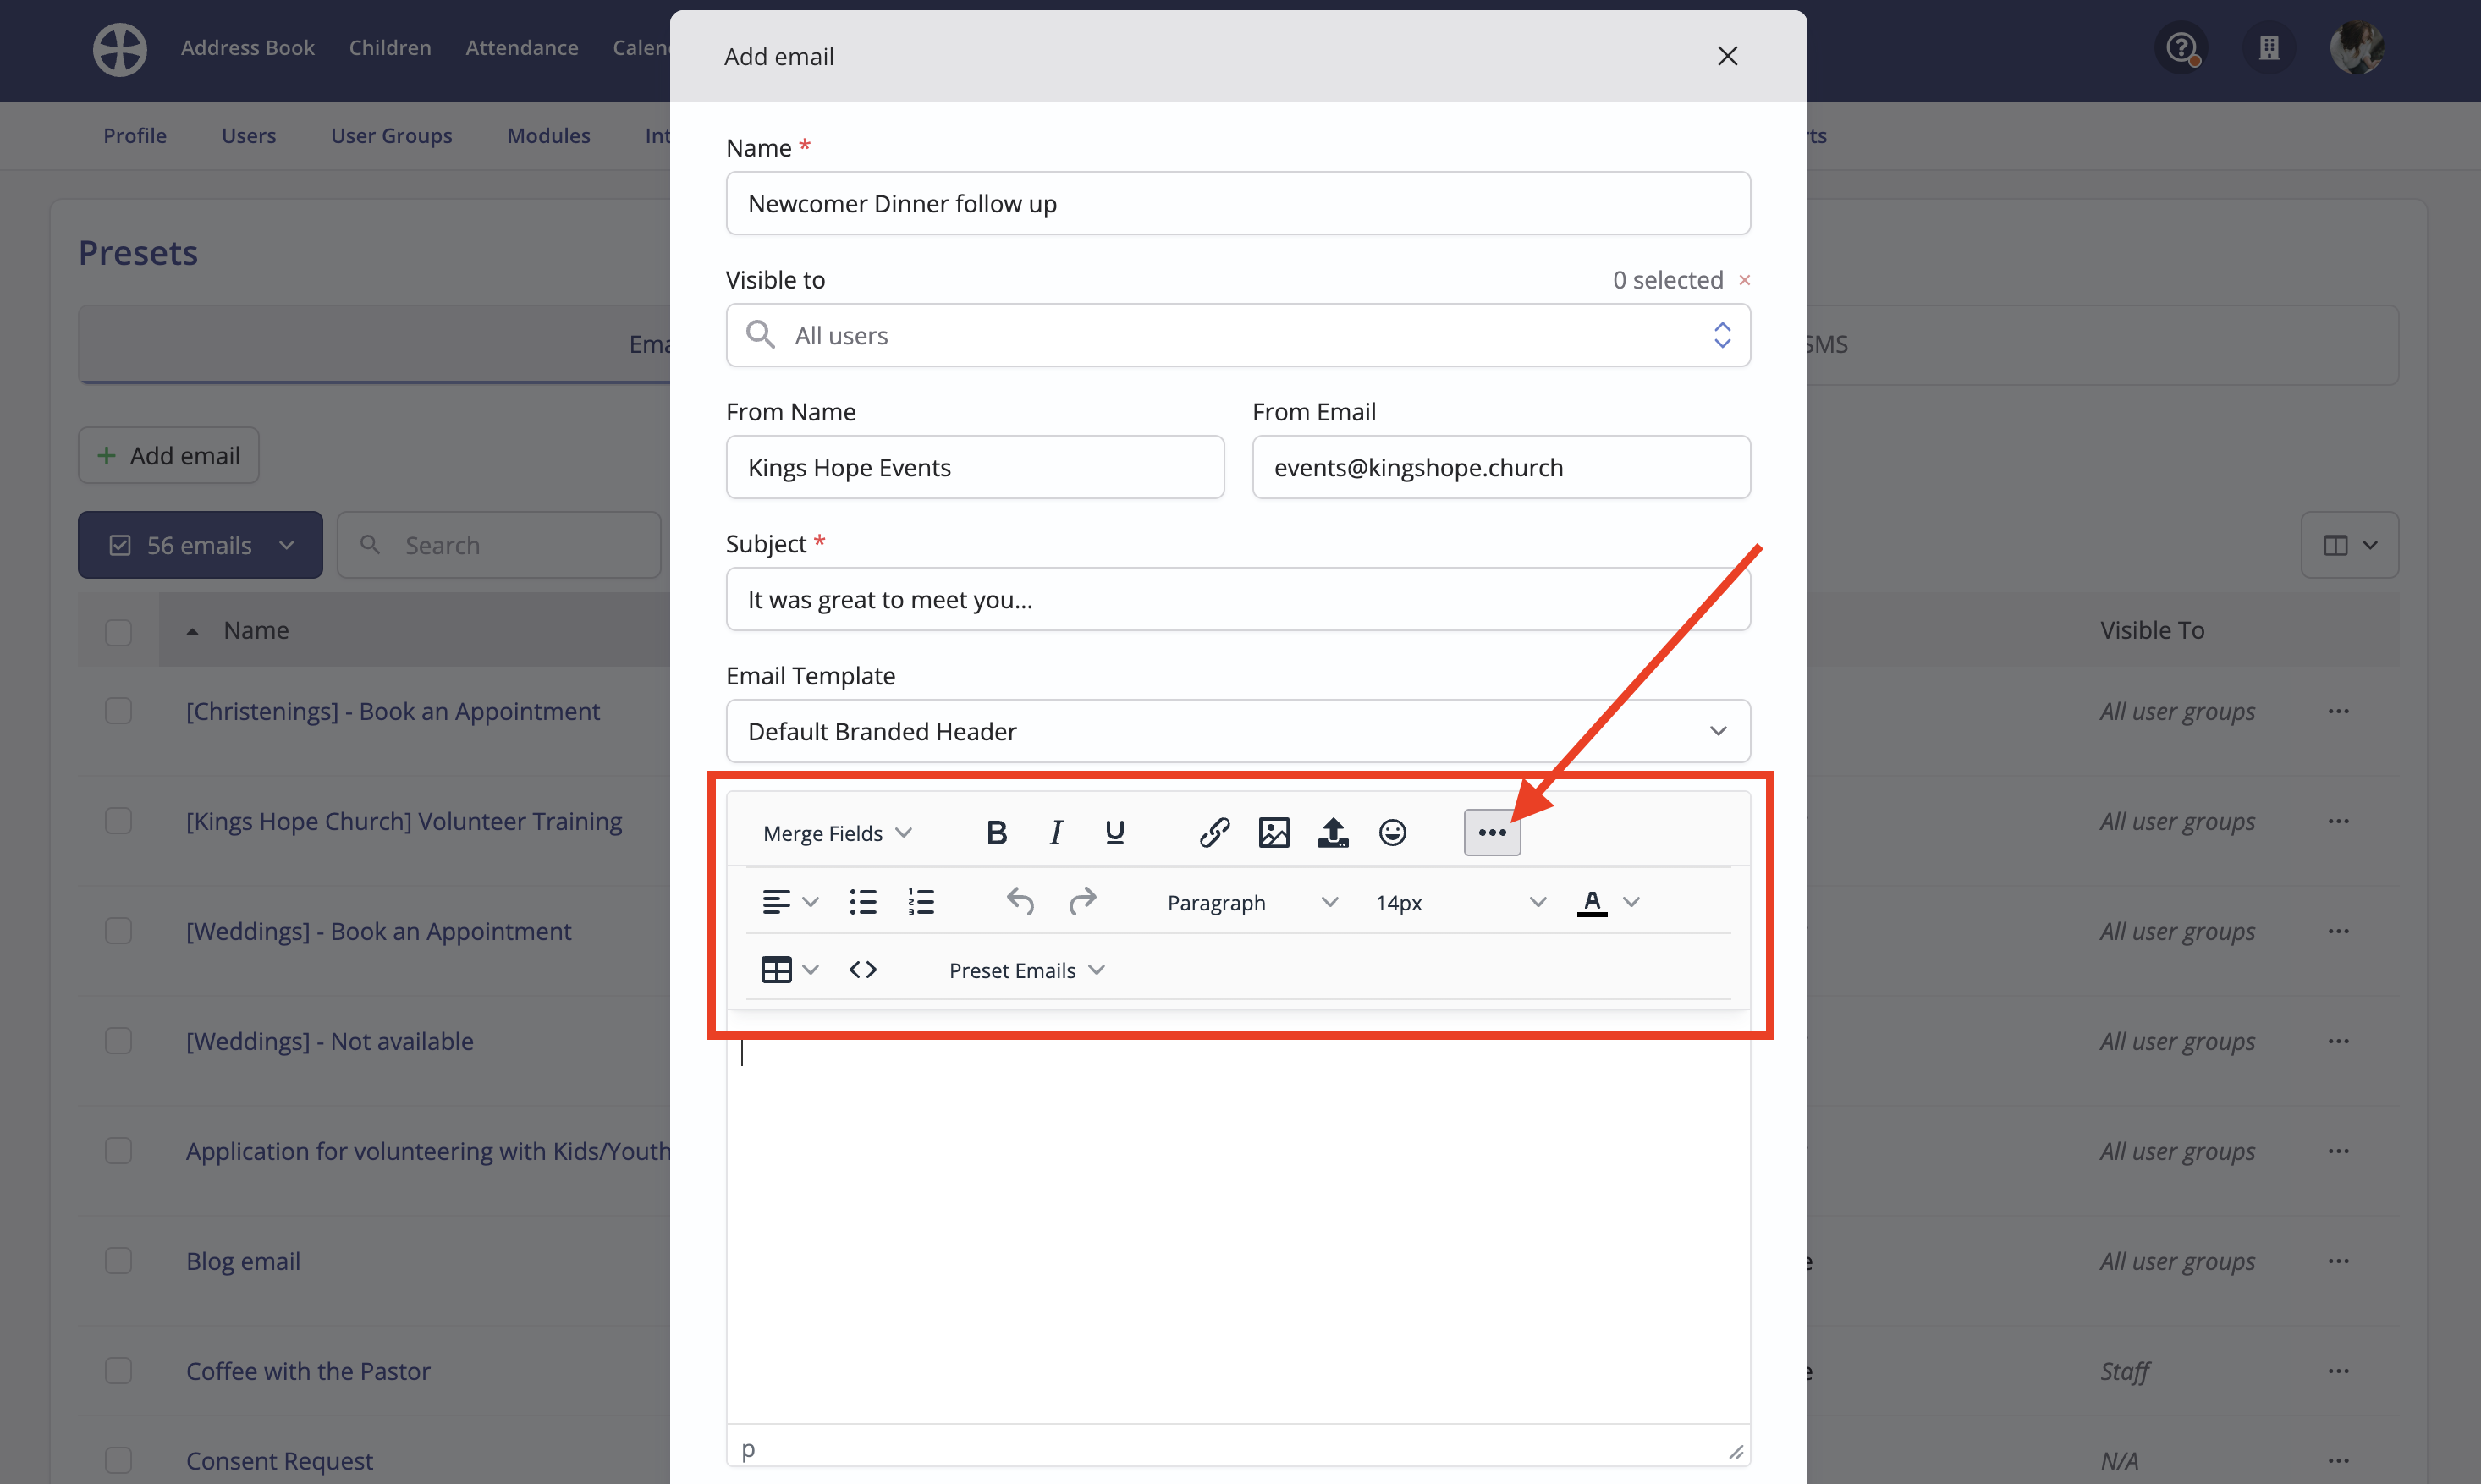
On the Add email pop-up, enter a suitable Name that you'll easily recognise when choosing preset emails in the future. The Visible to determines which module users can see/use this preset email - All users (the default), or you can restrict visibility - to Just Me (i.e. you, the author), or one or more User Groups - see the related support article for further information on Restricting visibility with user groups. The From Name and From Email are used as the default sender details whenever the preset is sent by the system in the background, e.g. as a 'success' email in response to a successful submission of a My Details form. However, for Presets sent by module users, the message will use the user's From Name and From Email and disregard the details set for the Preset. Add a suitable Subject. Select a Template, choosing between Plain, Branded Slimline, Branded Header or any of the other branded templates available - see the related support article for further information on Using brands).
Next, type your email message, perhaps using personalisation - position your cursor in the message and choose a Merge Field to insert. You can even select an existing Preset Email as the basis for the new preset email - click the ellipses icon shown to reveal the additional HTML Editor tools.
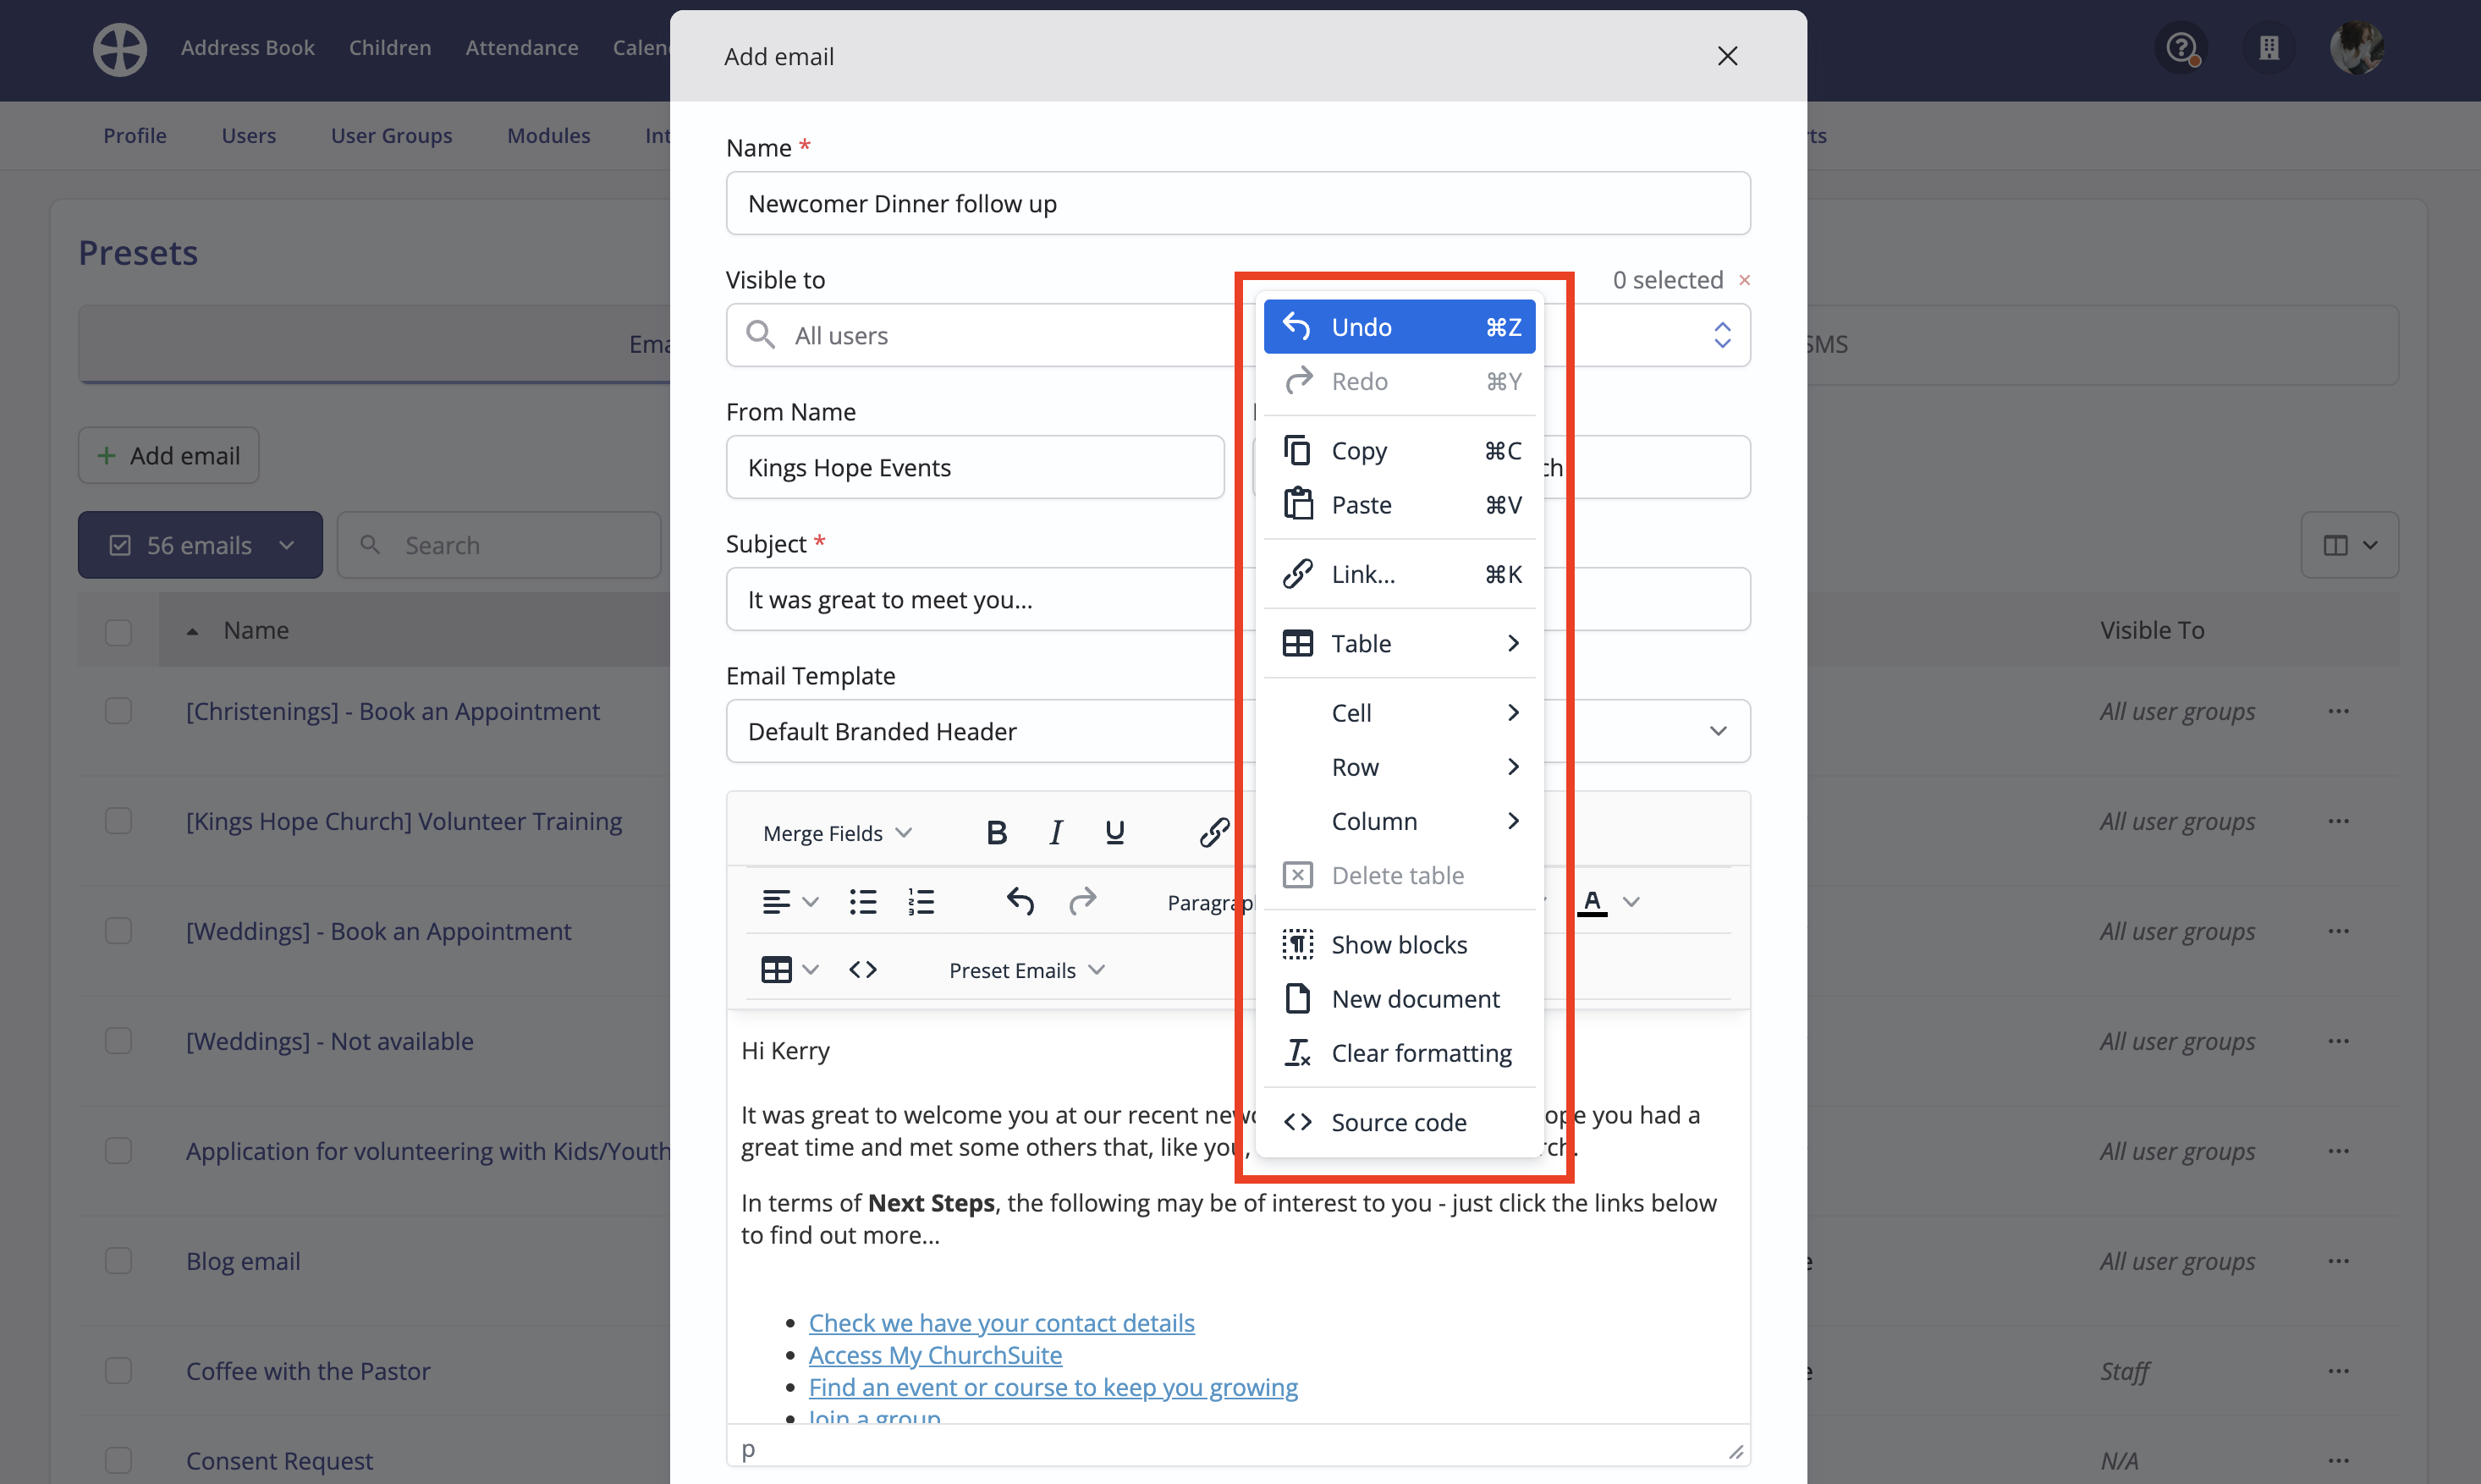
Note also that you access further tools by right clicking on the body of the email:
A note about embedding images and attachments
ChurchSuite uses a third-party tool for uploading and storing files and images that are attached or embedded in emails. Uploaded files are retained for three years from the date of upload, after which time they are automatically deleted. To avoid broken file/image links, you will need to re-upload any images/files that you embed or attach to Preset emails.
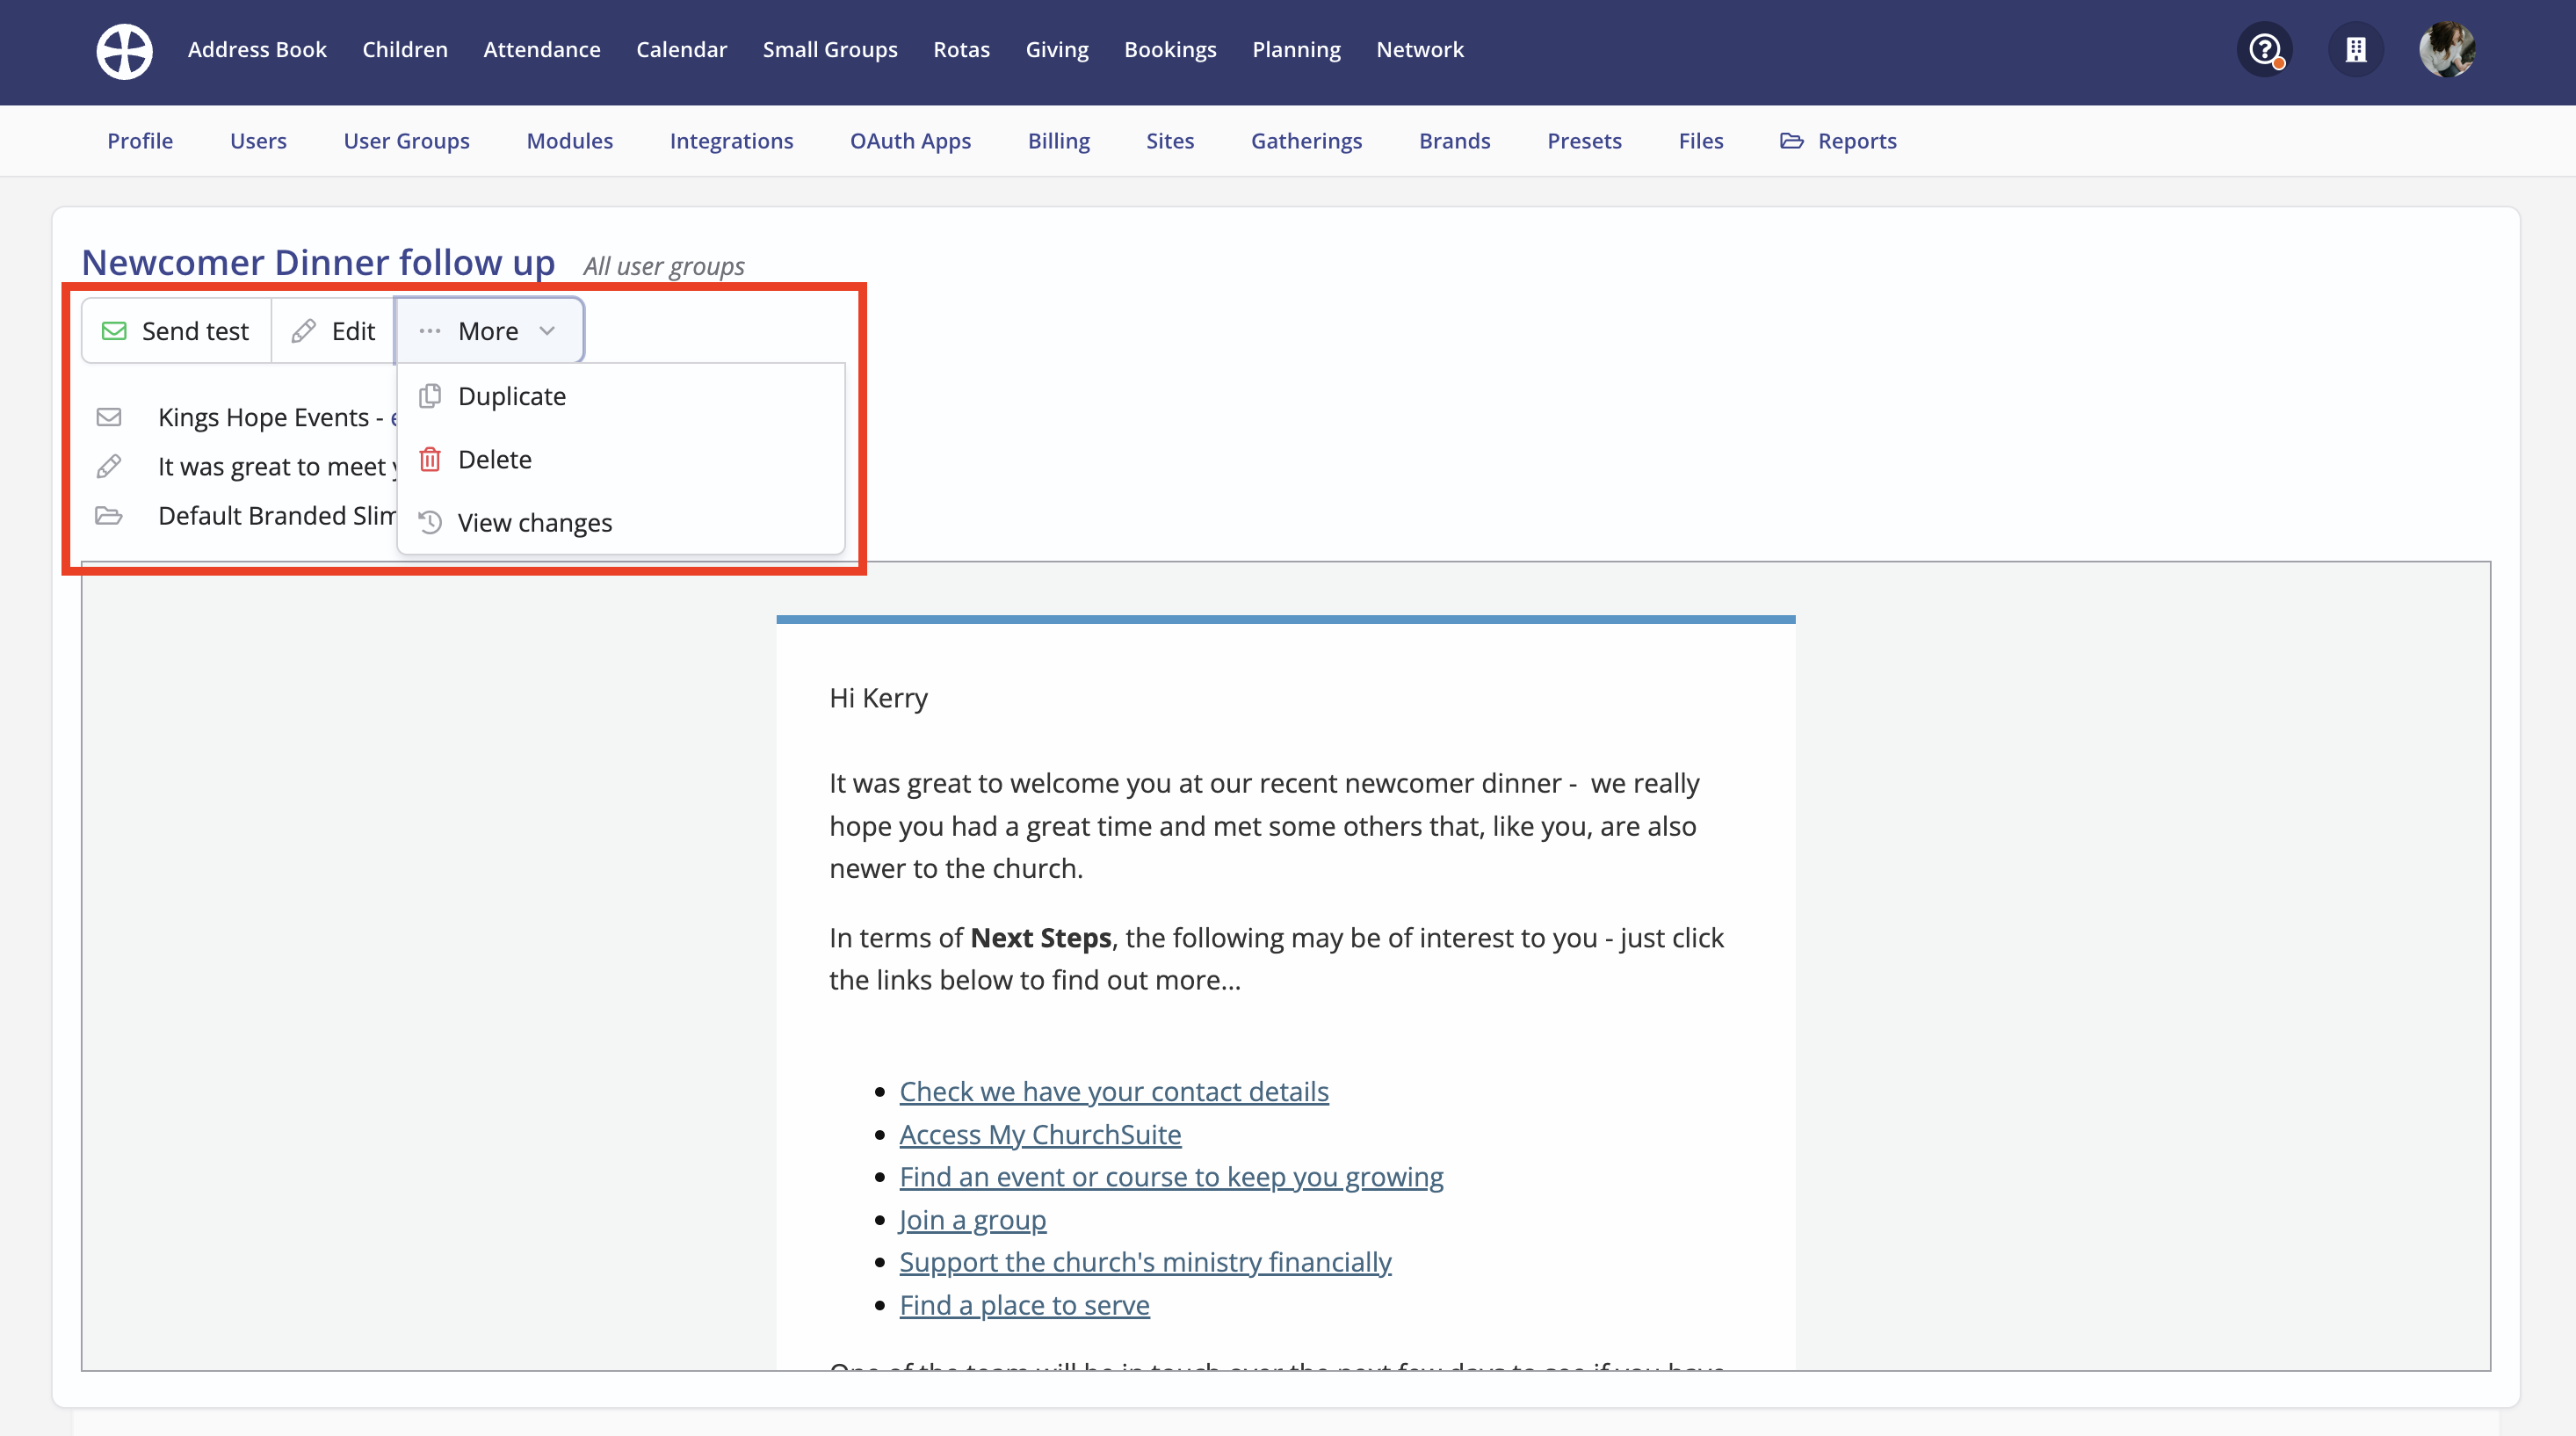
You can Save the Preset at any time and return to it later to make further changes. From the Preset View, note the options to Edit, Duplicate or Delete the email; or select Send test, perhaps to send to yourself to visualise the message in your email application, just like your recipients would see.
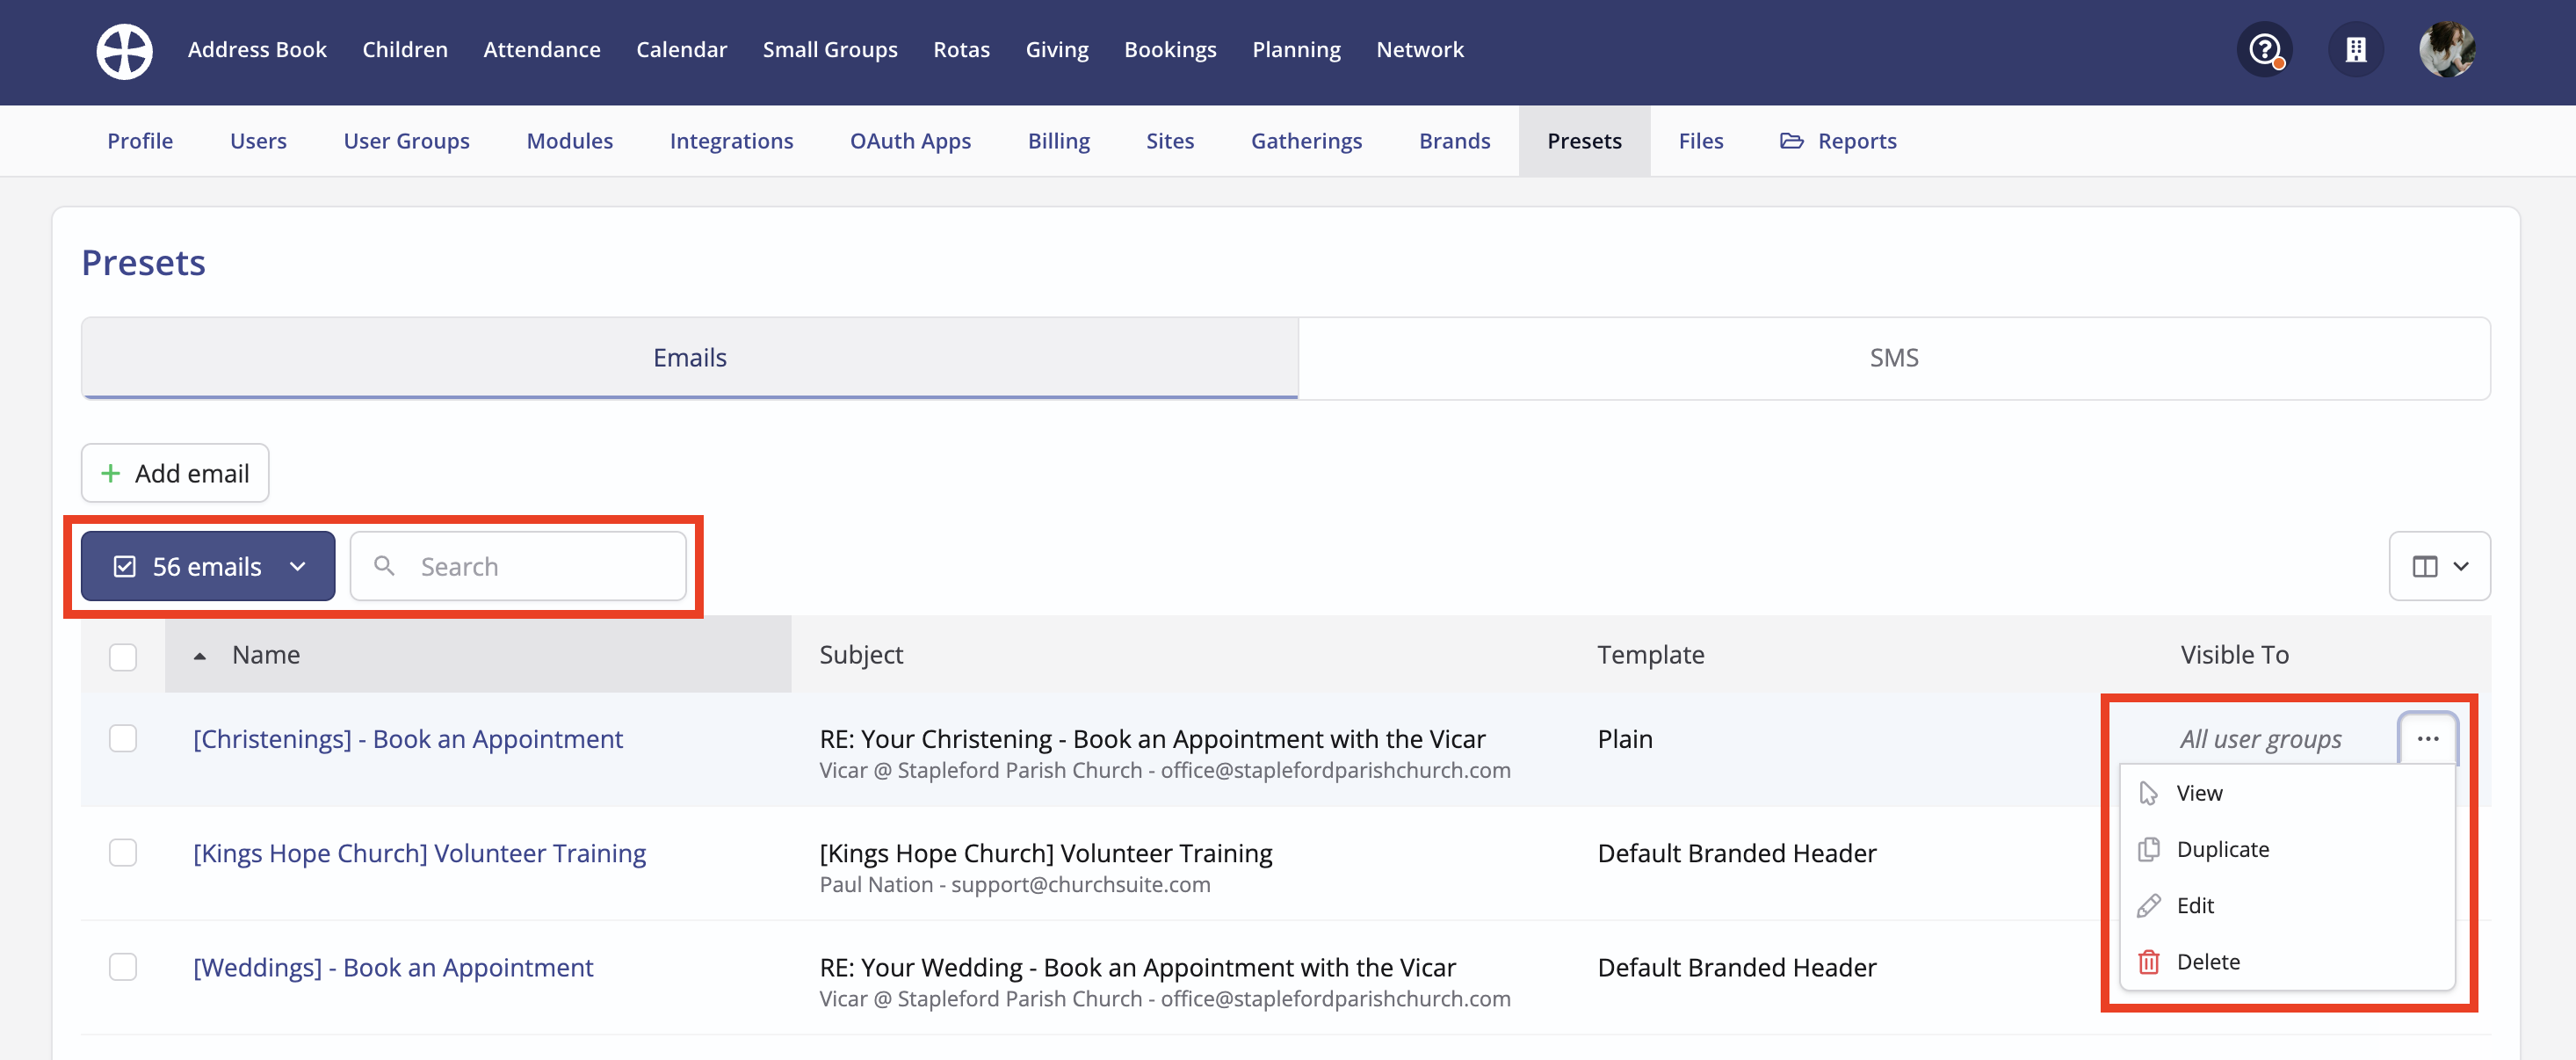
The email is added to the list of Presets. Use the Search and filter options to find a particular Preset within a long list. Note the preset Actions to View, Duplicate, Edit and Delete. "System" presets - like the Consent Request and My ChurchSuite Invitation - cannot be duplicated or deleted, but they can be viewed and edited.
When deleting a Preset, make sure it isn't in use somewhere else in your account - perhaps by Users of a Site to which you don't have access. Preset emails may also be in use in Flows and Forms and module settings for 'success' email notifications.
Finally, you can also add Preset emails on the go. When composing a message, it's often the case that you want to save the message you've just written so that it can be used again. Having composed a message - before you click Preview Email - click Save to add the email as a new preset. A new version is added (with a sequential number) each time you click Save.
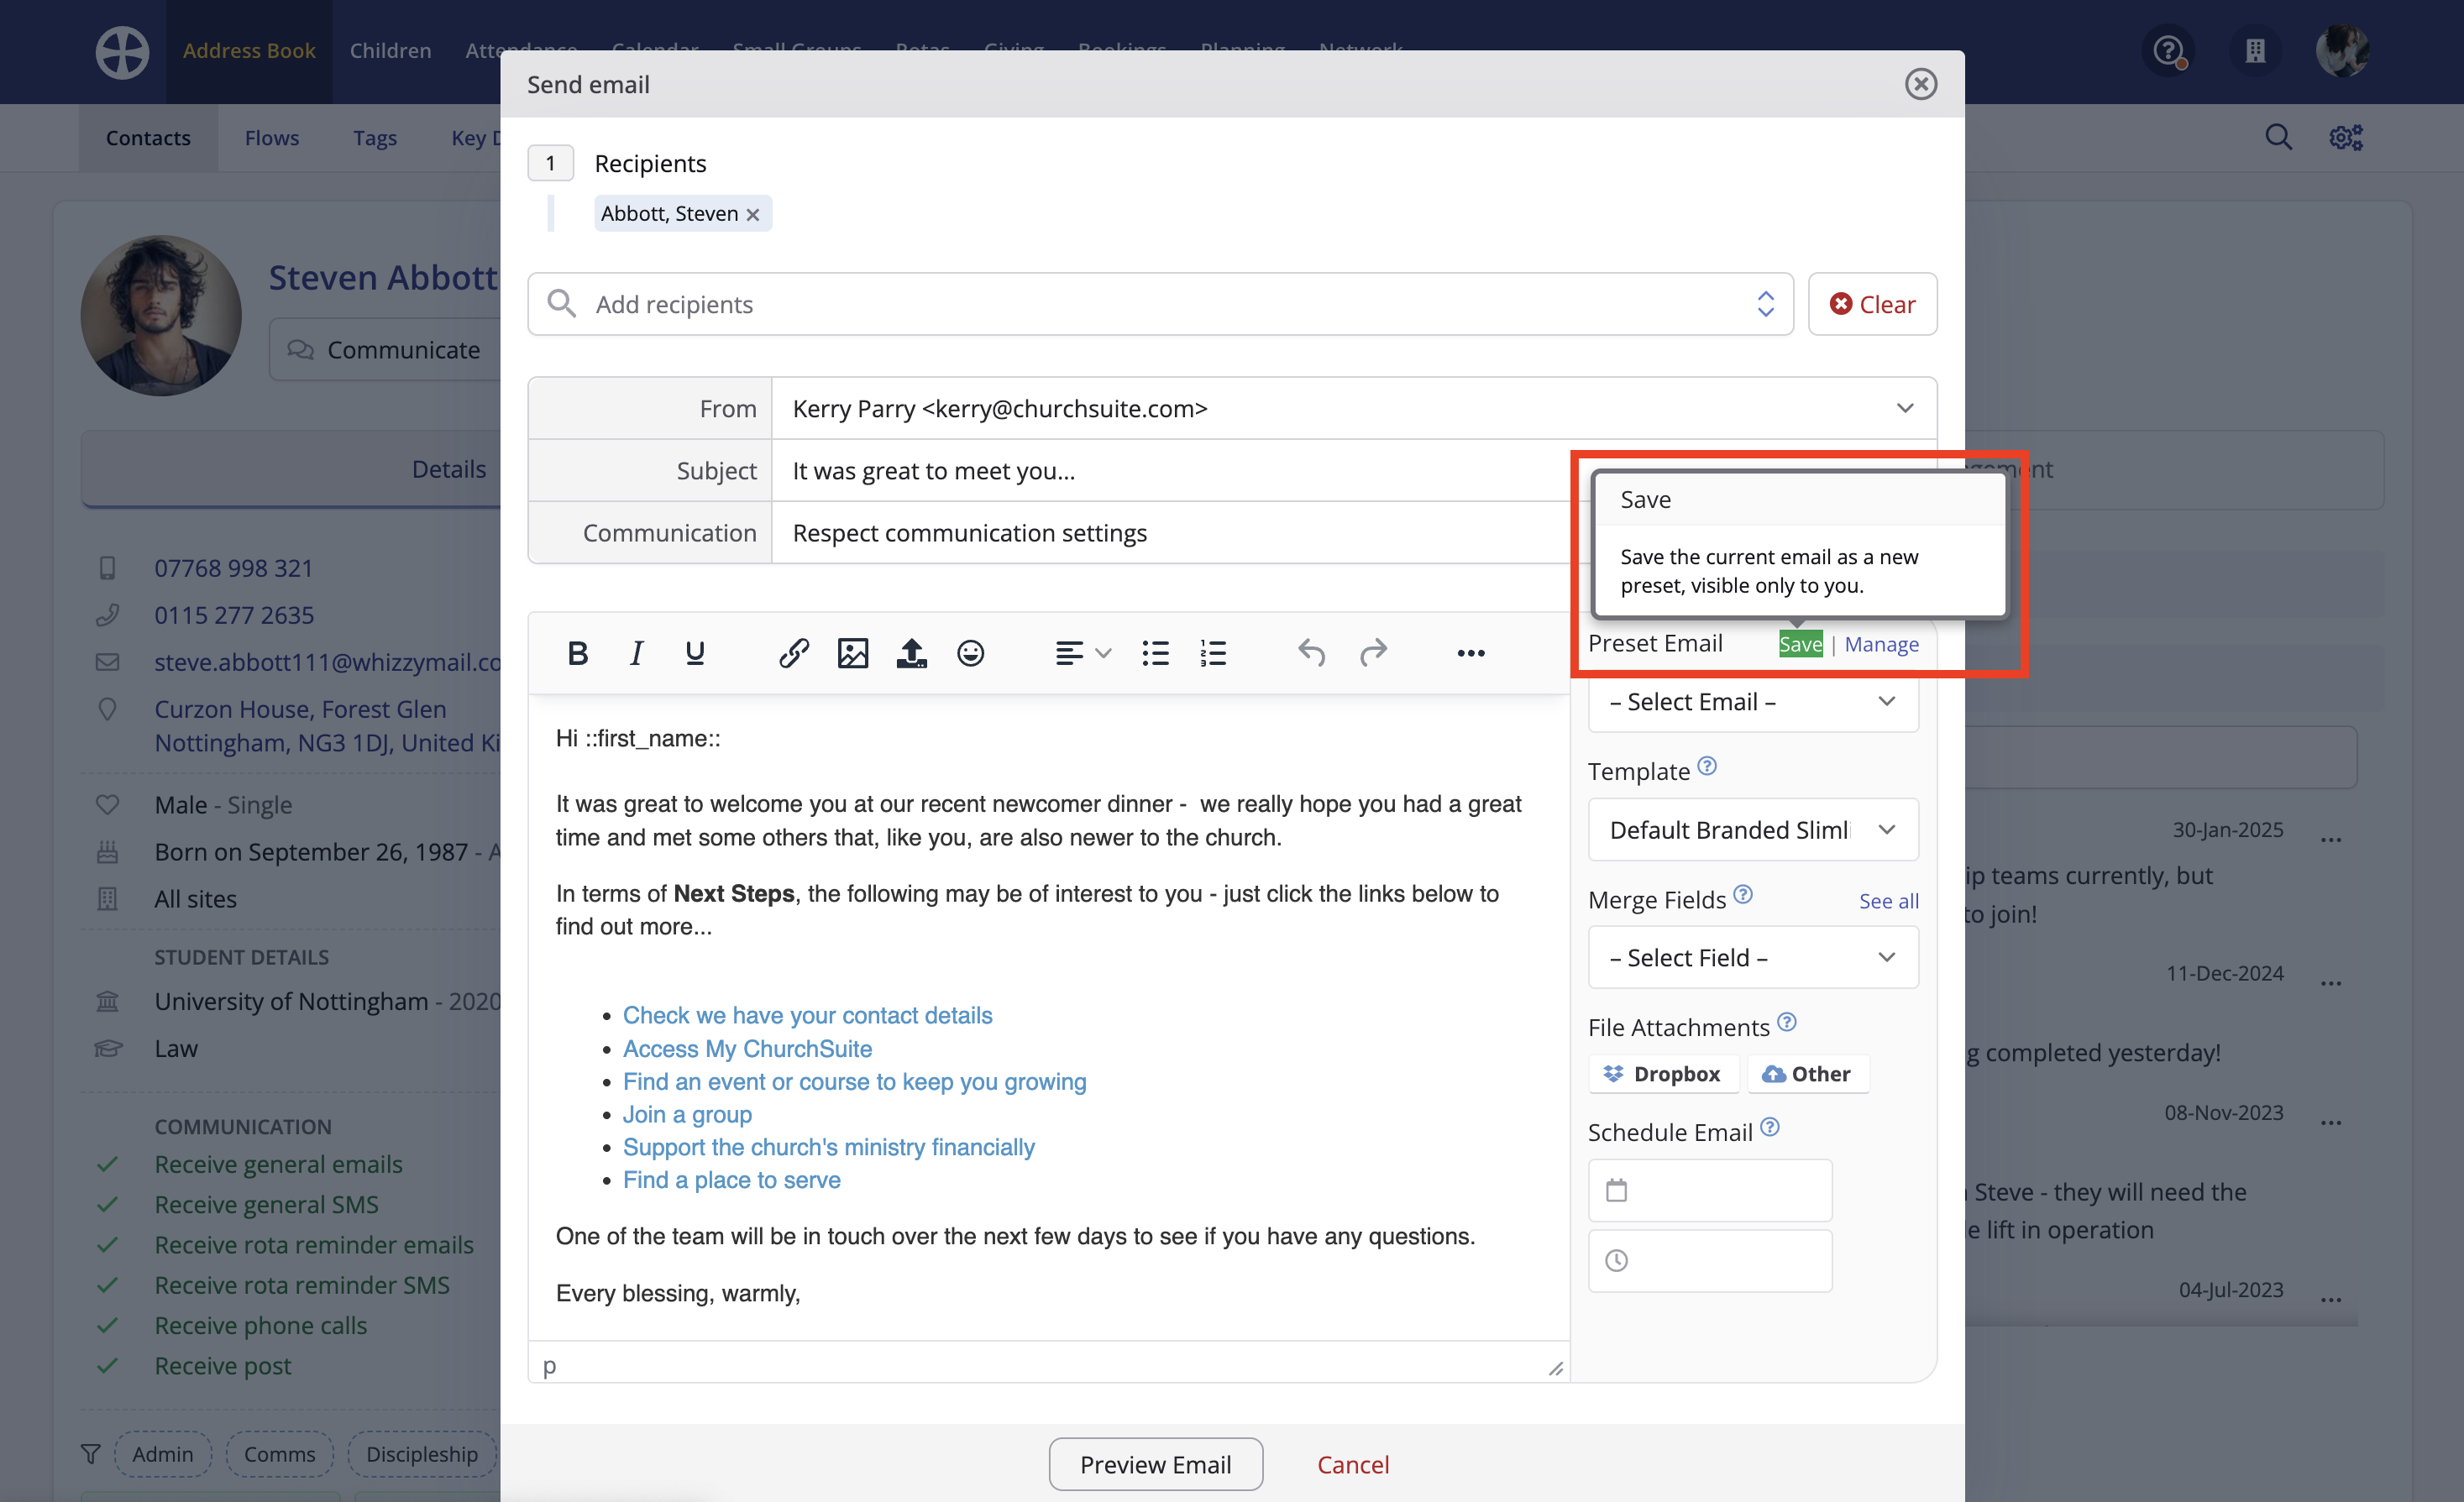
Presets saved in this manner are saved using the email Subject as the preset Name and added with visibility set to Just Me, i.e. they are saved as private Presets. If you wish to make a private Preset more widely visible, follow the instructions above to Edit the Preset email and change the Visibility restriction. Clicking Manage takes you to the Presets section in a new browser tab.